
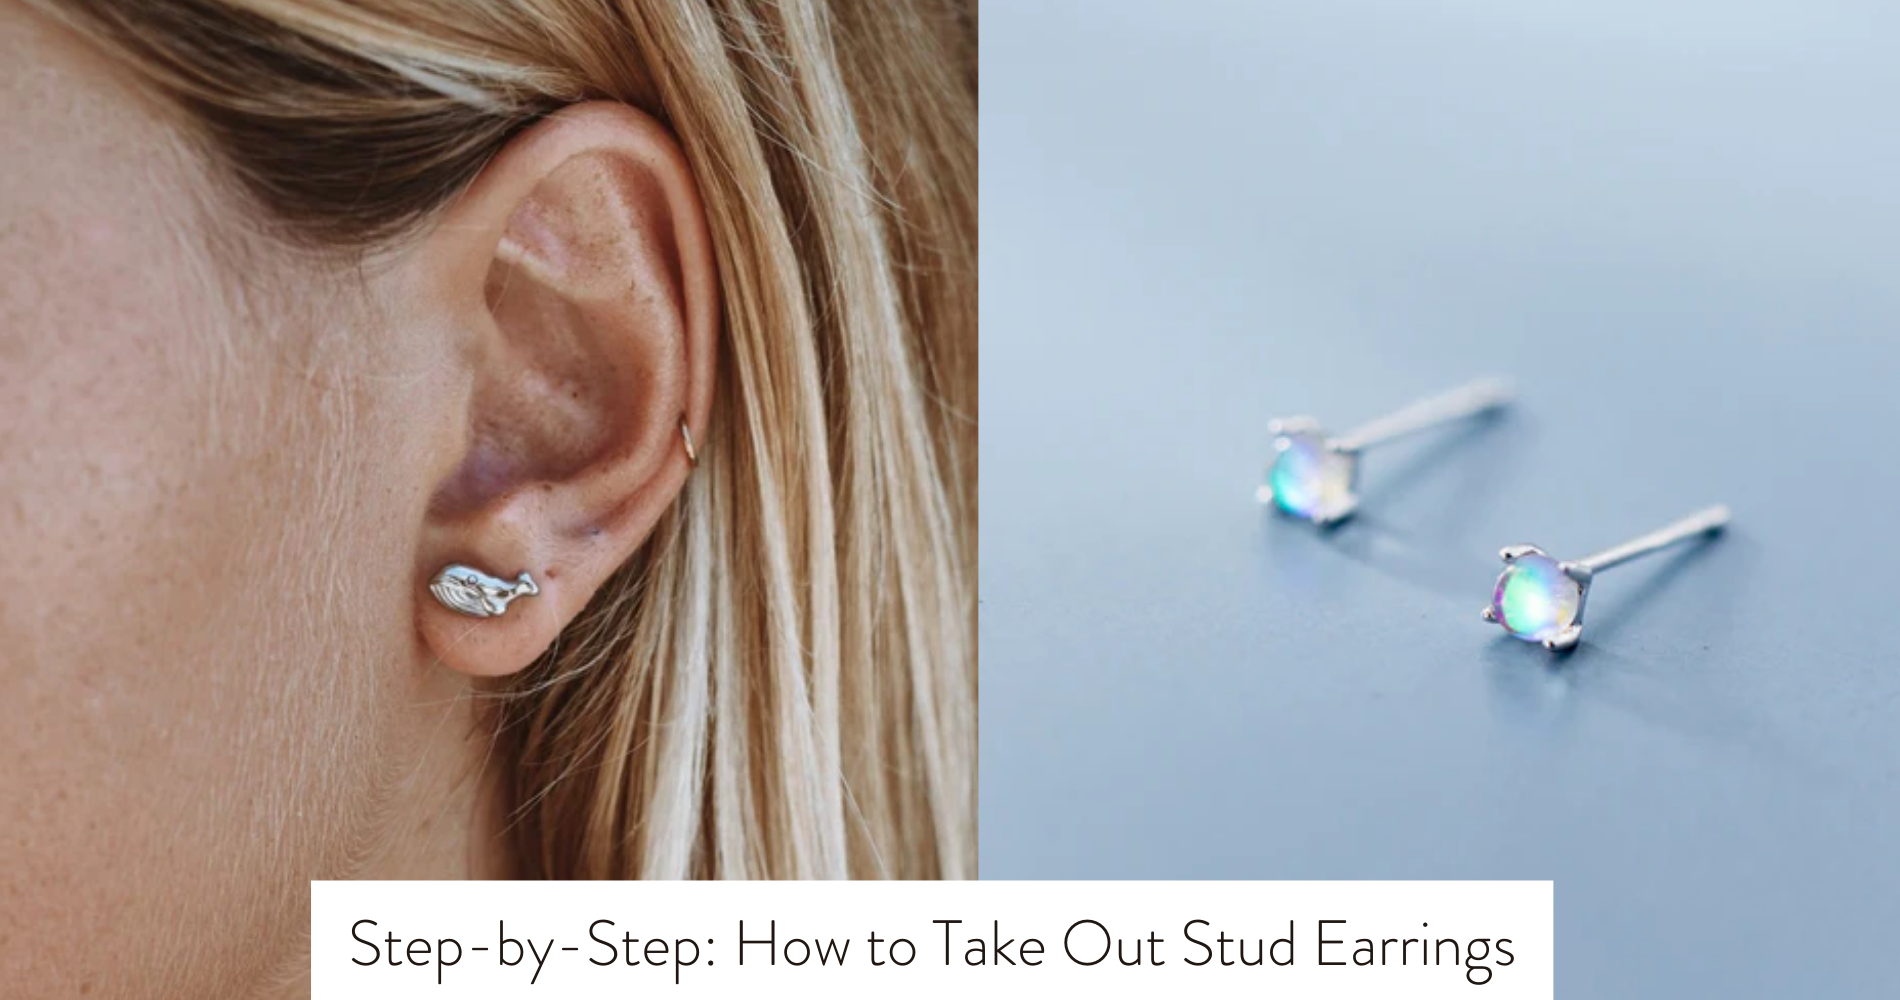
Step-by-Step: How to Take Out Stud Earrings
Gather Necessary Tools
To take out stud earrings easily, consider using a small pair of pliers for better grip and control. When it comes to earring storage, having a designated spot for your tools can make the process smoother. Proper tool organization is key to avoid misplacing items and wasting time searching for them. Keep your pliers and other earring removal tools in a specific drawer or container so you can easily access them when needed.

Having a dedicated space for earring storage and tool organization not only streamlines the earring removal process but also helps in keeping your accessories in good condition. By knowing exactly where your tools are, you can quickly grab them whenever you need to change or remove your stud earrings. Consider investing in a small jewelry box or organizer with compartments specifically designed for storing earrings and tools to maintain order and efficiency in your routine.
Locate the Earring Back
When taking out stud earrings, the first step is to locate the earring back. Look for the small, round piece that secures the earring in place.
Once you've found it, gently remove the back to free the earring.
Find Earring Back Easily
Quickly scan the back of your earlobe to spot the earring back for easy removal. If you're having trouble finding the earring back, consider using earring back alternatives like rubber or plastic backs that are easier to grip.
Troubleshooting stuck backs can be frustrating, but gently wiggling the earring back while pulling it away from the earlobe can help loosen it. Check for any hair or clothing that might be caught in the earring back, causing it to stick.
Sometimes, a gentle push from the back of the earring post can help release a stubborn back. By being patient and persistent, you'll be able to find the earring back easily and remove your stud earrings without any hassle.
Remove Back Gently
Using your fingertips, gently feel around the back of your earlobe to locate the earring back for removal. Once you've found it, follow these steps to take out your stud earrings:
- Be Mindful of Different Backing Types: Consider the type of earring backing you have, such as push backs, screw backs, or friction backs, as each may require a slightly different removal technique.
- Avoid Harsh Pulling: Refrain from pulling on the earring or applying excessive force, as this can cause discomfort or damage to your earlobe.
- Store Earrings Properly: To prevent losing earring backs or misplacing studs, store them in a designated earring storage container or organizer.
- Handle with Care: When removing the earring back, handle it gently to avoid dropping or losing it during the process.
Hold the Front of the Earring
To remove a stud earring, gently grasp the front part of the earring between your thumb and index finger. This step is important in the earring removal process, especially when dealing with stud earrings. By holding the front of the earring securely, you create a stable base for the next steps in taking out the earring.

When you hold the front of the earring, make sure your grip is firm yet gentle. Avoid squeezing too hard, as this could cause discomfort or even damage to the earring. Keeping a steady hold on the front part of the earring will also prevent it from slipping or moving around excessively during the removal process.
Steady Your Hand
To successfully remove stud earrings, it's important to steady your hand for a firm grip.
Implementing a gentle twist technique will help release the earring from your earlobe without causing any discomfort.
Firm Grip Essential
Ensuring a steady grip is essential when removing stud earrings to prevent any accidental slips or discomfort. To achieve a firm hold, follow these steps:
- Positioning: Hold the earring post between your thumb and index finger, ensuring a stable grip.
- Finger Dexterity: Use your other hand to support the back of your earlobe, enhancing control and precision.
- Stability: Keep your hand steady while gently pulling the earring post backward to slide it out of the piercing.
- Pressure: Apply a gentle but firm pressure to remove the earring smoothly without causing any pain or irritation.
Gentle Twist Technique
Using a gentle twisting motion can help steady your hand when removing stud earrings. To start, grasp the earring back firmly between your thumb and forefinger. Then, with a gentle but steady hand, slowly twist the earring back in a clockwise direction while holding the front of the earring to prevent excess movement. This technique provides better control and stability, reducing the risk of accidentally pushing the earring further into your earlobe.
Twist or Push the Earring Back
Gently twist or push the back of the earring to loosen it before removing it from your ear. This step can help make the earring removal process smoother and more comfortable for you. Here are some tips to keep in mind when twisting or pushing the earring back:
- Be cautious: Avoid applying too much pressure when twisting or pushing the earring back to prevent any discomfort or potential damage to your earlobe.
- Maintain a steady hand: Make sure your hand is stable and controlled to avoid accidentally pushing the earring further into your ear or causing any unnecessary pain.
- Rotate the backing: If you're twisting the backing, try rotating it slowly in one direction while holding the front of the earring to prevent it from moving around too much.
- Push straight back: When pushing the earring back, aim to do so in a straight line away from your ear to maintain a smooth and effortless removal process.
Remove the Earring Gently
When removing the earring, carefully grasp the front part and gently pull it away from your ear. This step is vital not only for your comfort but also for earring hygiene and jewelry maintenance. By handling the earring gently, you reduce the risk of causing irritation or injury to your earlobe. Pulling too hard or abruptly can lead to pain, redness, or even tearing of the skin.
Additionally, treating your earrings with care is essential for their longevity. Rough handling can damage the earring posts or backs, leading to potential breakage or loss. By gently removing your stud earrings, you contribute to their overall durability and maintain their aesthetic appeal.
Inspect Your Earlobe
Before removing your stud earrings, it's important to examine your earlobe for any signs of redness or irritation. This step is vital in guaranteeing the health and comfort of your ear piercing.
Here are some key points to ponder during your earlobe inspection:
- Check for Infection Signs: Look for redness, swelling, tenderness, or any unusual discharge around the piercing site. These could be indicators of an infection that may necessitate medical attention.
- Assess Earring Size: Ensure that the stud earrings you're wearing are of an appropriate size for your earlobe. Earrings that are too tight or too loose can cause discomfort and irritation.
- Comfort Check: Gently touch the earring to see if it moves freely in the piercing without causing pain. If there's any discomfort, it's best to address it before proceeding further.
- Inspect the Backing: Examine the earring backing for any dirt or debris that could harbor bacteria. Keeping the backing clean is essential for preventing infections.
Clean and Store the Earrings
To maintain the hygiene and longevity of your stud earrings, regularly clean and store them in a safe, dry place. For earring cleaning, gently wipe the studs with a soft, damp cloth to remove any dirt or residue. Avoid using harsh chemicals or cleaners that could damage the earrings. If needed, you can use a mild soap solution and water, but make sure they are completely dry before storing them.

When it comes to earring storage, consider using a jewelry box with individual compartments to prevent tangling or scratching. Alternatively, you can use small jewelry pouches or even the original earring box for safekeeping. Remember to store them away from direct sunlight and moisture to maintain their shine and prevent any discoloration.
|
Cleaning
|
Storage
|
|
Wipe with damp cloth
|
Use a jewelry box with compartments
|
|
Avoid harsh chemicals
|
Store in a dry place away from sunlight
|
|
Use mild soap solution
|
Consider using jewelry pouches or original box
|
Frequently Asked Questions
How Do I Prevent My Earring Hole From Closing up While I Remove the Stud Earring?
To safeguard your earring hole from closing up while taking out a stud earring, delicately grasp the back of the earring securely while loosening the front. Steer clear of abrupt movements to sustain the opening. This aids in preventing infection and guarantees proper earring care.
Can I Use Any Type of Earring Back to Replace the One I Removed?
Yes, you can use various earring back alternatives based on your preference and comfort. It's important to choose a back that fits securely to prevent loss. Remember to handle your earring hole with care during this process.
Is It Normal for My Earlobe to Feel a Little Sore After Removing a Stud Earring?
It's common for your earlobe to feel slightly sore after taking out a stud earring. To ease earlobe sensitivity, make sure proper earring removal technique. Follow piercing aftercare guidelines and maintain good jewelry hygiene to prevent irritation.
How Often Should I Clean My Stud Earrings to Prevent Infection?
To maintain earring hygiene and prevent infection, clean your stud earrings at least once a week. Use a gentle jewelry cleaner or a mix of warm water and mild soap. Dry them thoroughly before wearing again.
What Should I Do if I Accidentally Drop the Earring Back While Trying to Remove the Stud Earring?
If you accidentally drop the earring back while removing a stud earring, don't panic. Try using tweezers or a magnet for emergency earring retrieval. If that doesn't work, check the floor carefully, or ask for help.
Conclusion
Now that you know how to take out stud earrings, it's a simple and quick process. Remember to gather your tools, locate the earring back, and carefully remove the earring. By following these steps, you can safely and easily change out your stud earrings whenever you like.
Don't forget to inspect your earlobe, clean your earrings, and store them properly for next time. Enjoy your new earring collection!


Leave a comment
This site is protected by hCaptcha and the hCaptcha Privacy Policy and Terms of Service apply.