


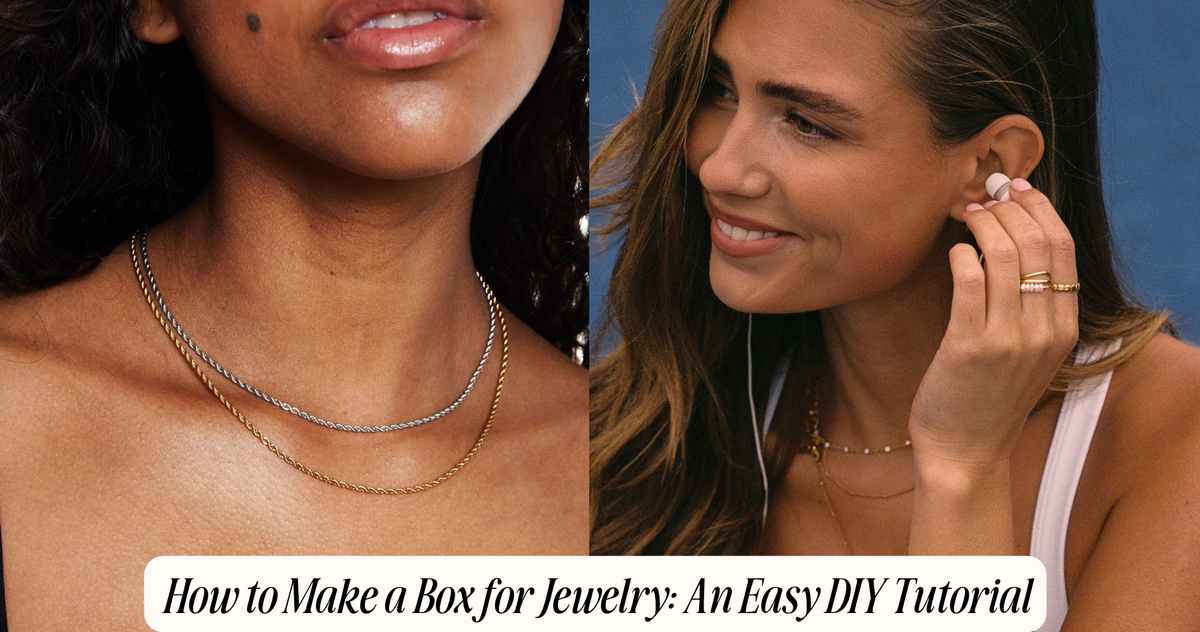
How to Make a Box for Jewelry: An Easy DIY Tutorial
The easiest way to make a jewelry box is to start with a sturdy base like a cigar box, shoebox, or small wooden box, then add dividers, a soft lining, and a simple closure. Most people finish in one to two hours, and how to make a box for jewelry only takes basic craft supplies.
A custom box also lets you size every compartment to what you actually own. If you mostly wear everyday pieces, such as our silver waterproof jewelry, you need fewer compartments than a store-bought box offers, which keeps the build quick. In this guide, we will explain which materials to choose, how to size compartments, how to assemble and line the box, and how to keep it organized.
Quick answer: Choose a sturdy base such as a cigar box, measure your jewelry, build dividers from cardboard or thin wood strips, glue them in, line everything with felt, and add a closure. Allow one to two hours and keep the supplies simple.
What Materials Do You Need to Make a Jewelry Box?
You need a base box, dividers, lining fabric, glue, and a closure. A cigar box, shoebox, or unfinished wooden box all work as a base. Choose the base first, because it decides which tools and adhesives you need.

- Core supplies: base box, ruler, craft knife or small saw, felt, strong craft glue or wood glue, and sandpaper for wood.
- Optional extras: paint or stain, small magnets for the lid, felt feet, and a ribbon pull.
| Base | Difficulty | Best for | Watch out for |
|---|---|---|---|
| Shoebox or cardboard | Easiest | First projects, travel boxes | Sags if overloaded |
| Cigar box | Easy | Rings, earrings, small bracelets | Leftover smell, so air it out |
| Unfinished wooden box | Moderate | Long-term storage | Needs sanding and a finish |
How Do You Make a Box for Jewelry Step by Step?
Measure your jewelry, cut dividers to fit the base, glue them in, line the interior with felt, and attach a closure. Work in that order so each layer sits flush and nothing has to be pried loose later.
- Lay out your pieces. Arrange your jewelry inside the base and mark where each group will sit.
- Cut the dividers. Use cardboard strips, thin wood, or foam board cut to the inside height of the box.
- Glue the dividers. Apply glue along the bottom edge, press firmly, and let it set.
- Sand and paint. Smooth any wood edges, then paint or stain the outside and let it dry completely.
- Add the lining. Cut felt to size and glue it into every compartment and the lid.
- Attach the closure. A small magnet or a ribbon is enough for a lightweight box.
How Big Should Each Compartment Be?
Size each compartment to the piece it holds, plus a little room to lift it out. Small items need snug cells so they stay put, while chains need open space so they do not tangle.
| Jewelry | Compartment | Tip |
|---|---|---|
| Rings | Narrow foam or rolled-felt slots | Slit foam strips keep rings upright |
| Earrings | Small cells, about 5 × 3 cm | Keep pairs together |
| Bracelets | Shallow rectangle, about 10 × 8 cm | Lay flat, do not stack |
| Necklaces | Long, shallow tray or lid hooks | Fasten clasps first |
Measure your largest piece first, then work down to the smallest. Dry-fit every divider before gluing so you can adjust the layout.
How Do You Line and Finish the Box?
Glue felt or soft fabric into every compartment, then finish the outside with paint, stain, or paper. A soft lining stops hard metals from rubbing together, and a clean finish makes the box look intentional rather than improvised.
- Lining tip: Cut felt slightly large, glue it down, trim the excess, and press the corners with a ruler.
- Finishing tip: Let paint or stain dry completely before closing the lid, because damp finishes can stick to felt.
Does Waterproof Jewelry Still Need a Box?
Yes. A box gives off-duty pieces a protected home, keeps sets together for travel, and works as a gift presentation. Pieces you rotate stay easier to find and free of knots when each one has its own space.
Atolea's silver-color pieces are made from high-quality stainless steel and designed for the shower, pool, ocean, gym and sweat, so your box mostly handles rotation and travel rather than protection from daily life. A "Calvi" Rope Chain Necklace fits a long tray with its clasp fastened, and a Mini Pearls Ring belongs in a foam slot. Give the genuine freshwater pearls their own cell so they do not rub against harder metals.

How Do You Keep the Box Organized?
Sort by type, keep everyday pieces at the front, and review the box every few months. Each piece needs a fixed home, so use a consistent layout or small labels.
- Sort by type: Our guide on how to organize a jewelry box covers grouping rings, earrings, bracelets and necklaces.
- Keep care simple: Our silver jewelry care guide explains gentle cleaning before you store pieces.
- Refresh the lining: Replace worn felt and wipe wooden boxes with a dry cloth.
Final Thoughts
Now you know how to make a box for jewelry that fits your own collection: choose a base, size each compartment, line it with felt, and give every piece a fixed place. Once your box is ready, fill it with everyday silver pieces that work for both daily wear and travel. A small, well-built box keeps every piece easy to find.
Frequently Asked Questions
How long does it take to make a jewelry box?
A simple cardboard or cigar-box build takes one to two hours, plus drying time for glue and paint. A wooden box with sanding and a finish takes closer to an afternoon, because each coat must dry before you add the lining.
What is the cheapest way to make a jewelry box?
Reuse a shoebox, cigar box, or sturdy gift box, then add cardboard dividers and scrap felt or fabric. Most of the cost is glue and lining, so reusing a base you already own keeps the project close to free.
What should I use to line a jewelry box?
Felt is the easiest choice because it is soft, cuts cleanly, and does not fray. Velvet or microfiber also work well. Avoid rough fabrics that can scratch metal, and glue the lining flat so it does not bunch in the corners.
How do I stop necklaces from tangling in a box?
Fasten each clasp, lay every chain flat in a long, shallow tray, and give each necklace its own lane. Hooks on the inside of the lid also work. Piling several chains into one compartment is the most common cause of knots.
Can I store waterproof jewelry in a DIY box?
Yes. Any dry, soft-lined box works for waterproof jewelry. These pieces do not need special storage, but a box keeps them organized and untangled and makes it easy to rotate styles or pack for a trip.









Leave a comment
This site is protected by hCaptcha and the hCaptcha Privacy Policy and Terms of Service apply.