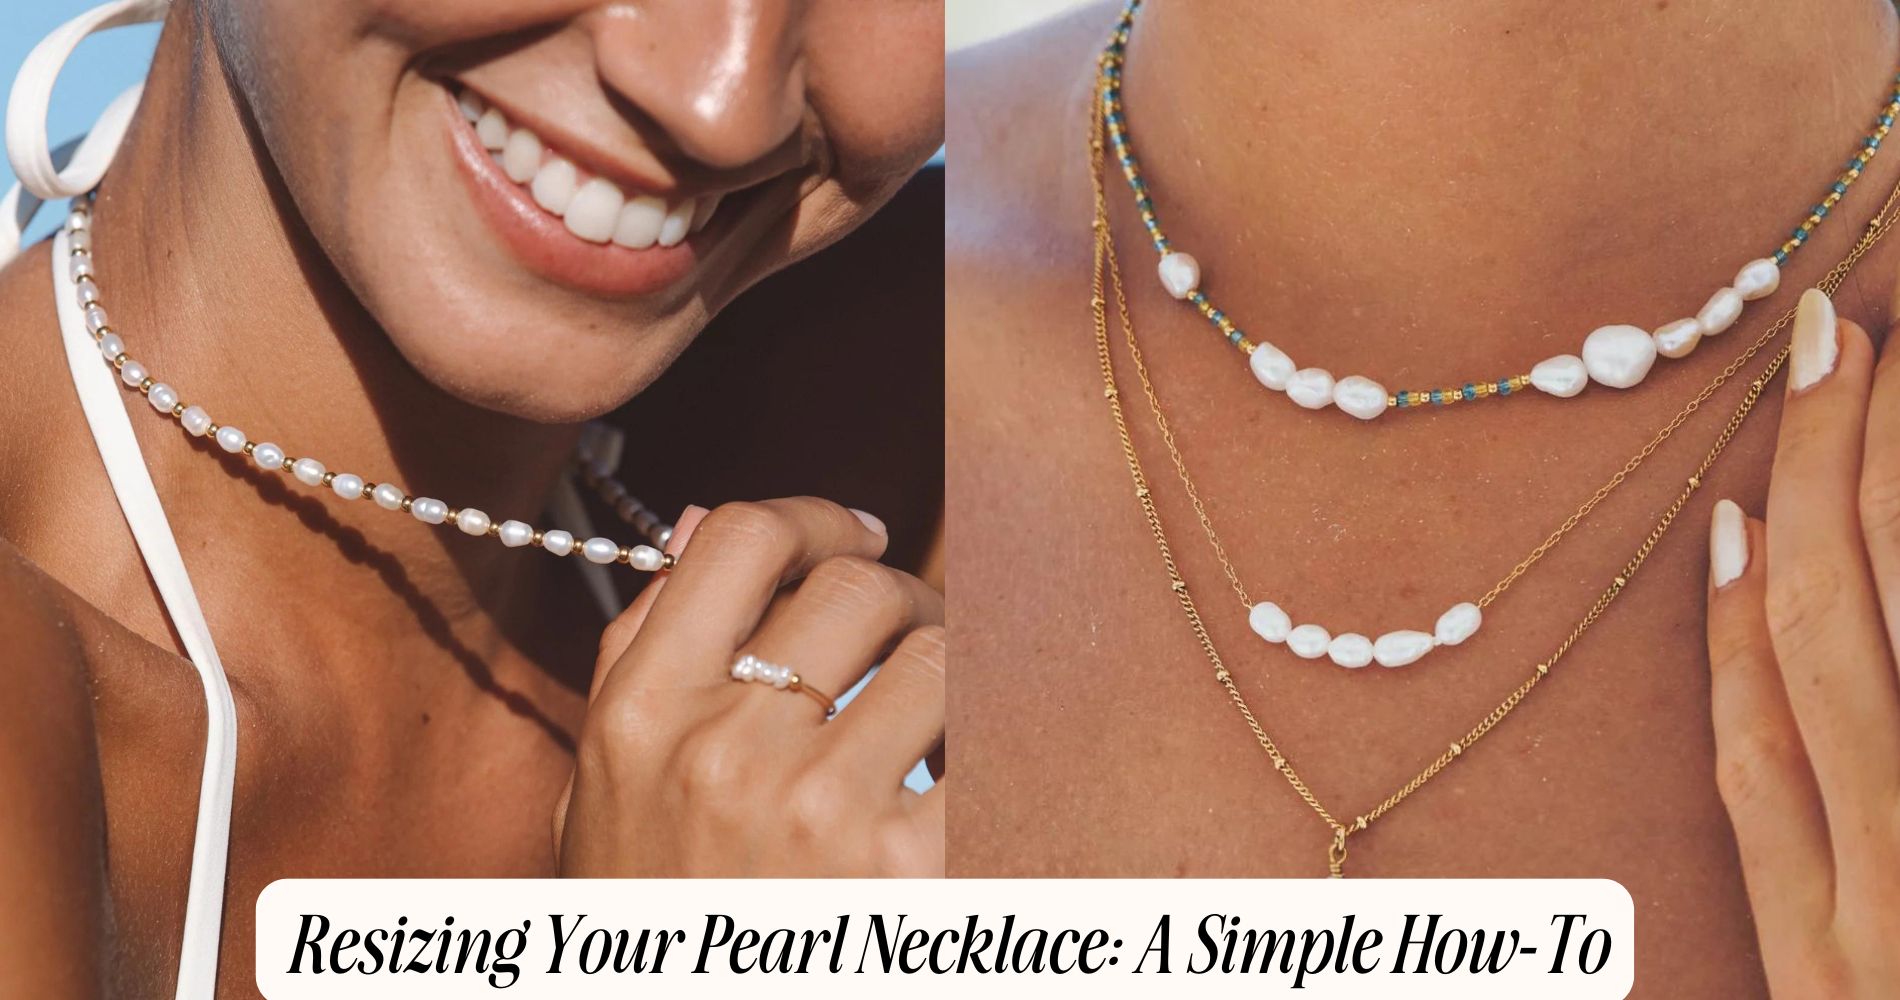
Resizing Your Pearl Necklace: A Simple How-To
Resizing pearl necklaces is a simple yet effective way to rejuvenate your jewelry. Begin by measuring the current length and determining how much to adjust. With essential tools like pliers, beading thread, and scissors, you can carefully remove the clasp, add or remove pearls, and ensure each knot is secure. After achieving the desired length, reattach the clasp and check for evenly spaced pearls for a balanced appearance. Remember to clean and store your necklace properly afterward. Want to dive deeper into the process? There's much more to learn! Also, if you're looking to expand your collection, explore our beautiful Pearl Necklaces.
Assess Your Necklace Length
When it comes to resizing your pearl necklace, understanding its current length is vital. Start by laying your necklace flat on a clean, soft surface. Using a soft tape measure, gently measure the length from one end to the other, ensuring the pearls remain evenly spaced. This measurement will guide your resizing process, whether you're working with classic round pearls or unique baroque shapes.
Different pearl types, such as Akoya, Tahitian, or freshwater, can influence the necklace's overall look and feel. For instance, a stunning strand of Tahitian pearls may require a different approach compared to a delicate Akoya necklace.
While you're evaluating the length, also consider the necklace style you prefer — will it be a choker, a princess length, or perhaps a longer opera style? Each style has its own charm and can accentuate your outfit differently.
Once you've determined the current length and chosen your preferred style, you'll be well-equipped for the next steps in the resizing process. Remember, accurate measurement is essential to achieving that perfect fit and maintaining the elegance of your pearl necklace.
Gather Necessary Tools
Before you begin resizing your pearl necklace, you'll need to gather some essential tools to guarantee precision and safety.
A measuring tape, jewelry wire cutter, and crimping pliers are vital for accurately adjusting the length, while safety goggles will protect your eyes during the process.
With these items in hand, you're ready to transform your necklace with confidence.
Essential Tools Overview
To successfully resize your pearl necklace, you'll need a few essential tools that guarantee the process goes smoothly. First, gather a pair of sharp scissors or wire cutters, vital for cutting any existing string or wire that holds your pearls together.
Next, invest in high-quality beading thread or silk cord, especially suited for various pearl types like freshwater or saltwater, ensuring durability and elegance in your finished piece.
You'll also want a needle designed for beading; a thinner needle makes it easier to thread through smaller pearls found in delicate necklace styles.
Don't forget a ruler or measuring tape—accurate measurements are key to achieving the desired length. A bead tray can also be handy for organizing your pearls as you work, which prevents chaos and helps you visualize the arrangement.
Measuring Necklace Length
Accurate measurements are essential for achieving the perfect length for your resized pearl necklace. To get started, gather a flexible measuring tape, string, or a piece of ribbon, and a ruler. These tools will help you assess the current length and decide on your desired style.
Different necklace styles, like chokers or princess lengths, require various measurements, so knowing your target length is key.
Begin by laying the necklace flat on a soft surface. If you're using a measuring tape, simply follow the curve of the necklace to measure from the clasp to the end of the strand. For string or ribbon, wrap it around your neck where you want the necklace to sit, then cut or mark it. Measure this piece against a ruler to get an accurate length.
When resizing, consider the pearl types in your necklace. Larger pearls may look best in shorter styles, while smaller ones can be strung longer.
Adjusting the length not only enhances the aesthetic but also guarantees comfort. With precise measurements, you'll be well on your way to creating the perfect fit for your treasured piece.
Safety Equipment Required
Once you've measured your necklace and decided on the ideal length, it's time to gather the right safety equipment for the resizing process. First and foremost, you'll need a pair of safety glasses. These will protect your eyes from any small debris that may fly while you're working, especially if you're cutting or manipulating the stringing material.
Next, work gloves are essential. They provide a grip on tools and materials, ensuring you won't accidentally drop anything or injure yourself while handling sharp instruments. Choose gloves that fit well; they should allow for dexterity while still offering protection.
Additionally, you might want to take into account a dust mask if you're working in a particularly dusty environment or if you're using materials that could create fine particles. This extra layer of protection can keep your airways clear.
Lastly, gather your tools: a pair of wire cutters, pliers, and a measuring tape.
With your safety glasses on and gloves secured, you're ready to resize your pearl necklace with confidence, knowing you've taken the necessary precautions to protect yourself.
Remove the Clasp
Before you can resize your pearl necklace, you'll need to carefully remove the clasp.
Grab your tools—specifically, a pair of pliers and a soft cloth to protect the pearls.
As you work, remember to take safety precautions to prevent any damage to your precious jewelry.
Tools Needed for Removal
To successfully remove the clasp from your pearl necklace, you'll need a few essential tools that make the process smooth and efficient. First, grab a pair of fine-tip pliers. These are vital for gripping small components without damaging your pearls or the clasp.
Depending on your necklace style—be it a classic strand or a modern multi-strand design—having a small, flathead screwdriver can also come in handy, especially if your clasp has hidden screws.
Next, consider using a magnifying glass or jeweler's loupe. This tool helps you closely inspect the clasp and identify any intricate details, which is particularly useful for various pearl types, especially when working with delicate materials.
A soft cloth is essential as well; it protects your pearls from scratches during the removal process. Finally, keep a small container nearby to store the clasp and any loose pieces, ensuring they don't get lost in the shuffle.
With these tools at your disposal, you'll be well-equipped to tackle the removal of the clasp efficiently and safely, ensuring your prized pearl necklace remains in pristine condition throughout the resizing process.
Step-by-Step Process
As you prepare to remove the clasp from your pearl necklace, carefully lay the necklace on a soft, flat surface to avoid any potential damage.
Inspect the clasp type—whether it's a spring ring, lobster clasp, or a magnetic closure—each requiring a slightly different approach.
If you're dealing with a spring ring clasp, press the lever gently while pulling the two ends apart. For a lobster clasp, squeeze the lever, and slide it off the adjacent link. Magnetic clasps are even simpler; just pull them apart, but be cautious not to snag the pearls.
Once you've detached the clasp, take a moment to examine the pearl types used in your necklace—whether they're classic Akoya, lustrous South Sea, or unique Tahitian pearls, proper handling is crucial.
If your necklace style features multiple strands, make sure you keep them organized to prevent tangling as you resize.
When you've completed this step, you're one step closer to achieving the perfect fit for your pearl necklace.
Safety Precautions to Consider
Having successfully removed the clasp, it's important to keep safety in mind while handling your pearl necklace. First, make sure your workspace is clean and clutter-free. This minimizes the risk of losing pearls or tools during the resizing process.
Always wear safety glasses when using any sharp tools, like pliers or cutters, to protect your eyes from accidental slips.
When it comes to tool handling, grip your tools firmly but not too tightly, as overexerting can lead to slips. Use appropriate tools specifically designed for jewelry work; they provide better control and reduce the risk of damaging your pearls.
In addition, if you're using any adhesives, make sure you're in a well-ventilated area to avoid inhaling fumes.
Keep your pearls away from direct sunlight or excessive heat, as these can affect their luster and integrity.
Always wash your hands before touching the pearls to maintain pearl safety and prevent oils from your skin from transferring onto the delicate surface.
Add or Remove Pearls
Whether you're looking to create a more extravagant look or simply want to scale back your jewelry collection, adding or removing pearls from your necklace can transform its style.
To begin, decide on the pearl types you want to incorporate. Freshwater, Akoya, Tahitian, or South Sea pearls each offer unique textures and colors that can enhance your necklace's appeal.
If you're adding pearls, carefully select the ones that harmonize with your existing strand. Measure the desired length and verify you have enough pearls to achieve that look.
When inserting the new pearls, use the appropriate knot techniques to secure them. The most common method is the surgeon's knot, which provides extra security and prevents the pearls from sliding.
On the flip side, if you're removing pearls, take your time to avoid damaging the strand. Cut the thread carefully and gently extract the unwanted pearls.
After removing, you may need to re-knot the remaining pearls using the same knot techniques to maintain the necklace's integrity. This careful approach guarantees your pearl necklace remains both beautiful and structurally sound, giving you complete control over its style.
Secure the New Length
Once you've added or removed pearls to achieve your desired length, it's time to secure that new arrangement. First, inspect the string or wire you're using. If it's frayed or worn, replace it before proceeding to guarantee ideal necklace stability. A strong, durable thread will help maintain the integrity of your length adjustment.
Next, gently lay your necklace flat on a soft surface. This helps avoid any tangling or misalignment of pearls. If you're using a knotting technique, make sure each knot is tight and evenly spaced between the pearls. This not only secures the pearls but also enhances the overall aesthetic. For added durability, consider using a drop of jewelry glue on the knots, especially if you've made significant adjustments.
If you're using a beading wire, thread the wire through the pearls and secure it with crimp beads. Position the crimp beads carefully, as they play a crucial role in keeping the pearls in place.
Once you've crimped them securely, trim any excess wire, guaranteeing your necklace remains neat and tidy. This meticulous attention to detail will ensure your pearl necklace looks stunning and maintains its new length for years to come.
Reattach the Clasp
Reattaching the clasp is a crucial step in finalizing your pearl necklace adjustment. Start by choosing the right clasp type for your necklace. Common options include lobster clasps, spring ring clasps, and magnetic clasps. Each type offers different levels of security and ease of use, so pick one that suits your style and preference.
Next, gather your clasp materials. If you're using a metal clasp, make sure it matches the necklace's overall aesthetic—gold, silver, or even a decorative clasp can elevate the design. For a more modern touch, consider using a magnetic clasp, which allows for easy fastening and unfastening.
Now, thread the clasp through the end of the necklace strand. If you're using a lobster or spring ring clasp, attach a jump ring securely to the necklace's end first. Use pliers to close the jump ring tightly, making sure it won't come apart.
If you opted for a magnetic clasp, align the two halves and press them together firmly.
Check for Symmetry
After securing the clasp, it's important to step back and assess the overall look of your pearl necklace.
Start with a symmetry assessment, as this will help you determine if the pearls are evenly distributed. Hold the necklace up to eye level, allowing the light to reflect off the pearls. Look for visual balance; the arrangement should feel harmonious, with no section appearing heavier or more crowded than another.
If you notice uneven spacing or a cluster of pearls in one area, it's time to make adjustments. Gently slide the pearls along the string, redistributing them to achieve that perfect equilibrium.
Pay attention to the size and shape of each pearl; if some are larger or more irregular, position them thoughtfully to maintain visual coherence.
Consider how the necklace will sit on your neck. The best symmetry not only pleases the eye but also guarantees comfort.
Once you're satisfied with the arrangement, take a final look in the mirror. A well-balanced pearl necklace not only enhances your outfit but also showcases your attention to detail and craftsmanship.
Clean Your Necklace
Regularly cleaning your pearl necklace is vital for maintaining its luster and beauty; ideally, you should do this every few months.
Pearls are delicate, so gentle methods are key in your pearl care routine. Start by preparing a clean, soft cloth—preferably cotton or microfiber—to avoid scratching the surface.
Dampen the cloth with lukewarm water and a mild soap, making sure it's not dripping wet. Gently wipe each pearl individually, moving in a straight line rather than circular motions, which can weaken the silk thread over time.
Pay special attention to the areas between pearls, where dirt and oils can accumulate. Avoid using harsh chemicals, as they can damage the nacre.
After cleaning, use a dry, soft cloth to wipe away any moisture. It's important to let your necklace air-dry completely before wearing it again or storing it for necklace maintenance.
If you notice any persistent stains, consult a professional jeweler for assistance.
Store Properly After Resizing
Once your pearl necklace has been resized, proper storage becomes important to preserve its beauty and integrity. To guarantee your pearls maintain their luster, consider using a specialized jewelry box or a lined pouch specifically designed for delicate items. These storage solutions prevent scratches and tangling, which are common dilemmas for pearl jewelry.
When storing, lay the necklace flat rather than hanging it. Hanging can stretch the silk thread and distort the shape over time. If you prefer a more compact solution, opt for a soft cloth that you can wrap around the necklace, providing a protective barrier against dust and moisture.
Be mindful of temperature and humidity; pearls are organic gems that can be affected by drastic changes. A cool, dry place is ideal for necklace maintenance. Avoid storing your pearls in direct sunlight or near heating vents, as this can cause discoloration and damage.
Lastly, keep your pearl necklace away from other jewelry to prevent friction and scratches. By following these simple storage techniques, you'll guarantee your resized pearl necklace remains a stunning accessory for years to come.
Frequently Asked Questions
How Do I Determine the Ideal Length for My Pearl Necklace?
To determine your ideal necklace length, consider your personal style, outfit choices, and neck size. Measure from collarbone to desired drop point, ensuring it complements your look. Experiment with lengths to find your perfect fit.
Can I Resize My Pearl Necklace Without Professional Help?
Yes, you can DIY resize your pearl necklace without professional help. Just make sure you follow proper pearl care techniques to avoid damage. Use quality tools, measure accurately, and secure knots tightly for a polished finish.
What Type of Pearls Can Be Resized?
You can resize various pearl types, like Akoya or freshwater, using simple resizing techniques. Just make sure the pearls' structure allows for adjustments. Always handle them delicately to maintain their beauty and integrity during the process.
How Often Should I Clean My Pearl Necklace?
You should clean your pearl necklace every few months. Use gentle cleaning solutions and follow maintenance tips to preserve its luster. Regular care keeps your pearls beautiful, preventing dirt buildup and ensuring they remain stunning over time.
What Should I Do if a Pearl Gets Damaged?
If a pearl gets damaged, consider pearl repair options like professional re-stringing or gluing. For severe damage, explore pearl replacement methods, ensuring you match the original size and color for a seamless look.
Conclusion
Now that you've resized your pearl necklace, you can enjoy its new length and beauty. Remember, taking your time during each step guarantees a polished finish. With the right care, your pearls will continue to shine and remain a cherished accessory for years to come. So, whether you're dressing up for a special occasion or adding elegance to everyday wear, your personalized necklace is ready to make a statement. Store it properly, and it'll always be there when you need it.









Leave a comment
This site is protected by hCaptcha and the hCaptcha Privacy Policy and Terms of Service apply.