
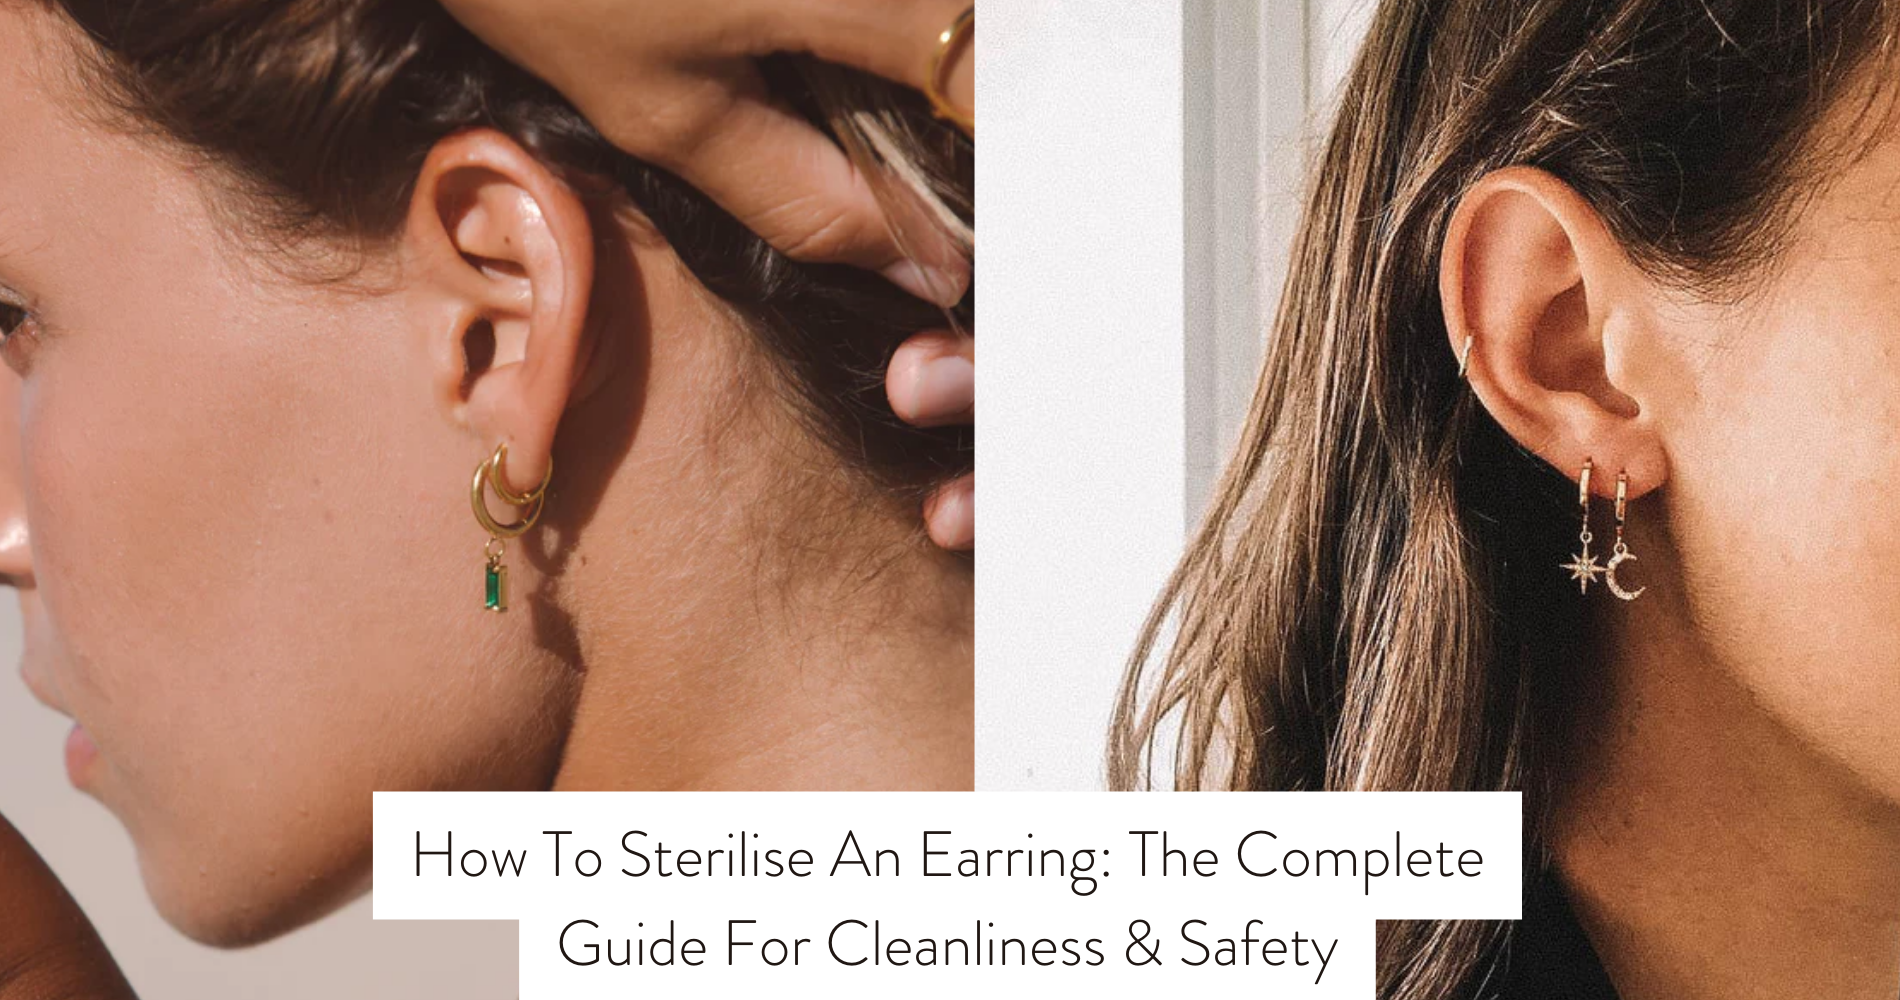
How To Sterilise An Earring: The Complete Guide For Cleanliness & Safety
Looking to guarantee the cleanliness and safety of your earrings? Look no further! This comprehensive guide will enlighten you on the effective sterilization of your earrings, including the use of waterproof earrings. By adhering to these uncomplicated steps, you can uphold cleanliness and ensure the safety of your ear piercings.
Initially, you will explore the various sterilization methods available and understand how to select the most suitable one for your earrings.
Subsequently, we'll delve into the essential supplies you need to gather, including those specifically designed for waterproof earrings.
Following that, we'll guide you through the step-by-step process of sterilizing your earrings, with a focus on maintaining the integrity of waterproof earrings.
Lastly, we'll furnish you with indispensable aftercare and maintenance tips to guarantee that your earrings, especially waterproof ones, remain germ-free.
Prepare to showcase your earrings with confidence, reassured by the knowledge that they are both clean and safe!
Choosing the Right Sterilisation Method
When sterilizing an earring, it's important to consider the right method to ensure cleanliness and safety. There are several options available, each with its own pros and cons.
One common mistake people make is using alcohol as the sole sterilization method. While alcohol does have some disinfectant properties, it isn't effective in killing all types of bacteria and viruses that may be present on the earring. Additionally, using alcohol can dry out the earring and irritate the skin.
Another common mistake is using boiling water to sterilize the earring. While boiling water can kill most germs, it may not be able to reach all the crevices and small parts of the earring, leaving some bacteria behind.

Gather the Necessary Supplies
First, gather the necessary supplies for sterilising your earring. To ensure proper sterilisation, you'll need sterilisation equipment and cleaning solutions. The sterilisation equipment can include a small pot or saucepan, a pair of tongs or tweezers, and a clean cloth or paper towels. These items will help you create a sterile environment for your earring.
Next, you'll need cleaning solutions. Two commonly used solutions for sterilising earrings are rubbing alcohol and hydrogen peroxide. These solutions are effective in killing bacteria and germs that may be present on your earring. You can find these solutions at your local pharmacy or grocery store. Make sure to choose a solution with a high alcohol content for optimal sterilisation.
Additionally, you may want to have some cotton swabs or cotton balls on hand. These can be used to apply the cleaning solutions to your earring. They provide a convenient and precise way to ensure that the entire earring is thoroughly cleaned and sterilised.
Preparing Your Earrings for Sterilisation
To prepare your earrings for sterilisation, assess their condition and cleanliness. Before you begin the sterilisation process, it's crucial to ensure that your earrings are in good condition and free from any dirt, debris, or residue. This is important because sterilisation techniques work best on clean surfaces, and any contaminants can hinder the effectiveness of the process.
First, carefully examine your earrings for any visible signs of damage or wear. Check if the earring backs are secure, and if there are any loose or missing components. If you notice any issues, it's advisable to repair or replace the earrings before proceeding with sterilisation.

Next, clean your earrings thoroughly using a mild soap and warm water. Gently scrub the earring surface, paying special attention to any crevices or hard-to-reach areas. Rinse them well to remove all traces of soap residue.
Once your earrings are clean, they're ready for sterilisation. Remember that cleanliness is key to effective sterilisation. By ensuring that your earrings are in good condition and free from any dirt or debris, you're maximizing the chances of achieving a safe and hygienic result.
Step-by-Step Sterilisation Process
To ensure the cleanliness and safety of your earrings, it's important to follow a step-by-step sterilisation process. By using proper sterilisation techniques, you can prevent infections and keep your earrings in top condition.
The first step in the sterilisation process is to gather all the necessary materials. You'll need rubbing alcohol, a clean cloth or paper towel, and a small container to hold the alcohol. Make sure the container is clean and has a lid to prevent contamination.
Next, take your earrings and remove any dirt or debris by gently wiping them with a clean cloth or paper towel. Be careful not to use any harsh chemicals or abrasive materials that could damage the earrings.
Once the earrings are clean, it's time to sterilise them. Place the earrings in the container and pour enough rubbing alcohol over them to fully submerge them. Let them soak for at least 5 minutes to ensure that any bacteria or germs are killed.
After the earrings have soaked, carefully remove them from the alcohol using clean tweezers or a clean cloth. Allow them to air dry completely before wearing them again.
Following these steps will help maintain proper earring hygiene and ensure that your earrings are clean and safe to wear. Remember to regularly sterilise your earrings to prevent any potential infections.
Aftercare and Maintenance Tips
To ensure the ongoing cleanliness and safety of your earrings, it's essential to follow proper aftercare and maintenance tips. After getting your ears pierced or wearing earrings, it's crucial to focus on healing and preventing infections.
- Always keep the pierced area clean and dry. Avoid touching your earrings with dirty hands and make sure to clean the area around your earrings with a saline solution or an alcohol wipe.
- It's important to avoid swimming in pools, hot tubs, or any bodies of water until your ears are fully healed to prevent any potential infections.

Proper storage and organization of your earrings is also vital for maintaining their cleanliness and preventing damage.
- Invest in a jewelry box or a storage tray designed specifically for earrings. This will help you keep them organized and prevent them from getting tangled or lost.
- Store your earrings in a clean and dry environment, away from dust, moisture, and direct sunlight.
Regularly inspect your earrings for any signs of damage, such as loose or missing stones, bent posts, or tarnished surfaces.
- If you notice any issues, promptly address them by visiting a professional jeweler for repairs or replacing the earrings if necessary.
Frequently Asked Questions
Can I Use the Same Sterilisation Method for All Types of Earrings, Including Studs, Hoops, and Dangle Earrings?
You can't use the same sterilization method for all types of earrings. Different earrings, like studs, hoops, and dangle earrings, require different sterilization methods. Each method has its pros and cons.
Is It Safe to Sterilise Earrings Made of Materials Other Than Metal, Such as Plastic or Wood?
Yes, it is safe to sterilize earrings made of materials other than metal, such as plastic or wood. There are specific sterilization methods for non-metal earrings that can be effective in ensuring cleanliness and safety.
How Often Should I Sterilise My Earrings to Maintain Cleanliness and Prevent Infections?
To maintain cleanliness and prevent infections, you should sterilize your earrings regularly. The frequency may vary depending on your skin sensitivity. For earrings with gemstones, follow recommended sterilization methods to ensure their safety.
Can I Sterilise My Earrings Using Home Remedies or Natural Solutions?
Boiling water is a safe and effective method to sterilise earrings. However, there are also natural alternatives to commercial sterilising solutions, such as vinegar or hydrogen peroxide, that can be used.
Are There Any Potential Risks or Side Effects Associated With Sterilising Earrings?
There may be potential risks and side effects associated with sterilising earrings. To minimize these, it is important to properly sterilise them using the recommended methods.
Conclusion
Now that you have learned the complete guide for sterilising earrings, you can ensure cleanliness and safety.
By choosing the right sterilisation method, gathering necessary supplies, and following the step-by-step process, your earrings will be free from bacteria and ready to wear.
Remember to follow the aftercare and maintenance tips to keep your earrings clean and safe for future use.


Leave a comment
This site is protected by hCaptcha and the hCaptcha Privacy Policy and Terms of Service apply.