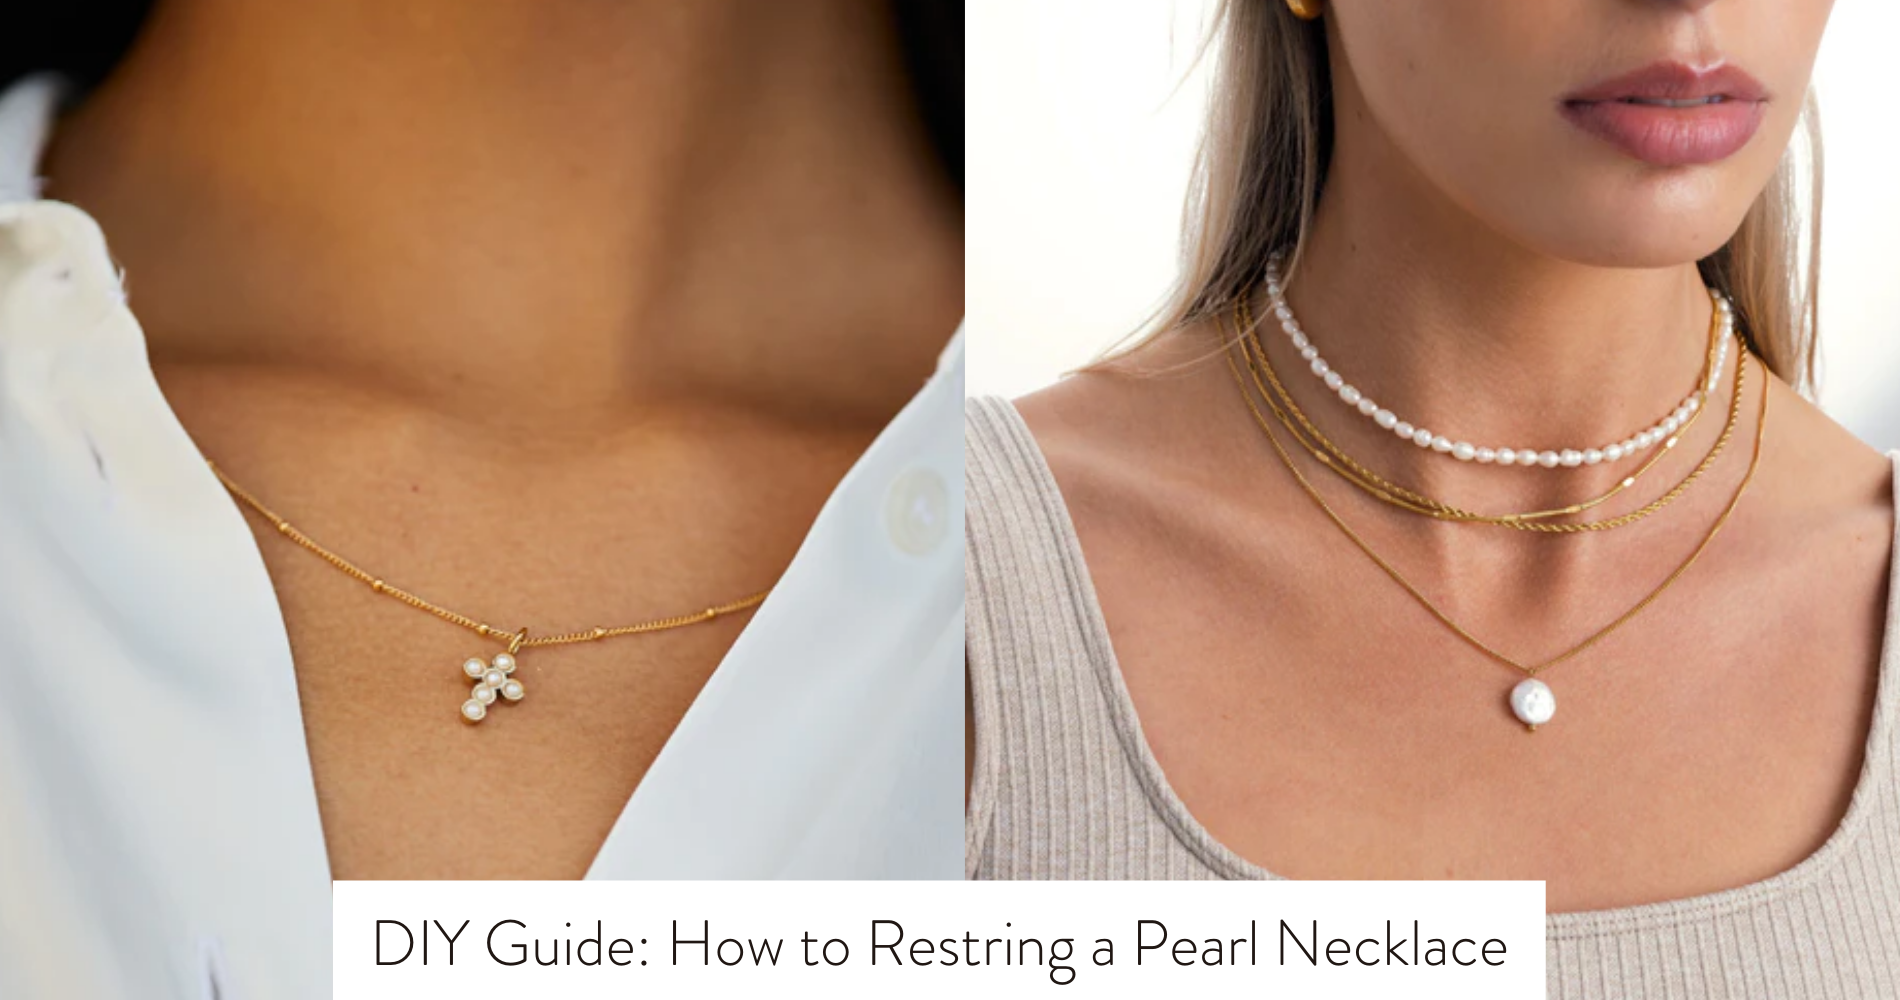
DIY Guide: How to Restring a Pearl Necklace
Necessary Tools and Materials
When restringing a pearl necklace, gather the necessary tools and materials to ensure a smooth and efficient process. The primary tools you'll need include a fine silk cord, a beading awl, jewelry glue, scissors, and a clasp. The silk cord is crucial as it provides a gentle foundation for the delicate pearls. A beading awl helps with knotting and positioning the pearls correctly, ensuring they're evenly spaced. Jewelry glue is essential for securing the knots and adding extra reinforcement. Scissors are necessary for cutting the cord to the desired length and trimming excess material. Lastly, the clasp is what'll keep your necklace securely fastened when worn.
In addition to these tools, you'll require a soft cloth to lay out your pearls and prevent them from rolling away. Having a well-lit workspace with ample room to maneuver will also make the process more manageable. With these tools and materials at hand, you're ready to begin restringing your precious pearl necklace.
Preparing the Workspace
To set up an ideal workspace for restringing your pearl necklace, ensure you have a clean, well-lit surface with ample space to lay out your tools and materials. A clutter-free area will make it easier to keep track of all the components needed for the restringing process. Choose a well-lit spot to prevent eye strain and ensure you can see the fine details of the pearls and thread. Having enough space to spread out your tools like the tweezers, new silk thread, and clasp will help you work efficiently without feeling cramped.
Make sure your workspace is comfortable, with a supportive chair to prevent any unnecessary strain on your back or neck. Additionally, consider using a soft cloth or mat to protect the surface you're working on and prevent your pearls from rolling away. By preparing your workspace thoughtfully, you can create an environment that promotes focus and precision, making the restringing process smoother and more enjoyable.
Removing the Old Thread
If the pearl necklace is already strung, carefully cut and remove the old thread using sharp scissors. Start by laying the necklace on a flat surface and locating a knot or the end where the thread is secured. Gently snip the thread close to the knot or end, being cautious not to damage the pearls. Once the thread is cut, slowly pull it out from the pearls, ensuring each one is freed from the old thread. Take your time to prevent any pearls from rolling away or getting lost.
As you remove the old thread, inspect each pearl for any damage or signs of wear. This is a good opportunity to clean the pearls with a soft cloth if needed. Keep the pearls in the order you removed them to make it easier when you restring the necklace. Once all pearls are free from the old thread, you're ready to move on to the next step of restringing them onto a new thread.
Stringing the Pearls
Before you begin stringing the pearls, make sure you have all the necessary materials handy: your pearls, new silk thread, a beading needle, scissors, and a clasp. Start by cutting a length of thread that's about two feet longer than the desired necklace length to allow for knotting and trimming. Thread the needle and tie a secure knot at one end of the thread.
Next, carefully begin stringing the pearls onto the thread in the desired pattern or arrangement. Take your time to ensure the pearls are evenly spaced and sitting snugly against each other. Gently slide each pearl down the thread, being cautious not to damage the pearls.
Once all the pearls are strung, you may want to add knots between each pearl to prevent them from rubbing against each other. This not only protects the pearls but also adds a stylish touch to the necklace. After knotting, secure the clasp to the ends of the thread, and your pearl necklace is now successfully restrung and ready to wear.
Finishing Touches and Care
For a polished look and to maintain the luster of your pearl necklace, consider adding a protective coating or storing it in a soft pouch when not in use. A protective coating, like a thin layer of mineral oil, can help shield the pearls from the natural oils on your skin and prevent them from drying out. When storing your necklace, keep it away from other jewelry to prevent scratching, and avoid exposing it to direct sunlight or harsh chemicals.

Regularly wipe your pearls with a soft, damp cloth to remove any dirt or residue that may have accumulated. Avoid using harsh cleaners or abrasive materials that can damage the delicate surface of the pearls. It's also a good idea to have your pearl necklace restrung every few years to prevent any potential breakage and ensure the knots are secure.
Frequently Asked Questions
Can I Use Any Type of Thread or Wire to Restring a Pearl Necklace, or Is There a Specific Type That Works Best?
You should choose a specific type of thread or wire when restringing a pearl necklace. It's best to use silk thread because it's gentle on pearls and provides a secure hold. Other materials may damage your pearls.
How Often Should I Restring My Pearl Necklace to Ensure Its Longevity?
To ensure the longevity of your pearl necklace, restring it every 1-2 years. Regular restringing prevents wear and tear on the thread, keeping your pearls secure. Maintaining this schedule will help preserve the beauty of your necklace.
Are There Any Special Techniques or Tips for Restringing a Pearl Necklace With a Complicated or Unique Design?
When restringing a pearl necklace with a complex design, take your time and carefully thread each pearl. Use a soft surface to prevent scratching and ensure the knots are secure. Patience and precision are key.
Can I Mix Different Types of Pearls or Beads on the Same Necklace When Restringing Them?
Yes, you can mix different types of pearls or beads on the same necklace when restringing them. It adds a unique and personalized touch to your jewelry. Ensure they complement each other in terms of size, color, and style.
Are There Any Alternative Methods to Restringing a Pearl Necklace That I Could Consider if I Don't Have the Necessary Tools or Materials?
If you lack tools or materials for restringing a pearl necklace, consider using fishing line or dental floss as alternatives. These options can work in a pinch and still provide a temporary solution to keep your necklace intact.
Conclusion
You've successfully rethreaded your pearl necklace!
Remember to take care of your newly restrung necklace by storing it in a jewelry box or pouch to avoid tangling.
If your pearls start to look dull, gently wipe them with a soft cloth.
Enjoy wearing your refreshed necklace with confidence knowing you can tackle this DIY project again if needed.
Great job!












Leave a comment
This site is protected by hCaptcha and the hCaptcha Privacy Policy and Terms of Service apply.