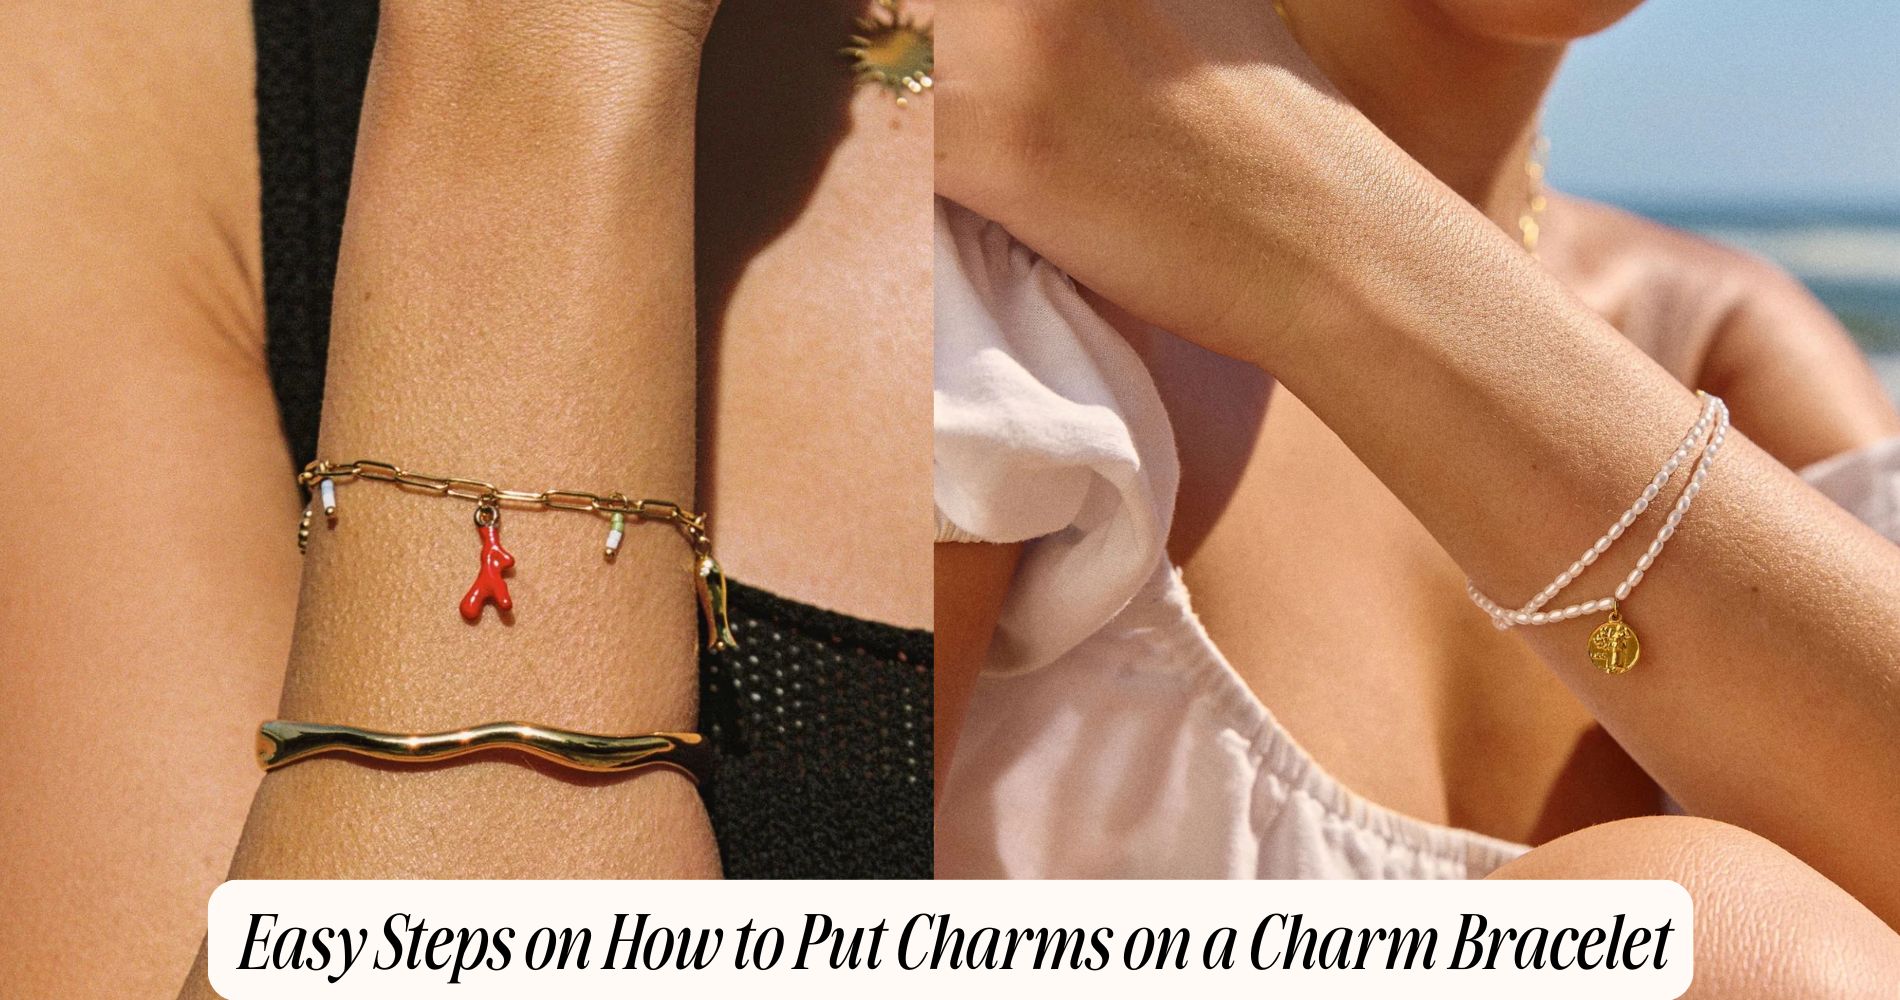
Easy Steps on How to Put Charms on a Charm Bracelet
If you're wondering how to put charms on a charm bracelet, start by selecting a bracelet with links or a chain style that's compatible with your chosen charms. Use flat-nose and chain-nose pliers to gently twist open each jump ring or clasp, slide the charm onto the desired link, then close it securely. For a polished look, space your charms evenly and double-check that each closure is tight. Need inspiration? Browse our beach bracelets collection for styles that are perfect for personalizing. There’s so much more to explore when it comes to creative arrangement and customization.
Choosing the Right Bracelet and Charms
Selecting the ideal foundation for your charm bracelet begins with evaluating the bracelet’s material, clasp type, and chain style to confirm compatibility with your chosen charms.
When choosing materials, consider hypoallergenic metals like surgical steel or sterling silver for sensitive skin, or opt for gold-plated or enamel finishes for visual interest.
Examine the clasp mechanism—lobster, spring ring, or toggle—to guarantee ease of use and secure closure.
Assess chain styles such as cable, snake, or curb, matching link size to the charm attachment method.
When selecting themes, curate charms that reflect personal milestones, hobbies, or aesthetic motifs for a cohesive look.
Prioritize proportional balance between bracelet and charms, maintaining both structural integrity and visual harmony.
This groundwork ensures long-lasting and stylish customization.
Gathering the Necessary Tools
Before attaching charms, you'll need a small set of specialized tools to guarantee precise, secure placement.
Begin by gathering two pairs of jewelry pliers: flat-nose pliers for gripping and chain-nose pliers for maneuvering tight angles. These tools minimize damage to delicate bracelet links and charm components.
Depending on the charm types—lobster clasp, split ring, or jump ring—you might also require a magnifying glass for fine detail work and a soft cloth to protect your workspace.
If your charms use screw-in or threaded attachments, a miniature screwdriver set may be necessary.
Assess the tools needed based on your chosen charm types to streamline the design process.
Organizing your workspace and tools ahead of time guarantees efficiency and maintains the integrity of your charm bracelet.
Opening Jump Rings or Charm Clasps
Grip the jump ring securely with your flat-nose pliers while stabilizing the opposite side with your chain-nose pliers to prevent distortion.
Use precise jump ring techniques by gently twisting one wrist forward and the other backward, opening the ring laterally instead of pulling it apart. This motion preserves the circular integrity of the jump ring and guarantees proper alignment when closed.
Evaluate charm clasp types—such as lobster clasps, spring rings, or hinged bails—before opening, as each requires a tailored approach.
For lobster and spring ring clasps, operate the built-in mechanism to open the clasp without applying excessive force. Always avoid overextending any hardware to maintain structural strength.
Careful handling during this step is essential for both design aesthetics and long-term durability of your bracelet.
Attaching Charms to the Bracelet
With your jump ring or charm clasp open, position the charm so its attachment point aligns precisely with the chosen bracelet link. Confirm the orientation complements both the charm type and the bracelet style—this prevents tangling and enhances visual flow.
Slide the open jump ring or clasp through the charm’s loop and directly onto the selected link. For modular bracelet styles like snake chains, insert the charm between stopper beads for secure placement. For traditional chain styles, select a sturdy link that can bear the charm’s weight.
Take note of the charm types—dangle, spacer, or fixed—since each requires a specific placement technique to maintain aesthetic balance.
Continue attaching each charm in sequence, spacing them evenly for a cohesive, intentional bracelet design.
Securing and Closing the Charms
Once each charm sits in its designated position, confirm their security by carefully closing the jump rings or clasps.
Use two pairs of flat-nose pliers for ideal control—grip each side of the jump ring, then twist gently to align the ends perfectly. Avoid pulling the ring apart, as this can compromise charm safety and weaken the metal.
Inspect each closure for gaps; even a slight opening can cause a charm to detach and disrupt your charm design. For lobster or spring clasps, verify the mechanism snaps shut firmly.
Double-check each connection under good lighting, confirming stability and alignment with the bracelet’s structure. By focusing on precise closure techniques, you preserve both the integrity of your bracelet and the longevity of your unique charm design.
Arranging and Customizing Your Bracelet
After confirming each charm is securely fastened, evaluate the bracelet’s overall aesthetic by considering symmetry, spacing, and thematic flow.
Analyze charm placement along the chain, ensuring balanced distribution to avoid visual clutter or excessive gaps. Group similar materials, motifs, or color tones to create cohesive sections, or alternate contrasting charms for dynamic visual interest.
Prioritize proportion by interspersing larger statement pieces with smaller, subtle accents.
Reflect your personal style by selecting a central focal point—such as a signature charm—and arranging supporting charms to enhance its prominence.
Experiment with different configurations, rotating charms as needed to achieve the desired effect. Fine-tune spacing to maintain comfort and prevent tangling during wear.
Through deliberate arrangement and customization, you’ll create a charm bracelet that’s both functional and uniquely yours.
Frequently Asked Questions
How Do I Clean and Maintain My Charm Bracelet?
To clean your charm bracelet, use gentle cleaning techniques such as a soft cloth and mild soap solution. For maintenance tips, regularly inspect clasps, check for tarnish, and store in a dry, compartmentalized jewelry box to prevent abrasion.
Are Charm Bracelets Suitable for Sensitive Skin?
If you've got sensitive skin, you should select charm bracelets crafted from hypoallergenic materials like surgical-grade stainless steel or titanium. These reduce the risk of allergic reactions, ensuring your jewelry design remains both stylish and skin-friendly.
Can I Mix Metals on One Charm Bracelet?
You can absolutely mix metals on one charm bracelet. This design choice enhances visual interest and showcases various charm styles. Embrace mixed-metal contrasts—combining gold, silver, and rose gold creates dynamic interplay that elevates your bracelet’s overall aesthetic.
What Do I Do if a Charm Falls Off?
If a charm falls off, immediately inspect the clasp mechanism for wear. For charm replacement options, select compatible findings. Apply charm safety tips like using split rings or soldered jump rings to enhance structural integrity and prevent recurrence.
How Do I Store My Charm Bracelet Safely?
For ideal bracelet storage and charm organization, use a compartmentalized jewelry box with anti-tarnish lining. Secure each charm in individual sections to prevent abrasion. Avoid humidity and direct sunlight, ensuring your charm bracelet maintains integrity and aesthetic appeal.
Conclusion
Now that you’ve mastered the process, you can efficiently integrate charms onto your bracelet with precision. By selecting compatible charms and using the correct pliers, you’ll guarantee secure attachment via jump rings or clasps. Always verify each connection’s closure to maintain structural integrity. Strategically arrange charms for ideal visual balance and personal expression. With these technical skills, you can continually revise your bracelet’s design, achieving both durability and a customized aesthetic. Your bracelet is now distinctly your own.










Leave a comment
This site is protected by hCaptcha and the hCaptcha Privacy Policy and Terms of Service apply.