

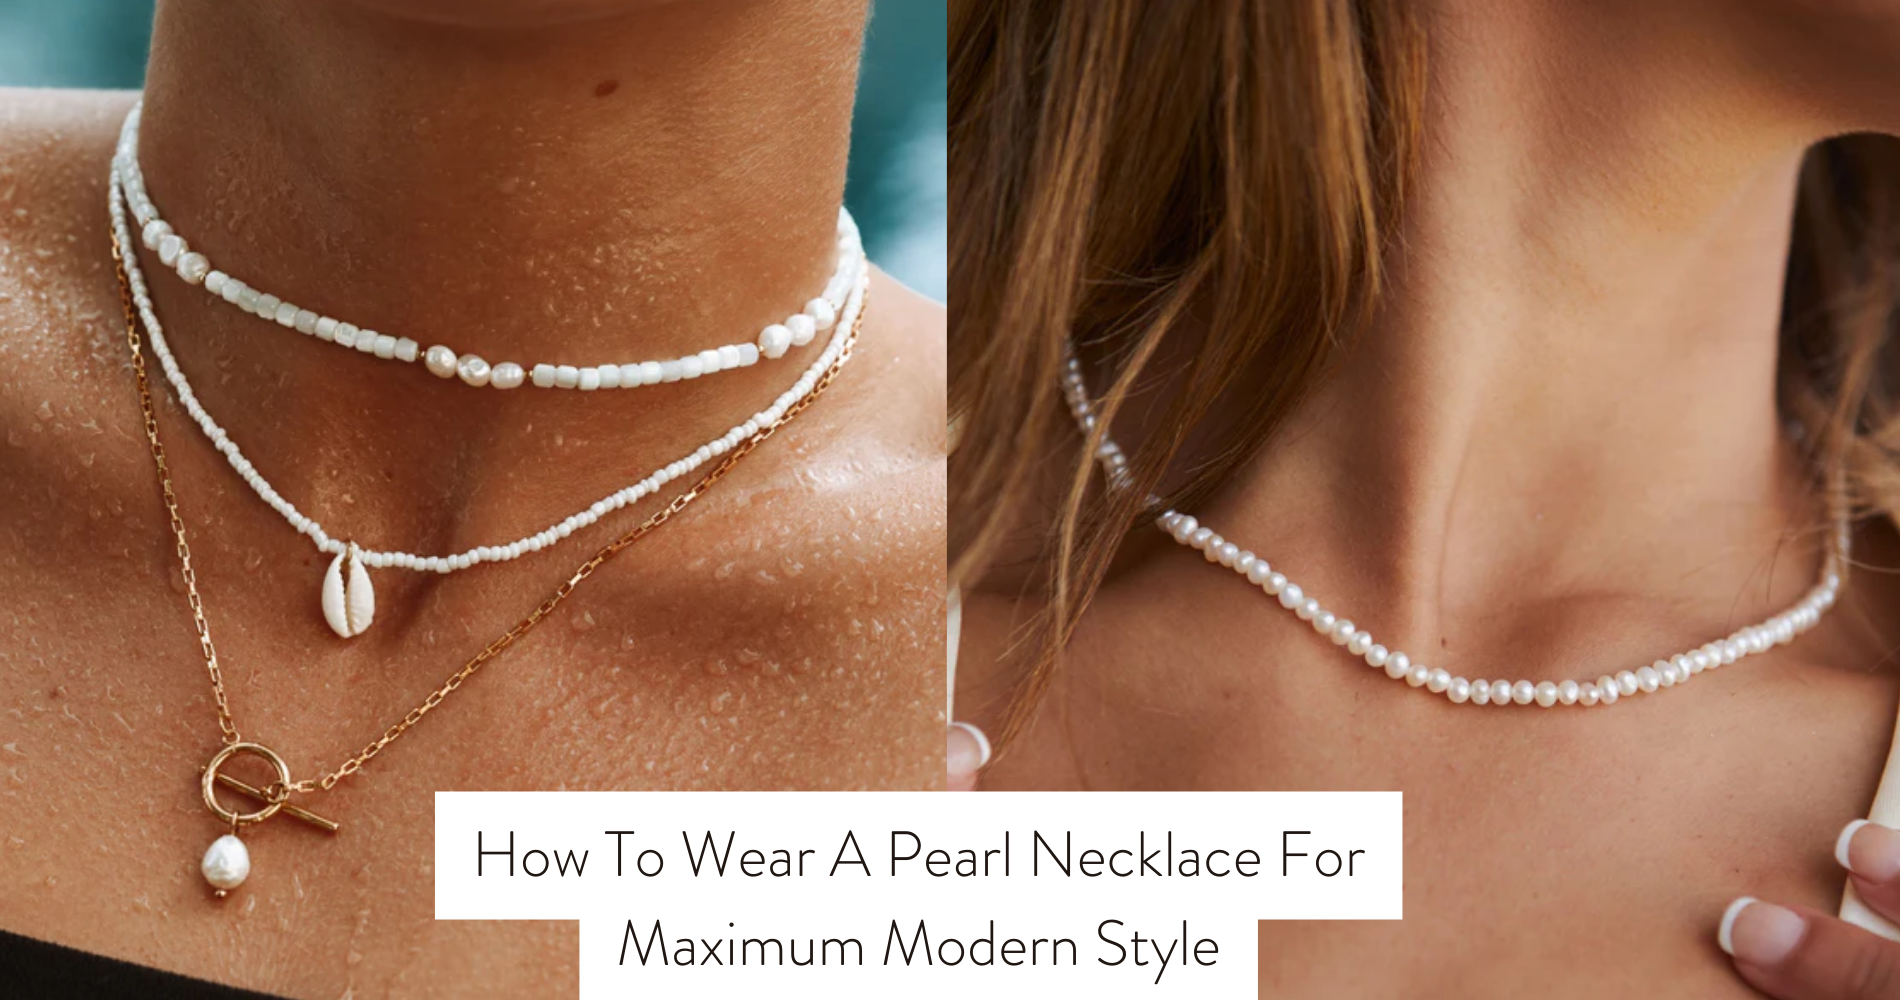
Here is a simple tutorial to stop your necklaces from tangling when you layer them — and once you know this trick, you'll wonder why you ever did it any other way.
Layered necklaces are one of the easiest ways to elevate any outfit. A choker, a mid-length chain, a longer pendant — stacked together, they look effortless and intentional. But getting there? That's where most people hit a wall. You put on one necklace, then another, and by the time you've done the third clasp at the back, the first two are already tangled into a knot you'll spend five minutes trying to undo.
The good news: there's a fix. It's simple, it works with any necklaces you already own, and it takes about ten seconds once you get the hang of it.
"Perfectly layered, zero tangling, zero effort — it takes about ten seconds once you get the hang of it."
Why Do Layered Necklaces Tangle?
Before getting into the technique, it helps to understand why tangling happens in the first place. When you put on multiple necklaces separately, each chain is completely independent. They move freely around your neck — crossing over each other, looping under each other — and every time you move, the chains shift again. By the end of the day, you've got a knot that looks like it took hours to create.
The problem isn't the necklaces. It's the method. When chains are free to move independently, tangling is inevitable. The solution is to stop them from moving independently.

The Necklace Layering Hack: Step by Step
This technique works with any chain-style necklaces — delicate, chunky, short, long. The only requirement is that each necklace has a standard lobster or spring ring clasp. Here's exactly how to do it:
Lay out all the necklaces you want to wear. Take the clasp of the first necklace and fasten it onto the chain of the second one — not its clasp, but somewhere along the chain itself. Then take the clasp of the second necklace and fasten it onto the chain of the third. Keep going until all your necklaces are connected end to end. You now have one single long chain.
Hold the chain and start wrapping it around your neck. Each wrap corresponds to one necklace — so if you're layering three necklaces, you'll wrap three times. The chain naturally wants to sit in layers as you wrap, which is exactly the look you're going for.
Bring the two ends together at the back of your neck and clasp them. Then slide each loop around until the spacing and lengths look exactly how you want them. Shorter chains will sit higher, longer ones lower — adjust until every layer is visible and sits cleanly.
That's the whole technique. Because all the chains are connected and wrapped together, they move as one unit instead of crossing over each other throughout the day. No knots, no readjusting, no frustration.
Watch the technique in action
The full technique demonstrated in under 30 seconds.
Pro tip
When linking your clasps, start with the longest necklace and work up to the shortest. This way, when you wrap, the longest chain naturally falls to the outermost (lowest) layer and the shortest sits closest to your neck — exactly where you want them, with almost no adjustment needed.
What Necklaces Work Best for Layering?
The technique works with most chain-style necklaces. Here's what makes the difference between a good layering stack and a great one:
- Lightweight chains — Thin, delicate chains layer the cleanest. Heavy chains can make the stack feel bulky and are harder to link together.
- Different lengths — Aim for at least an inch of difference between each chain. If two necklaces sit at the same length, they'll blend together instead of reading as distinct layers.
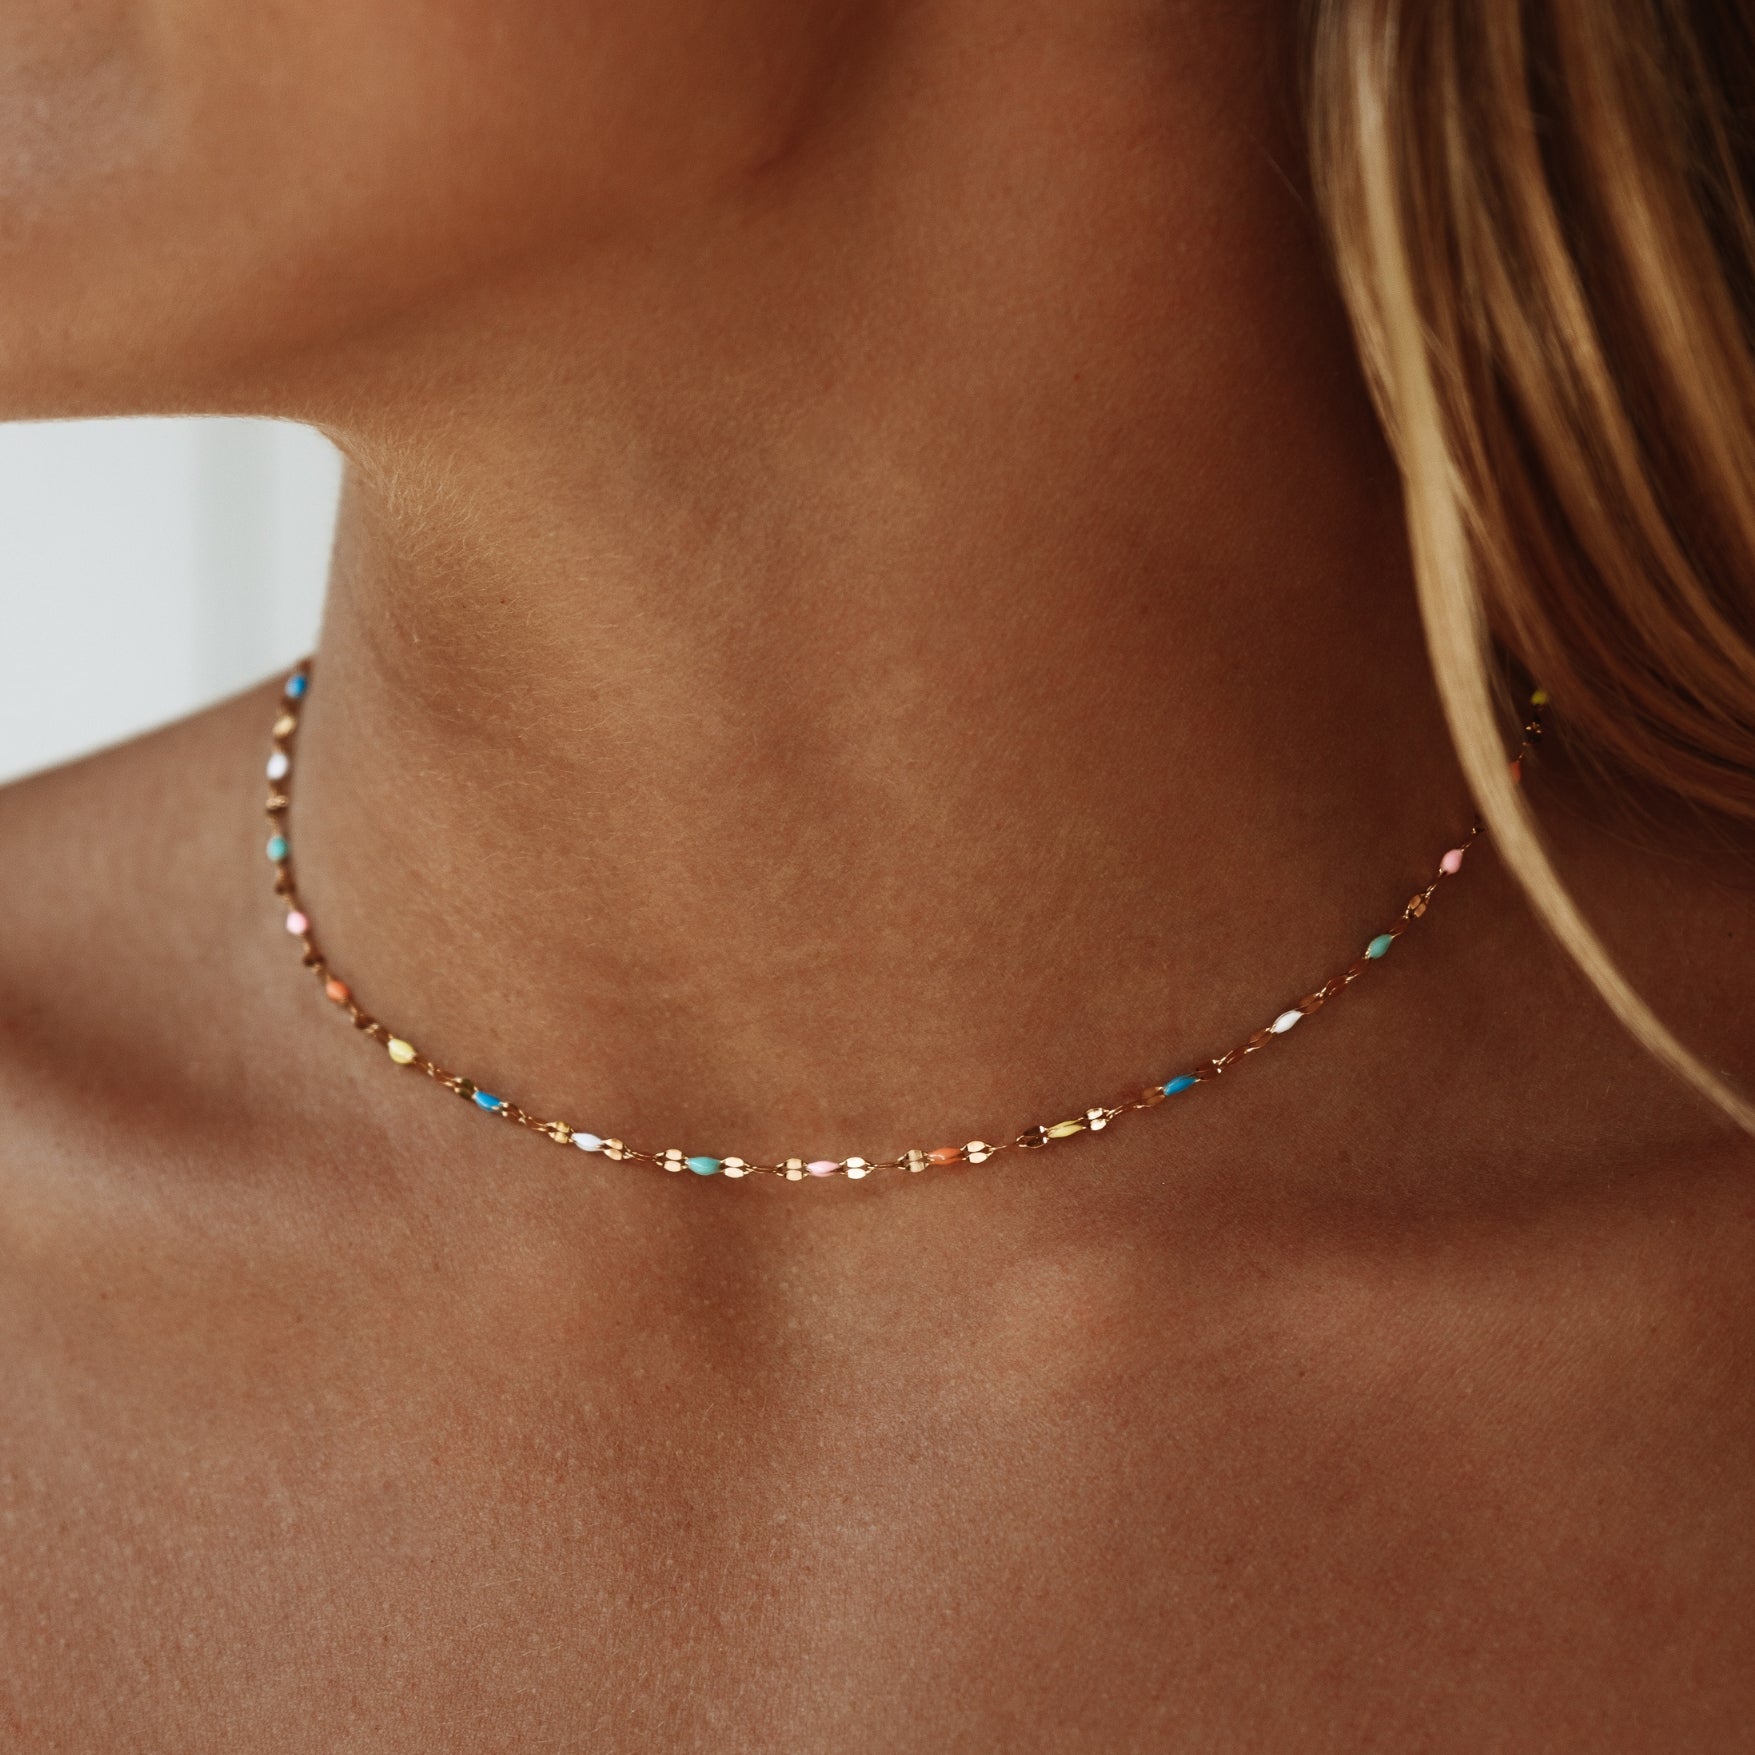
- Varied textures — A flat chain next to a herringbone next to a box chain gives the eye something interesting to follow. Identical chains in different lengths works too, but mixing textures makes the stack feel more curated.
- Consistent metal tone — Gold on gold, silver on silver. Mixing metals can look intentional once you have an eye for it, but matching metals is the easiest way to make a layered stack feel cohesive.
Why waterproof necklaces are ideal for everyday layering
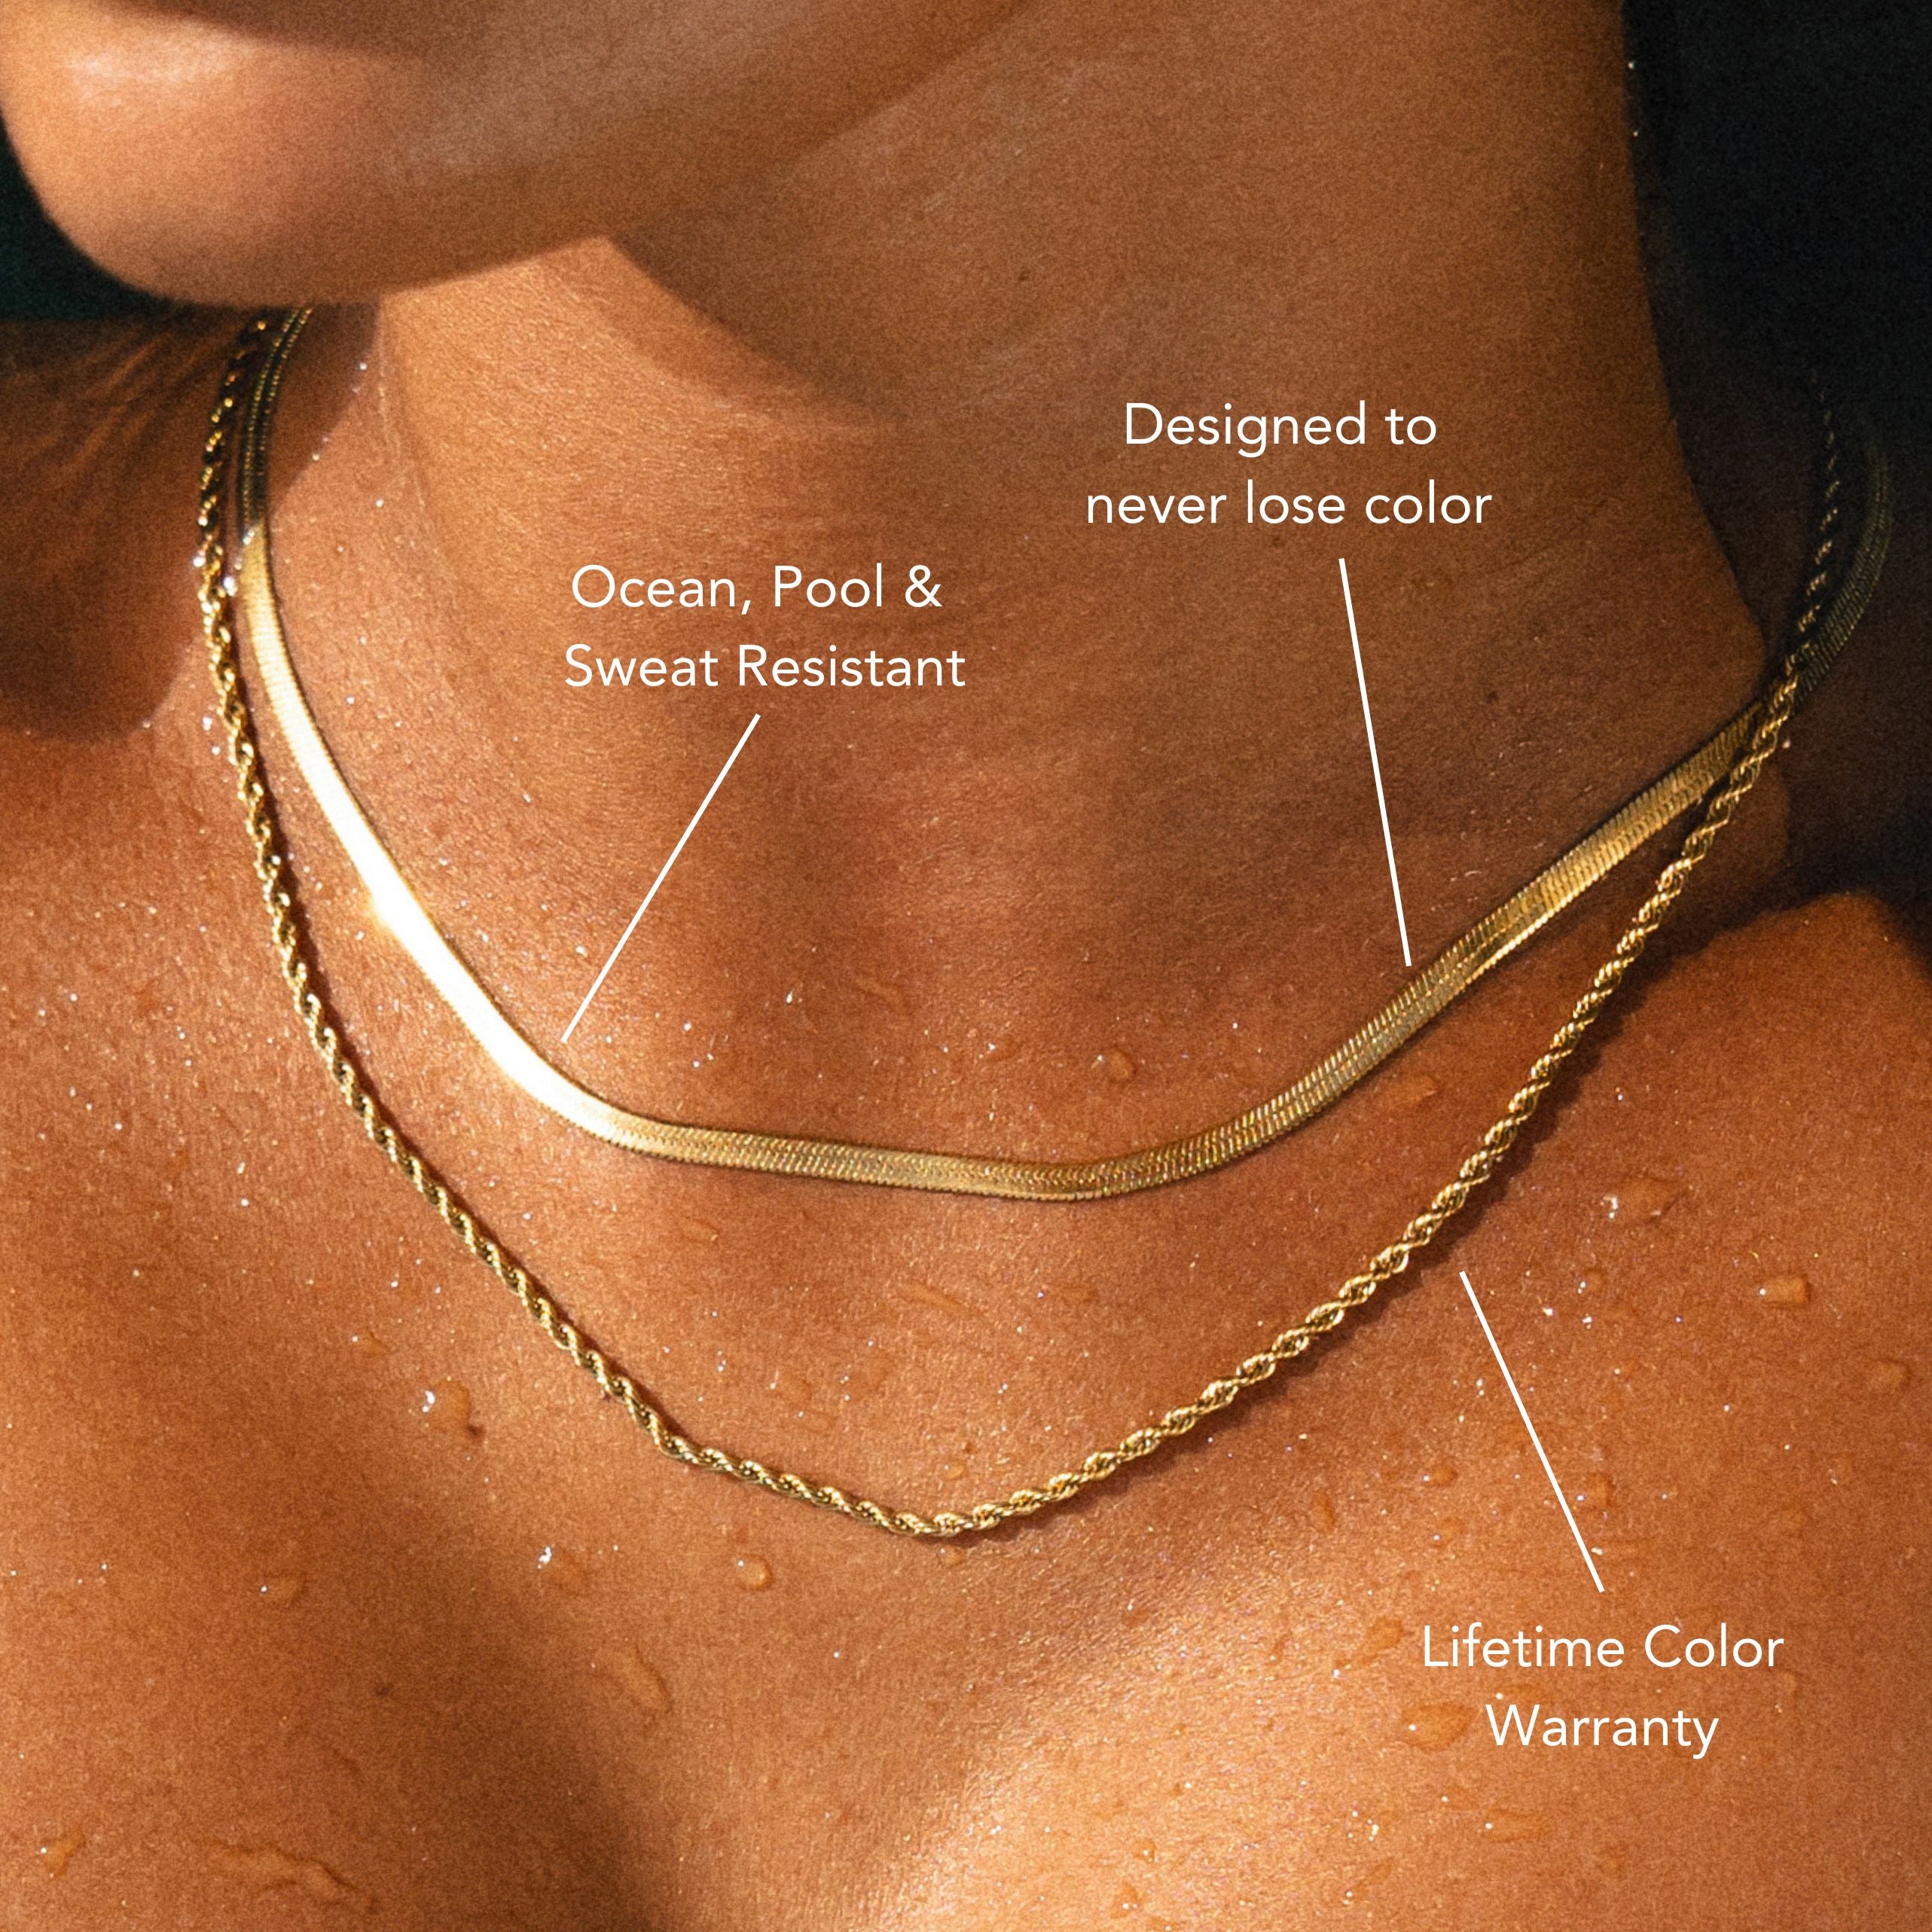
If you're wearing a layered stack every day, you need necklaces that can actually keep up. Waterproof, tarnish-free necklaces mean you put your stack on once and don't have to think about it — no removing before the shower, the gym, or the beach, and no green marks on your skin. All Atolea necklaces are built for exactly this kind of wear.
How to Build the Perfect Layered Stack
Once you've mastered the no-tangle technique, the next step is building a stack that actually looks great. Here's how to approach it:
Start with a foundation piece
Pick one necklace as your anchor — usually a simple chain or a delicate pendant at a mid-length (around 16–18 inches). Everything else gets built around it. Your foundation piece should be something you'd wear on its own too.
Add contrast above and below
Layer shorter above and longer below. A 14-inch choker and a 20-inch chain framing your foundation piece gives you an immediate three-layer look. Add a fourth at 24 inches if you want more drama.
Mix in a statement piece
One piece with a pendant, a charm, or a slightly chunkier chain stops the stack from looking too uniform. It doesn't need to be bold — just different enough to break up the repetition.
Keep it to four layers maximum
Two to four necklaces is the sweet spot. Beyond four, the stack starts to look heavy and the layers lose their definition. Three is the most common because it gives you variety without overwhelming the neckline.
Best Necklaces for Layering: What to Look For
Not all necklaces are created equal when it comes to layering. Beyond style, there are a few practical things to look for — especially if you're planning to wear your stack daily.
Tarnish-free plating is the most important factor for longevity. Standard gold-plated jewelry starts to tarnish within weeks of regular wear. Look for PVD plating, which bonds the metal at a molecular level and holds up to daily wear, sweat, and water. Atolea's waterproof necklaces use PVD plating specifically because it lasts — no touch-ups, no fading, no discoloration.
Lightweight construction matters more than you'd think. A stack of four heavy chains gets uncomfortable quickly. Thin, well-made chains that are light enough to forget you're wearing them make for a much better everyday experience.
Secure clasps make the layering technique work. Lobster clasps are the most reliable — they click shut firmly and don't slip open during the day. If your clasps are loose or flimsy, the whole linked-chain method becomes frustrating.
Common Layering Mistakes to Avoid
- Putting necklaces on separately — This is the root cause of every tangling problem. Always use the link-and-wrap method.
- Ignoring length gaps — Two necklaces at the same length look like one necklace. Spread your lengths out.
- Layering with tangle-prone chains — Very fine, delicate chains (like rolo or cable chains under 1mm) can be tricky to link and tend to knot more easily. Slightly heavier chains give you more control.
- Forgetting to adjust before you leave the house — Take thirty seconds after clasping to slide each loop into position. A small adjustment upfront saves you from fidgeting all day.
Frequently Asked Questions
Can I use this technique with pendant necklaces?
Yes — pendant necklaces work well. The pendant hangs from its own loop and falls naturally once you've adjusted the layers. Just make sure you're linking through the chain, not through the pendant bail, to keep the pendant hanging straight.
What if my clasps are different sizes?
That's fine. You don't need a perfect clasp-to-clasp connection. You just need to be able to thread one clasp through a link on the next chain — which works regardless of clasp size as long as the links are open enough.
How do I keep my layered necklaces from sliding to the back?
This usually happens when one chain is too light relative to a pendant on another. Try adjusting the wrap so the heavier pieces sit more centered, or use a necklace separator clip at the back to keep the chains in place.
Do waterproof necklaces layer differently than regular ones?
No — the technique is exactly the same. The advantage of waterproof necklaces is that you can leave your stack on all day without worrying about sweat, water, or tarnish. You put it on once using this method and don't have to redo it every day.
How many necklaces can I layer at once?
Two to four is the practical sweet spot. Three gives you the most versatility — enough layers to look intentional without overwhelming the neckline. More than four and the loops start to feel heavy and the visual impact gets muddy.
Will this work with chokers?
It depends on the choker. Adjustable chain chokers work perfectly. Rigid chokers (velvet, metal cuffs) don't have clasps you can link through, so they're best put on separately first and then layered under the linked stack.
Build Your Perfect Stack
Waterproof, tarnish-free, and made for everyday wear — Atolea necklaces are designed to be layered and lived in. Put them on once and forget about it.
Shop Waterproof Necklaces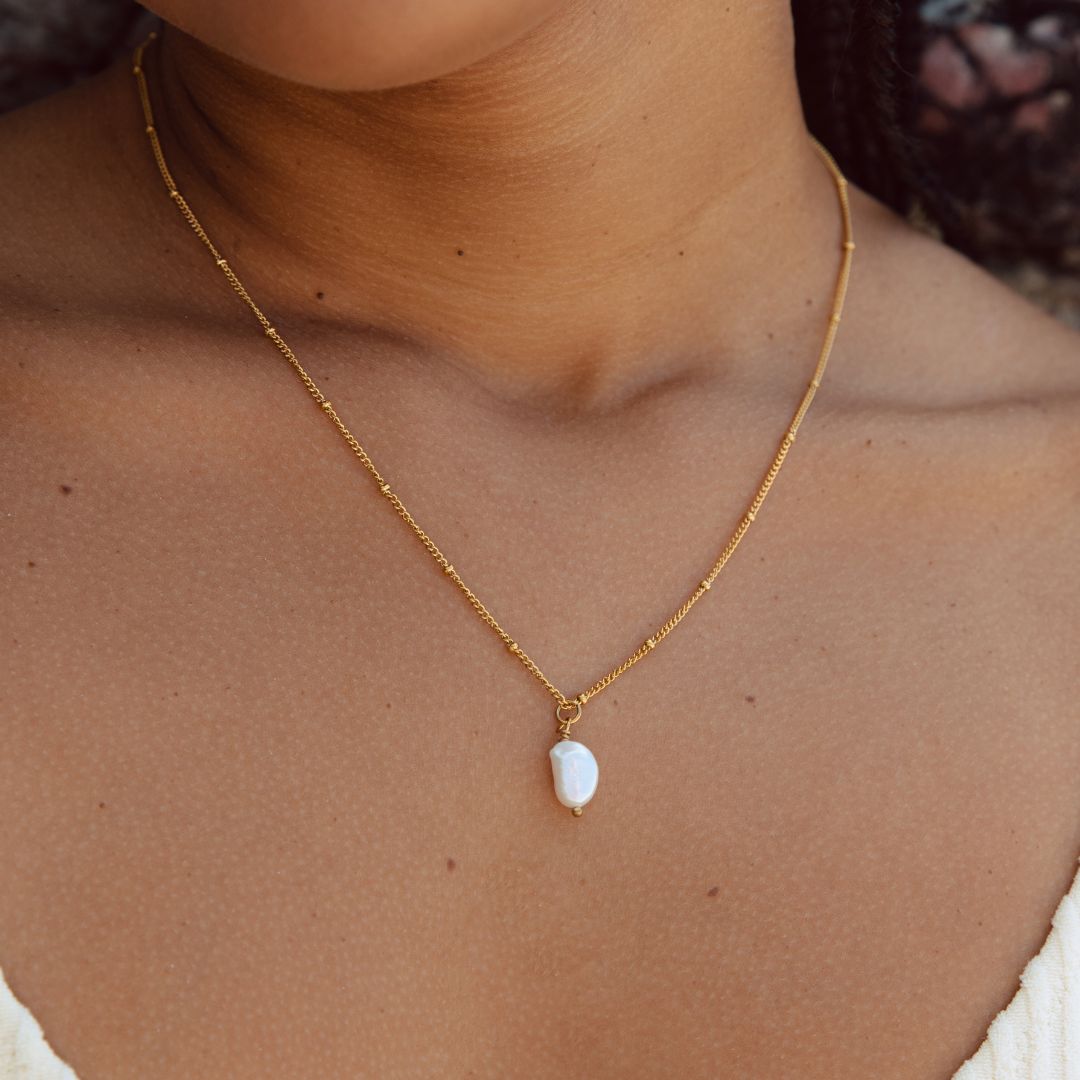


Leave a comment
This site is protected by hCaptcha and the hCaptcha Privacy Policy and Terms of Service apply.