
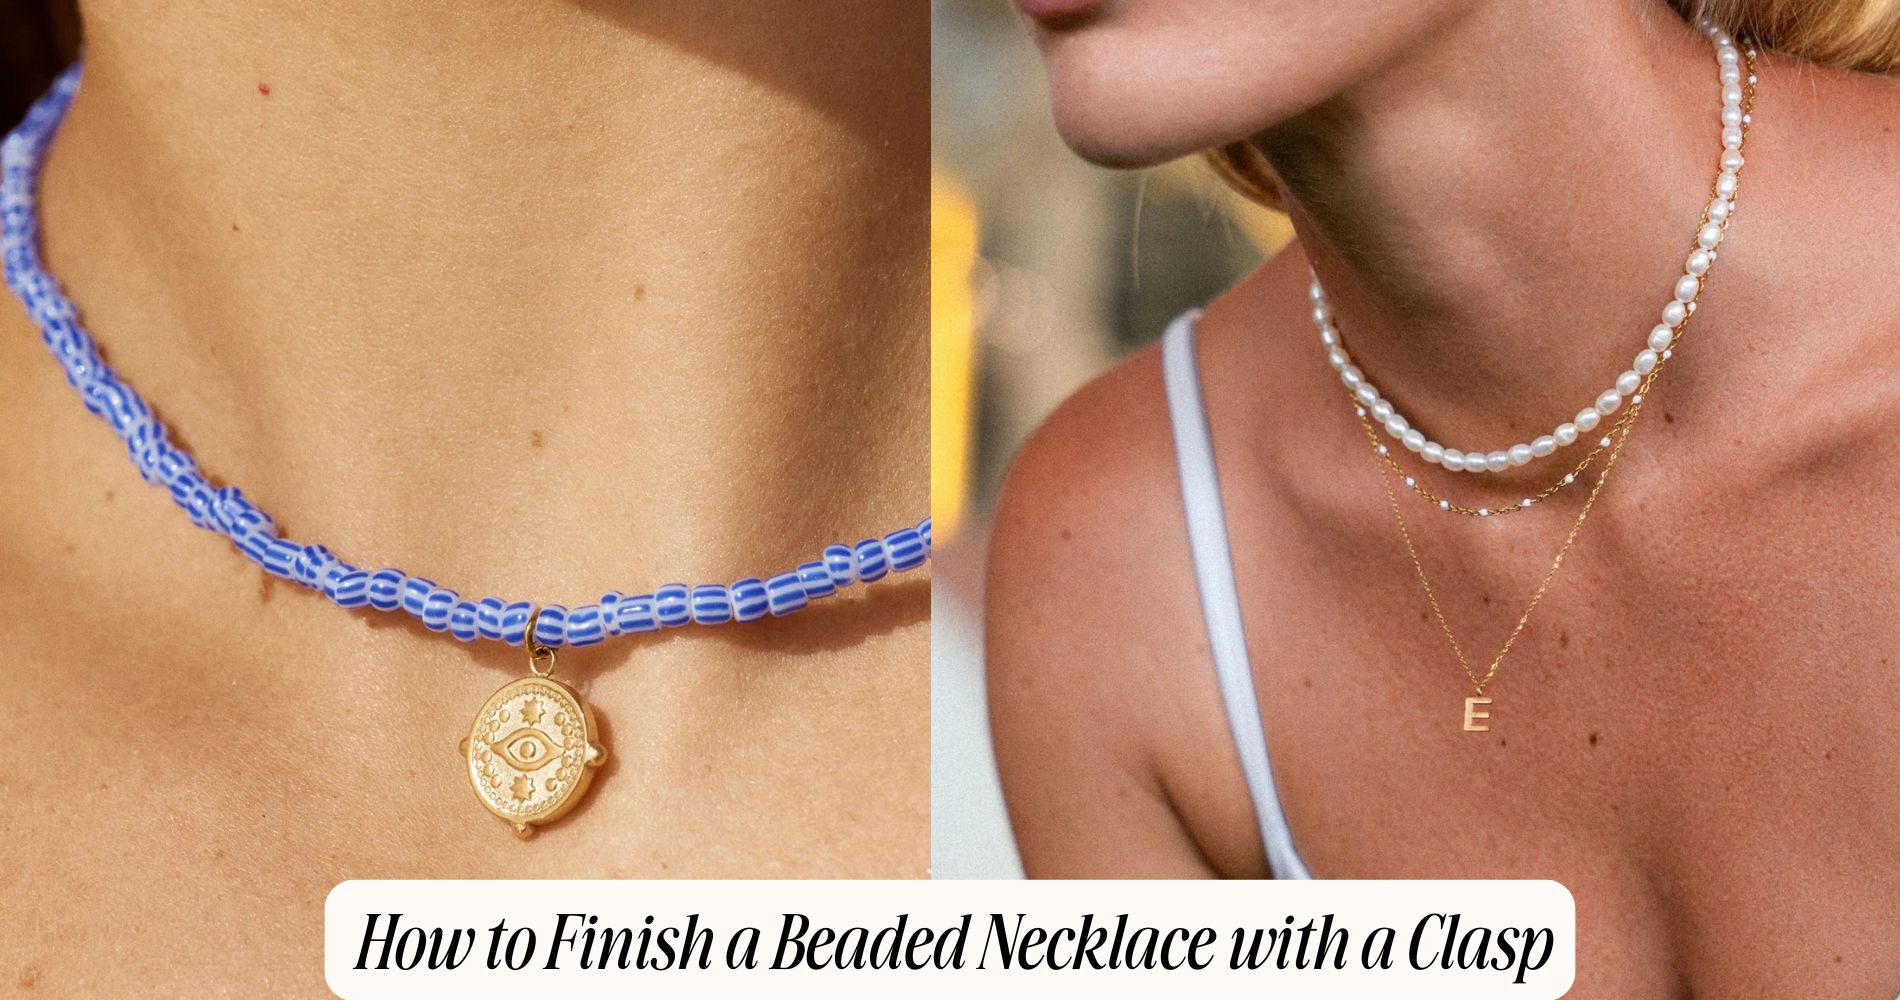
How to Finish a Beaded Necklace With a Clasp
If you're wondering how to finish a beaded necklace with a clasp, the process is simpler than it looks. Start by threading your beads and securing one end with a bead stopper. Add a crimp bead, loop the wire through one half of the clasp, then back through the crimp. Use crimping pliers to flatten it securely. Trim the excess wire and repeat the steps on the other side. Choosing the right clasp and findings to match your necklace’s weight and style is key—and if you're aiming for a polished, professional finish, be sure to explore our colorful necklaces collection for inspiration.
Choosing the Perfect Clasp for Your Necklace
While your beaded design sets the tone, the clasp transforms your necklace from a strand into a wearable piece of art. When choosing the perfect clasp, evaluate clasp styles for both function and flair.
Lobster clasps offer reliability and ease, while toggle clasps provide a decorative, vintage appeal. Magnetic clasps ensure convenience, especially for those seeking effortless fastening.
Examine your necklace’s weight and aesthetics to guide your decision—delicate strands pair best with daintier closures, while chunky beads demand sturdy mechanisms.

Consider metal options with care. Sterling silver and gold-filled finishes complement most beads, resisting tarnish and offering hypoallergenic properties. Stainless steel and plated brass provide modern alternatives at a lower cost.
Match your clasp’s finish to your beads’ undertones, ensuring a seamless, harmonious design outcome.
Gathering Essential Tools and Materials
After selecting the ideal clasp to complement your beaded necklace, you’ll need to assemble the right tools and materials for a seamless finish. Start by curating your bead selection, ensuring each bead’s hole matches your chosen wire gauges.
Precision is key—select flexible beading wire or thread that supports the weight and style of your beads while fitting snugly through both beads and clasp components.
Gather essential tools: round-nose pliers for forming loops, chain-nose pliers for gripping, and wire cutters for clean ends. You’ll also need crimp beads or tubes to secure the clasp, plus bead stoppers to prevent accidental spills.

Have a bead mat on hand to keep your workspace organized. With every tool and material chosen, you’re laying the foundation for professional results.
Measuring and Preparing Your Beaded Strand
Before stringing a single bead, measure your desired necklace length with accuracy, accounting for both the clasp and any finishing components. Lay out a flexible tape measure around your neck or use an existing necklace as a guide.
Remember, bead size directly affects total string length; larger beads take up more space, so you’ll need a shorter strand to achieve the same finished length.
Calculate the number of beads required by dividing your target length by the diameter of each bead.
Cut your stringing material at least six inches longer than the calculated string length to allow for knotting and attaching the clasp. This extra length guarantees you have enough material to work with, while maintaining control and minimizing waste as you assemble your beaded strand.
Adding Bead Stoppers or Tape for Security
With your stringing material cut to length and beads ready, secure your work by placing a bead stopper or a small piece of tape at one end of the strand.
Bead stoppers, those coiled wire clips, grip the stringing material without damage and prevent beads from slipping off as you work. Slide one onto the end of your strand, positioning it snugly against your first bead.
If you don’t have a bead stopper, use tape reinforcement: wrap a small, firm piece of tape tightly around the end of your strand. Press it securely to guarantee no beads escape.
This simple precaution provides peace of mind and keeps your design intact while you arrange beads. Always double-check your stoppers before continuing to the next steps.
Attaching Crimp Beads or Crimp Tubes
Once your beads are arranged to satisfaction, it’s time to secure the ends with crimp beads or crimp tubes—a vital step that locks your design in place and connects it to the clasp.
Slide a crimp bead or tube onto your beading wire, right up against the last bead.
Using your crimping pliers, position the crimp in the appropriate notch.
Squeeze firmly; you’ll flatten the crimp, anchoring the beads and preventing slippage.
For extra strength and a polished look, rotate the crimp 90 degrees and compress again, shaping it into a neat fold.

This bead crimping technique is essential for secure closures, ensuring your necklace withstands daily wear.
Choose crimps sized for your wire and test their hold before moving to the next step.
Securing the First Half of the Clasp
Although your beads are now anchored by a crisp, secure crimp, the true test of craftsmanship lies in attaching the first half of the clasp. Thread the wire or thread through the loop of your chosen clasp component, ensuring the clasp installation sits flush against the crimp bead or tube.
Next, double back the wire through the crimp bead, forming a tight loop that locks the clasp in place. Use chain-nose pliers to nudge the crimp closer, eliminating slack for a professional finish. When you squeeze the crimp, do so firmly yet gently—avoid damaging the wire.
This stage is essential for securing closure, as a loose connection can jeopardize the necklace’s durability. Inspect your work for symmetry and stability before proceeding further.
Reinforcing and Trimming Excess Wire or Thread
After closing the crimp, reinforcing your connection guarantees the necklace withstands daily wear.
For wire trimming, use flush cutters to snip as close to the crimp as possible—this prevents sharp ends that could snag or scratch.
If you’re working with thread, thread reinforcement is essential. Double back through a few adjacent beads before knotting, ensuring the tension remains even and secure. A dab of specialized beading glue on the knot adds extra durability.

Trim any remaining thread tails carefully with sharp embroidery scissors, leaving just enough to avoid unraveling. Never cut too close, as this risks loosening your work.
With meticulous wire trimming and thoughtful thread reinforcement, your necklace achieves both professional finish and reliable strength, ready for everyday use.
Attaching the Second Half of the Clasp
With your necklace securely anchored at one end, it's time to attach the second half of the clasp—a step that demands both accuracy and finesse.
Choose the appropriate clasp type to match your necklace’s style and function; spring rings, lobster claws, and toggle clasps each offer unique attachment techniques.
Thread your wire or beading cord through the last bead, then loop it through the clasp’s ring.
If you’re using crimp beads, slide one into place, pull the wire taut so there’s no slack, and flatten the crimp with precision pliers.
For thread, knot securely and apply a dab of jewelry glue for reinforcement.
Ensure the clasp sits flush against the beads for a seamless, professional finish, reflecting your mastery of material and method.
Performing a Final Check and Testing Durability
Once the clasp is attached, turn your focus to scrutinizing every connection and component for security and alignment. With technical precision, conduct a quality inspection: examine crimps for tightness, ensure beading wire isn’t frayed, and verify all beads are seated properly.
Rotate the necklace, checking for consistent tension and a symmetrical drape. Next, move to stress testing—gently pull both ends of the necklace to simulate normal wear. The clasp should hold firm, and nothing should slip or loosen.

Open and close the clasp repeatedly to confirm smooth operation and reliable closure. If you spot any weakness or asymmetry, address it immediately.
Frequently Asked Questions
How Do I Repair a Broken Clasp on a Beaded Necklace?
To repair a broken clasp, you’ll use jewelry repair methods and bead stringing techniques: carefully remove the damaged clasp, thread a new one onto beading wire or thread, secure with crimp beads, then test your necklace’s strength.
Can I Mix Metal and Plastic Beads With Any Clasp Type?
You can absolutely create a metal plastic combination in your necklace, but consider clasp compatibility. Choose sturdy clasps for heavy metal beads and flexible ones for lightweight plastic, ensuring balance, security, and seamless function in your design.
What’S the Best Way to Store Finished Beaded Necklaces?
To preserve your creations, use specialized jewelry storage trays or soft pouches, preventing tangling and scratching. For ideal bead organization, lay each necklace flat or hang it individually, ensuring materials—metal or plastic—retain their luster and integrity.
How Do I Clean a Beaded Necklace With a Metal Clasp?
To clean your beaded necklace, use gentle cleaning techniques: wipe beads with a damp cloth and mild soap. For the metal clasp, consider the clasp material—avoid harsh chemicals on plated metals to prevent tarnishing or damage.
Are Magnetic Clasps Safe for People With Pacemakers?
When considering magnetic safety and pacemaker compatibility, you shouldn't wear magnetic clasps if you have a pacemaker. Strong magnets can interfere with your device’s function, so always choose non-magnetic closures for both style and peace of mind.
Conclusion
With your clasp expertly attached, you’ve transformed loose beads into a polished necklace ready to wear. You’ve mastered crimping, reinforced connections, and chosen components with a jeweler’s eye. Don’t forget to check every join for strength—your craftsmanship deserves lasting security. Now, let your unique piece shine, knowing you’ve balanced technical skill with creative vision. Every necklace finished this way isn’t just an accessory—it’s a testimony to your material expertise and artistic touch.


Leave a comment
This site is protected by hCaptcha and the hCaptcha Privacy Policy and Terms of Service apply.