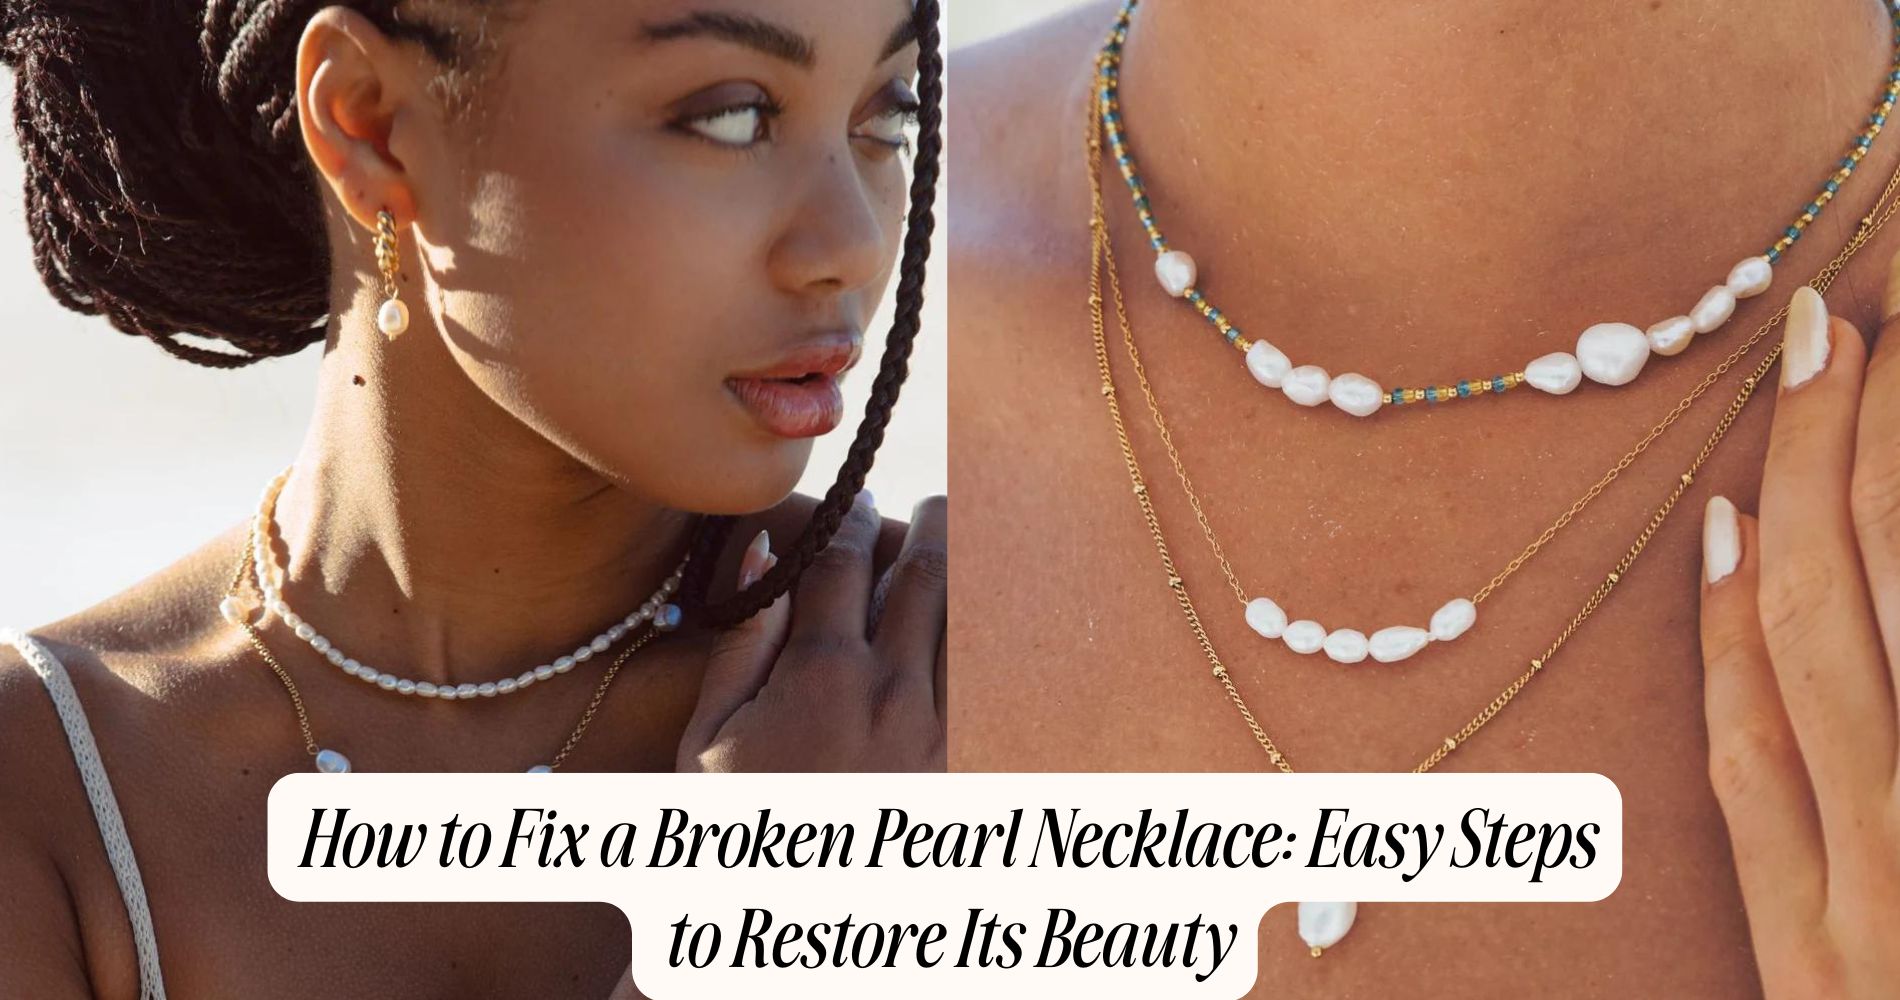
How to Fix a Broken Pearl Necklace: Easy Steps to Restore Its Beauty
To fix a broken pearl necklace, start by evaluating the damage. Check for chipped or cracked pearls and inspect the string for frays. Gather fine thread, preferably silk or nylon, along with needle-nose pliers and a bead reamer. Remove broken sections by cutting cleanly, then gently clean each pearl in a mild soap solution. Choose a durable string and restring the necklace, ensuring pearls are placed correctly. Secure the knots, making them snug yet gentle. Finish by polishing the pearls for extra shine. You'll discover more essential tips and techniques to elevate your repair skills, or explore our Freshwater Pearls Necklaces for beautiful replacements and inspiration.
Assess the Damage
Before you plunge into repairs, it's essential to thoroughly assess the damage to your broken pearl necklace.
Start by carefully examining the pearls themselves. Identify the pearl types—whether they're classic Akoya, luxurious South Sea, or unique Tahitian—as this will influence the repair process. Look for any discoloration, chips, or cracks that could compromise their beauty.
Next, check the stringing material. Is it frayed or completely broken? Understanding the condition of the thread is important, as it may dictate which knot techniques you'll need to employ later. If the necklace was originally strung using a knot technique, like the double knot or French knot, take note of how the pearls were spaced. This will guide you in recreating the original design.
Assess the clasp as well. Is it intact, or does it need replacing? A secure clasp is crucial for the necklace's functionality and overall aesthetic.
Gather Necessary Tools
Before you start repairing your broken pearl necklace, you'll need to gather a few essential tools.
A fine thread, needle, and knotting tweezers are vital for securing each pearl properly, while a pair of scissors and a jewelry clasp will complete your repair kit.
Having these supplies ready guarantees you can restore your necklace with precision and care.
Essential Repair Tools
To successfully repair a broken pearl necklace, you'll need to gather a few crucial tools that will make the process straightforward and efficient.
First, invest in a high-quality pair of needle-nose pliers. They'll help you manipulate small components without damaging the pearls.
Next, you'll require a fine thread suitable for pearls, such as silk or nylon, which accommodates various pearl types and offers the necessary strength.
A bead reamer can be indispensable for enlarging holes in pearls, allowing for easier threading. You should also have a pair of scissors handy for cutting the thread cleanly.
When it comes to knot techniques, a knotting tool or a simple needle can assist in creating precise knots between pearls. This not only secures them but also prevents them from rubbing against each other, preserving their luster.
Lastly, a ruler or measuring tape guarantees you maintain consistent spacing, which is crucial for the necklace's overall aesthetic.
Jewelry Repair Supplies
While you may have your essential repair tools ready, gathering additional jewelry repair supplies is equally important for a successful pearl necklace restoration.
Start by acquiring silk thread, which is the best choice for stringing pearls due to its strength and flexibility. You'll also need a needle, preferably one with a thin, sharp point that can easily pass through the small holes in the pearls.
Next, invest in a pair of crimp beads or covers. These tiny components secure the silk thread and prevent it from fraying, ensuring long-lasting jewelry maintenance.
Additionally, a pair of pliers will help you manipulate the crimp beads effectively.
Don't overlook the importance of a magnifying glass. It allows you to inspect each pearl closely, ensuring you spot any damage that might require your attention.
Remove Broken Sections
You need to start by carefully evaluating the damage to your pearl necklace, identifying any broken sections that require removal.
Gather your tools, such as sharp scissors or wire cutters, to guarantee a clean cut.
Once you're ready, precisely cut and remove the damaged pieces, preparing the necklace for its restoration.
Assess the Damage
Before diving into repairs, it's vital to carefully evaluate the damage to your pearl necklace, particularly by removing any broken sections. Start by examining the necklace closely, identifying areas where the pearls have cracked or where the string has frayed. Different pearl types, like Akoya or Tahitian, may require unique handling due to their varying resilience and luster.
Gently remove any broken sections by untying knots or carefully cutting the thread. If your necklace features intricate necklace styles, like a multi-strand design, take meticulous notes or photos to help you reassemble it later. Pay attention to the position of each pearl; this will aid in maintaining the original aesthetic.
As you remove sections, check each pearl for damage; some may be salvageable, while others may need replacement. Keep an eye out for loose knots or weak links that could lead to future breakage.
Gather Necessary Tools
To effectively repair a broken pearl necklace, having the right tools at hand is crucial. First, gather a pair of sharp scissors, which will help you trim any frayed or damaged string materials.
You'll also need a measuring tape or ruler to guarantee you cut the new string to the appropriate length.
Next, acquire high-quality string materials, such as silk or nylon, specifically designed for pearl necklaces. Silk is traditional and offers elegance, while nylon provides durability and flexibility. Both options are suitable for various repair techniques.
Additionally, you'll require a needle that's appropriate for your chosen string material; a beading needle works well for silk, while a regular sewing needle suffices for nylon.
A bead reamer helps enlarge holes in pearls if necessary, guaranteeing a smooth passage for the new string.
Lastly, don't forget a workspace that allows for meticulous handling—an uncluttered table with good lighting is ideal.
With these tools gathered, you're ready to proceed to the next steps in restoring your pearl necklace to its former glory.
Cut and Remove
With the necessary tools at your disposal, the next step involves cutting and removing any broken sections of the necklace. Carefully examine the necklace to identify the damaged pearls and any frayed string types. Using your sharp scissors, snip the thread close to the broken area, ensuring you don't cut any intact pearls.
Once you've removed the damaged section, it's important to assess the remaining string. If it's worn or weak, consider replacing it entirely. For a fresh start, choose an appropriate string type—silk is traditional for pearls, while nylon offers durability.
Next, you'll need to employ knot techniques to secure the pearls in place. Begin by threading your new string through the first pearl, then tie a tight knot to anchor it. As you string each subsequent pearl, tie a small knot between them to prevent movement. This technique not only adds stability but also enhances the necklace's aesthetic.
Continue this process until all pearls are re-strung, and finish with a secure closure. Remember, the artistry in your knotting and string selection will restore the necklace's beauty and functionality, making it a treasured piece once more.
Clean the Pearls
How can you restore the luster of your pearls? Begin with pearl cleaning to remove dirt and oils that accumulate over time. Use gentle methods to guarantee you don't damage the delicate surface of each pearl.
Start by preparing a solution of lukewarm water mixed with a few drops of mild dish soap.
Next, take a soft, lint-free cloth and dip it into the soapy water. Gently wipe each pearl, making sure you're not scrubbing too hard. Remember, pearls are sensitive and can be easily scratched.
After cleaning, rinse the cloth with plain water and wipe away any soap residue on the pearls.
Once you've completed the cleaning process, it's essential to dry the pearls properly. Lay them flat on a clean towel and allow them to air dry completely.
Avoid using heat sources or direct sunlight, as these can cause pearls to lose their luster.
Choose the Right String
After you've cleaned your pearls and restored their shine, the next step is selecting the right string for restringing your necklace. The choice of string materials is vital, as it affects both the durability and appearance of your pearls. Silk is a popular option due to its softness and flexibility, allowing the pearls to lay beautifully. However, nylon offers greater strength and resilience, making it ideal for frequently worn pieces.
When selecting your string, consider the knot types as well. Traditional knotting provides a snug fit between each pearl, which helps prevent damage and adds an elegant touch. A single knot is straightforward and effective, while a double knot offers extra security, especially if you're using a more delicate string material.
Additionally, the thickness of the string is important; you want it to complement your pearls without overpowering them. Too thick can create an awkward look, while too thin may compromise strength.
Choose a string that matches the size of the pearls and fits through their drill holes comfortably. This careful selection will guarantee your necklace not only looks stunning but also stands the test of time.
Restring the Necklace
Once you've gathered your materials and prepared your workspace, it's time to restring the necklace. Start by cutting a length of your chosen string type, making certain it's at least three times the length of the original necklace. This extra length allows for knotting and adjustments.
Begin threading the pearls onto the string, paying attention to the order and orientation of each pearl. This step is vital for maintaining the necklace's aesthetic. As you work, consider using a bead stopper to prevent the pearls from sliding off the other end.
When you've threaded all the pearls, it's important to apply the right knot technique. A common method is the surgeon's knot, which provides extra security. First, tie a simple overhand knot close to the last pearl, then make a second knot, looping the string twice before pulling it tight. This technique guarantees your pearls stay in place and minimizes any movement.
After securing the pearls, trim any excess string, leaving enough to create a final knot. This process is where your artistry shines, combining technical skill with an eye for beauty.
Take your time to make sure each detail is perfect—your necklace deserves it.
Secure the Knot
Securing the knot is essential for ensuring your pearl necklace remains intact and visually appealing. Begin by selecting a strong, fine thread designed for knot tying; silk or nylon works best.
After restringing your pearls, make sure the knot tension is just right—not too tight to avoid damaging the pearls, but firm enough to hold them securely in place.
To tie the knot, position the thread so that it forms a loop over itself, then pull the end through the loop, creating a simple overhand knot. Before tightening it completely, slide the knot close to the first pearl, allowing just a bit of space to prevent friction damage.
Gently pull on both ends of the thread to secure the knot while maintaining the desired tension. You may want to repeat this process, tying additional knots between pearls for extra security.
Use a bead or a small piece of tape to hold the knot in place while you work on the next section. Once you've secured all knots, inspect each one carefully, ensuring they're snug but not overly tight.
This meticulous attention to detail will keep your necklace beautiful and enduring.
Final Touches and Care
A few final touches can enhance the beauty and longevity of your repaired pearl necklace. Start by employing effective polishing techniques to revive the luster of your pearls. Use a soft, lint-free cloth to gently wipe each pearl, removing any dust or oils. Avoid harsh chemicals; instead, opt for a mild soap solution if necessary. This careful attention will guarantee the surface remains smooth and radiant.
Next, focus on proper pearl storage. Pearls are delicate and can be easily scratched or damaged, so store them in a soft pouch or a dedicated jewelry box lined with fabric.
Avoid placing them alongside other jewelry, as the friction can dull their shine. Also, keep your pearls away from direct sunlight and extreme temperatures, which can compromise their integrity.
Frequently Asked Questions
Can I Use Regular Thread Instead of Specialized Beading Thread?
You can't use regular thread for beading; it lacks the necessary thread strength and knot durability. Specialized beading thread is designed to withstand tension, ensuring your pearls stay securely in place and maintain their beauty.
How Can I Tell if Pearls Are Real or Fake?
To determine pearl authenticity, observe luster and surface texture. Real pearls feel gritty against your teeth, while imitation ones feel smooth. Check for uniformity; genuine pearls vary slightly in size and shape, unlike perfect imitations.
What Type of Knots Are Best for Securing Pearls?
When securing pearls, use double knots for strength and ideal knot tension. Consider silk thread for flexibility, allowing movement without wear. Employ surgeon's knots for added security, ensuring your pearls maintain their beauty and integrity over time.
How Often Should I Restring My Pearl Necklace?
You should restring your pearl necklace every 1-2 years to guarantee durability. Regular pearl necklace care, along with proper pearl stringing techniques, helps maintain its beauty and prevents potential damage from wear and tear.
Is It Safe to Clean Pearls With Soap and Water?
You can safely clean pearls with mild soap and water. Avoid harsh cleaning solutions; they can damage the delicate surface. Regular pearl care guarantees their luster remains intact, preserving their beauty for years to come.
Conclusion
Restoring your pearl necklace not only revives its beauty but also deepens your connection to this timeless piece. By carefully evaluating the damage and using the right tools, you've transformed broken strands into a masterpiece once again. Remember to maintain your pearls with gentle cleaning and proper storage to preserve their luster. With each wear, you'll carry the artistry of your handiwork, ensuring that your necklace continues to shine and tell its story for years to come.









Leave a comment
This site is protected by hCaptcha and the hCaptcha Privacy Policy and Terms of Service apply.