


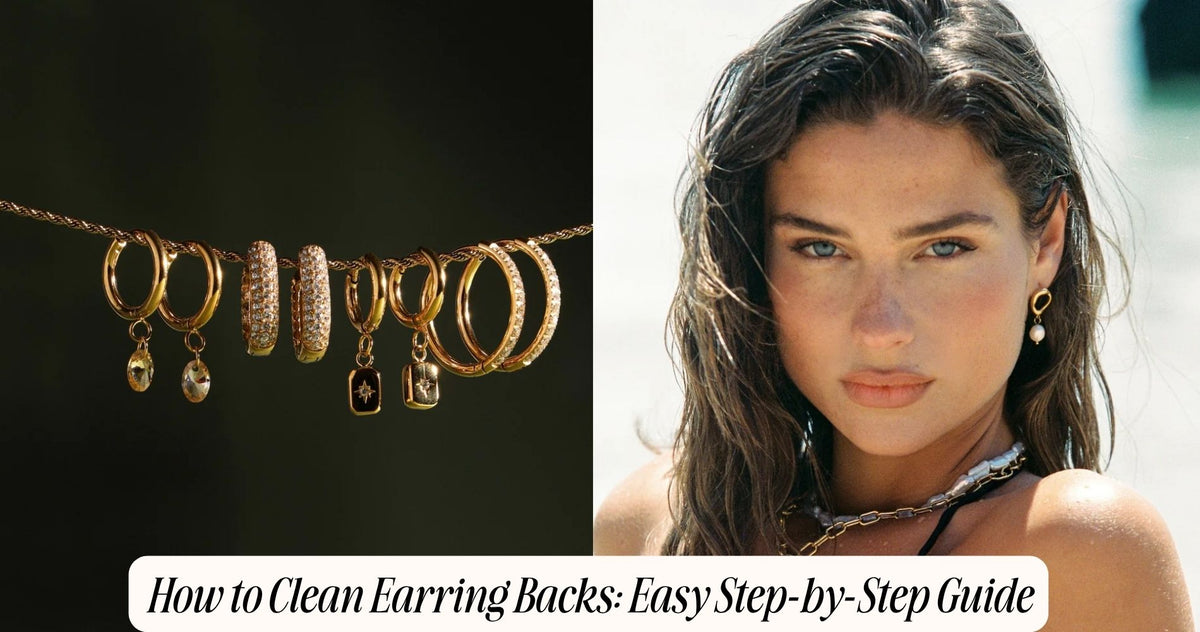
How to Clean Earring Backs: Easy Step-by-Step Guide
Earring backs tend to get overlooked during regular jewelry cleaning, yet they are often the dirtiest part of the entire piece. Because backings sit directly against the skin and are handled every time you put earrings on or take them off, they collect oils, product residue, and buildup faster than the front of the earring itself. Learning how to clean earring backs properly helps prevent discomfort, irritation, and that stubborn stuck feeling that makes backs harder to remove over time. If you want earrings built to handle daily wear, including water and sweat exposure, our Waterproof Earrings collection is designed with exactly that kind of durability in mind.
In this guide, we will walk through a simple step by step method for cleaning earring backs, along with tips for preventing buildup and knowing when a backing needs extra attention.
Why Earring Backs Get So Dirty
Earring backs are in constant, close contact with the earlobe, an area of skin that naturally produces oils and can trap residue from lotion, makeup, and hair products. Because the backing is small and often tucked closely against the ear, this buildup tends to go unnoticed until it becomes visible or starts to feel gritty or difficult to remove.
Over time, this accumulation can lead to a few common problems, including a backing that feels stuck or difficult to twist off, a dull or discolored appearance on metal surfaces, and in some cases, mild skin irritation caused by trapped bacteria or product residue sitting against the skin for extended periods.

What You Will Need
Before starting, gather a few simple supplies. You will need a small bowl of warm water, a few drops of mild dish soap, a soft bristled toothbrush or a dedicated jewelry cleaning brush, a soft lint free cloth, and optionally, a cotton swab for reaching small crevices around the backing's edges.
Avoid using rough materials like paper towels, which can scratch delicate metal surfaces, especially on smaller or more detailed backings.
Step 1: Remove the Backing From the Earring Post
Start by carefully removing the backing from the earring post, separating it from the front piece entirely. Cleaning the two pieces individually allows you to reach every surface of the backing without missing areas that are normally hidden while the earring is assembled.
If the backing feels stuck or difficult to remove, avoid forcing it. Instead, move on to the soaking step below with the earring still assembled, then attempt removal again once buildup has softened.
Step 2: Soak the Backing in Warm Soapy Water
Mix a few drops of mild dish soap into a small bowl of warm water, then place the backing into the solution. Allow it to soak for approximately ten to fifteen minutes. This soaking period helps loosen dried oils, product residue, and any accumulated grime that has built up around the backing's surface and internal threading, if applicable.
For screw back styles, this step is especially important, since buildup inside the threading is a common reason these backings become difficult to twist on and off over time.

Step 3: Gently Scrub With a Soft Brush
After soaking, use a soft bristled toothbrush to gently scrub the backing, paying close attention to any grooves, threading, or small crevices where buildup tends to concentrate. For screw back styles, gently work the brush into the internal threading to remove any residue that may be causing resistance during use.
Avoid scrubbing too aggressively, particularly on plated or delicate metal finishes, since excessive pressure can wear down thin coatings over time.
Step 4: Rinse Thoroughly
Rinse the backing under clean, running water to remove all traces of soap and loosened debris. Make sure to rinse thoroughly, especially around any internal threading or small mechanical parts, since leftover soap residue can sometimes cause a sticky feeling once the piece dries.
If the backing has any decorative elements or gemstones attached, a gentler rinse under a slow stream of water is recommended to avoid dislodging smaller components.
Step 5: Dry Completely Before Reassembling
Once rinsed, dry the backing thoroughly using a soft, lint free cloth. Make sure no moisture remains in any small crevices or threading, since trapped water can contribute to tarnishing, particularly on silver based backings, or promote bacterial growth if left damp for extended periods.
Allow the piece to air dry fully for a few additional minutes if needed before reattaching it to the earring post, ensuring everything is completely dry before wearing.

How to Clean Different Types of Earring Backs
While the general steps above work for most styles, a few backing types benefit from slightly different attention.
- Push backs and friction backs: These typically respond well to the standard soak and scrub method, since their simple design allows easy access to all surfaces.
- Screw backs: Pay extra attention to the internal threading during scrubbing, since buildup here is the most common cause of screw backs becoming difficult to use over time.
- Butterfly or clutch backs: The small wing shaped flaps can trap buildup at their base, so gently scrubbing around this junction helps maintain smooth movement.
- Locking or secure backs: These often have small moving parts or springs, so a gentler cleaning approach with a cotton swab may work better than a full soak, depending on the specific mechanism.
How Often Should You Clean Earring Backs
For earrings worn daily, cleaning the backings every one to two weeks helps prevent significant buildup from accumulating. For earrings worn less frequently, cleaning before and after wear is usually sufficient, since less frequent use naturally limits how much residue develops over time.
If you notice a backing beginning to feel stiff, difficult to remove, or visibly dull, this is a good indicator that a cleaning session is due, regardless of your usual schedule.
Preventing Buildup in the First Place
A few simple habits can reduce how often deep cleaning is needed. Apply lotion, perfume, and hairspray before putting on earrings rather than after, since these products are a major contributor to backing buildup. Wash your hands before handling earrings to avoid transferring additional oils or residue during insertion and removal. Store earrings in a clean, dry location, ideally separated from other jewelry, to minimize dust and debris accumulation between wears.

What to Do If a Backing Still Feels Stuck After Cleaning
If a backing remains difficult to remove even after a thorough cleaning, avoid forcing it, since this can cause discomfort or damage to the piercing. Instead, try a slightly longer soak, up to twenty or thirty minutes, to allow more time for stubborn buildup to loosen. If the issue persists, a small drop of rubbing alcohol applied directly to the threading or joint area can sometimes help dissolve more stubborn residue that soap and water alone did not fully address.
Final Thoughts
Learning how to clean earring backs is a small but important part of overall jewelry maintenance that is easy to overlook. Because backings sit in such close, constant contact with the skin, regular cleaning helps prevent discomfort, irritation, and that frustrating stuck feeling that develops when buildup is left unaddressed.
With a simple routine of soaking, gentle scrubbing, and thorough drying, keeping your earring backs clean and functioning smoothly becomes an easy addition to your regular jewelry care habits.
Frequently Asked Questions
1. How do I clean stuck earring backs?
Soak the backing in warm, soapy water for ten to fifteen minutes to loosen buildup, then gently scrub with a soft brush before rinsing and drying thoroughly.
2. How often should I clean my earring backs?
Earrings worn daily benefit from cleaning every one to two weeks, while occasional pieces can be cleaned before and after wear as needed.
3. Can I use rubbing alcohol to clean earring backs?
Yes, a small drop can help dissolve stubborn residue, particularly around screw back threading, if regular soap and water cleaning does not fully resolve the issue.
4. Why do screw back earrings get stuck more often?
Buildup tends to accumulate inside the internal threading of screw backs, which can make twisting the backing on and off more difficult over time without regular cleaning.
5. Is it safe to soak earring backs in water?
For most solid metal backings, yes. However, plated pieces should not be soaked for extended periods, since prolonged moisture exposure can wear down the thin metal coating.










コメントを書く
このサイトはhCaptchaによって保護されており、hCaptchaプライバシーポリシーおよび利用規約が適用されます。