

How to Clean a Tarnished Silver Ring
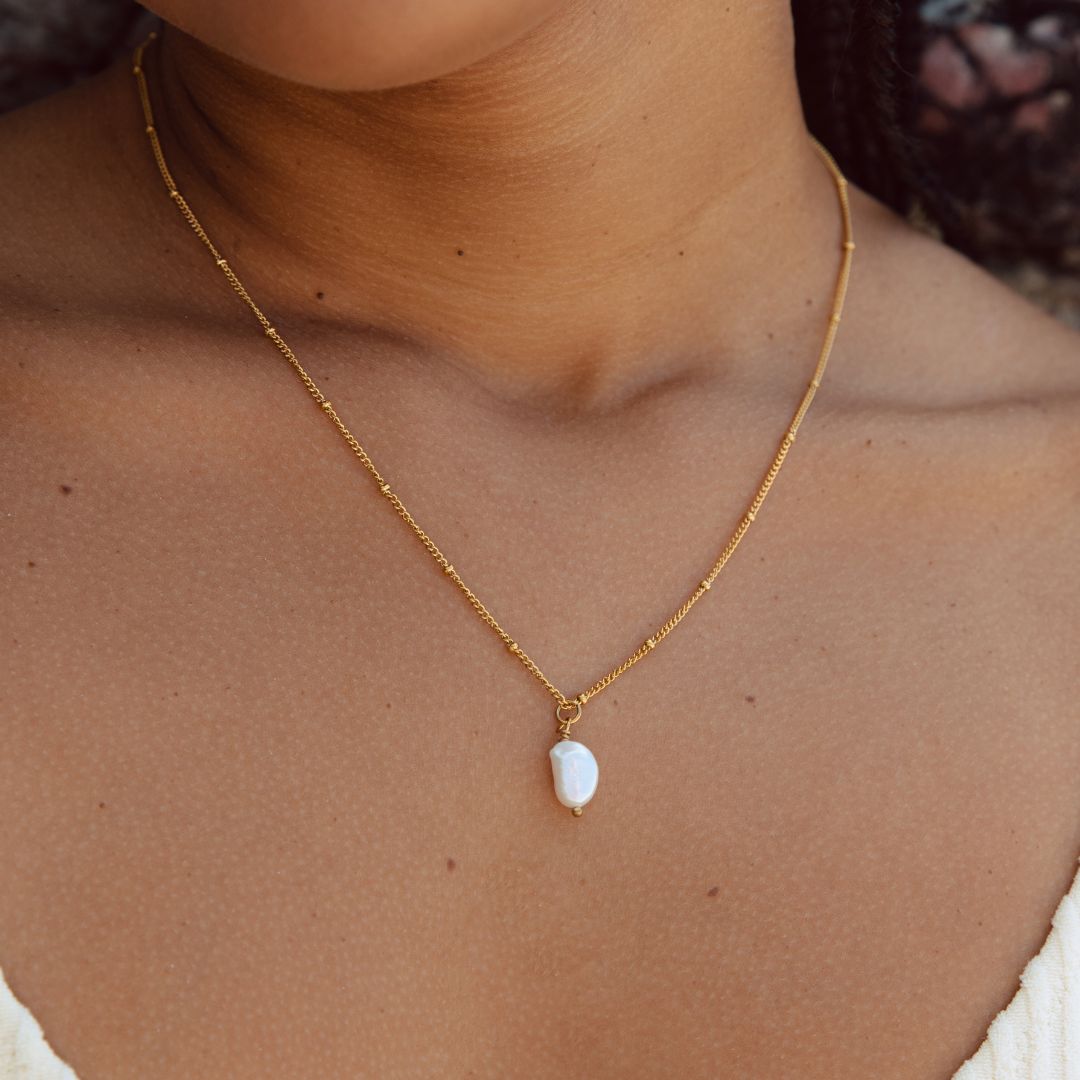
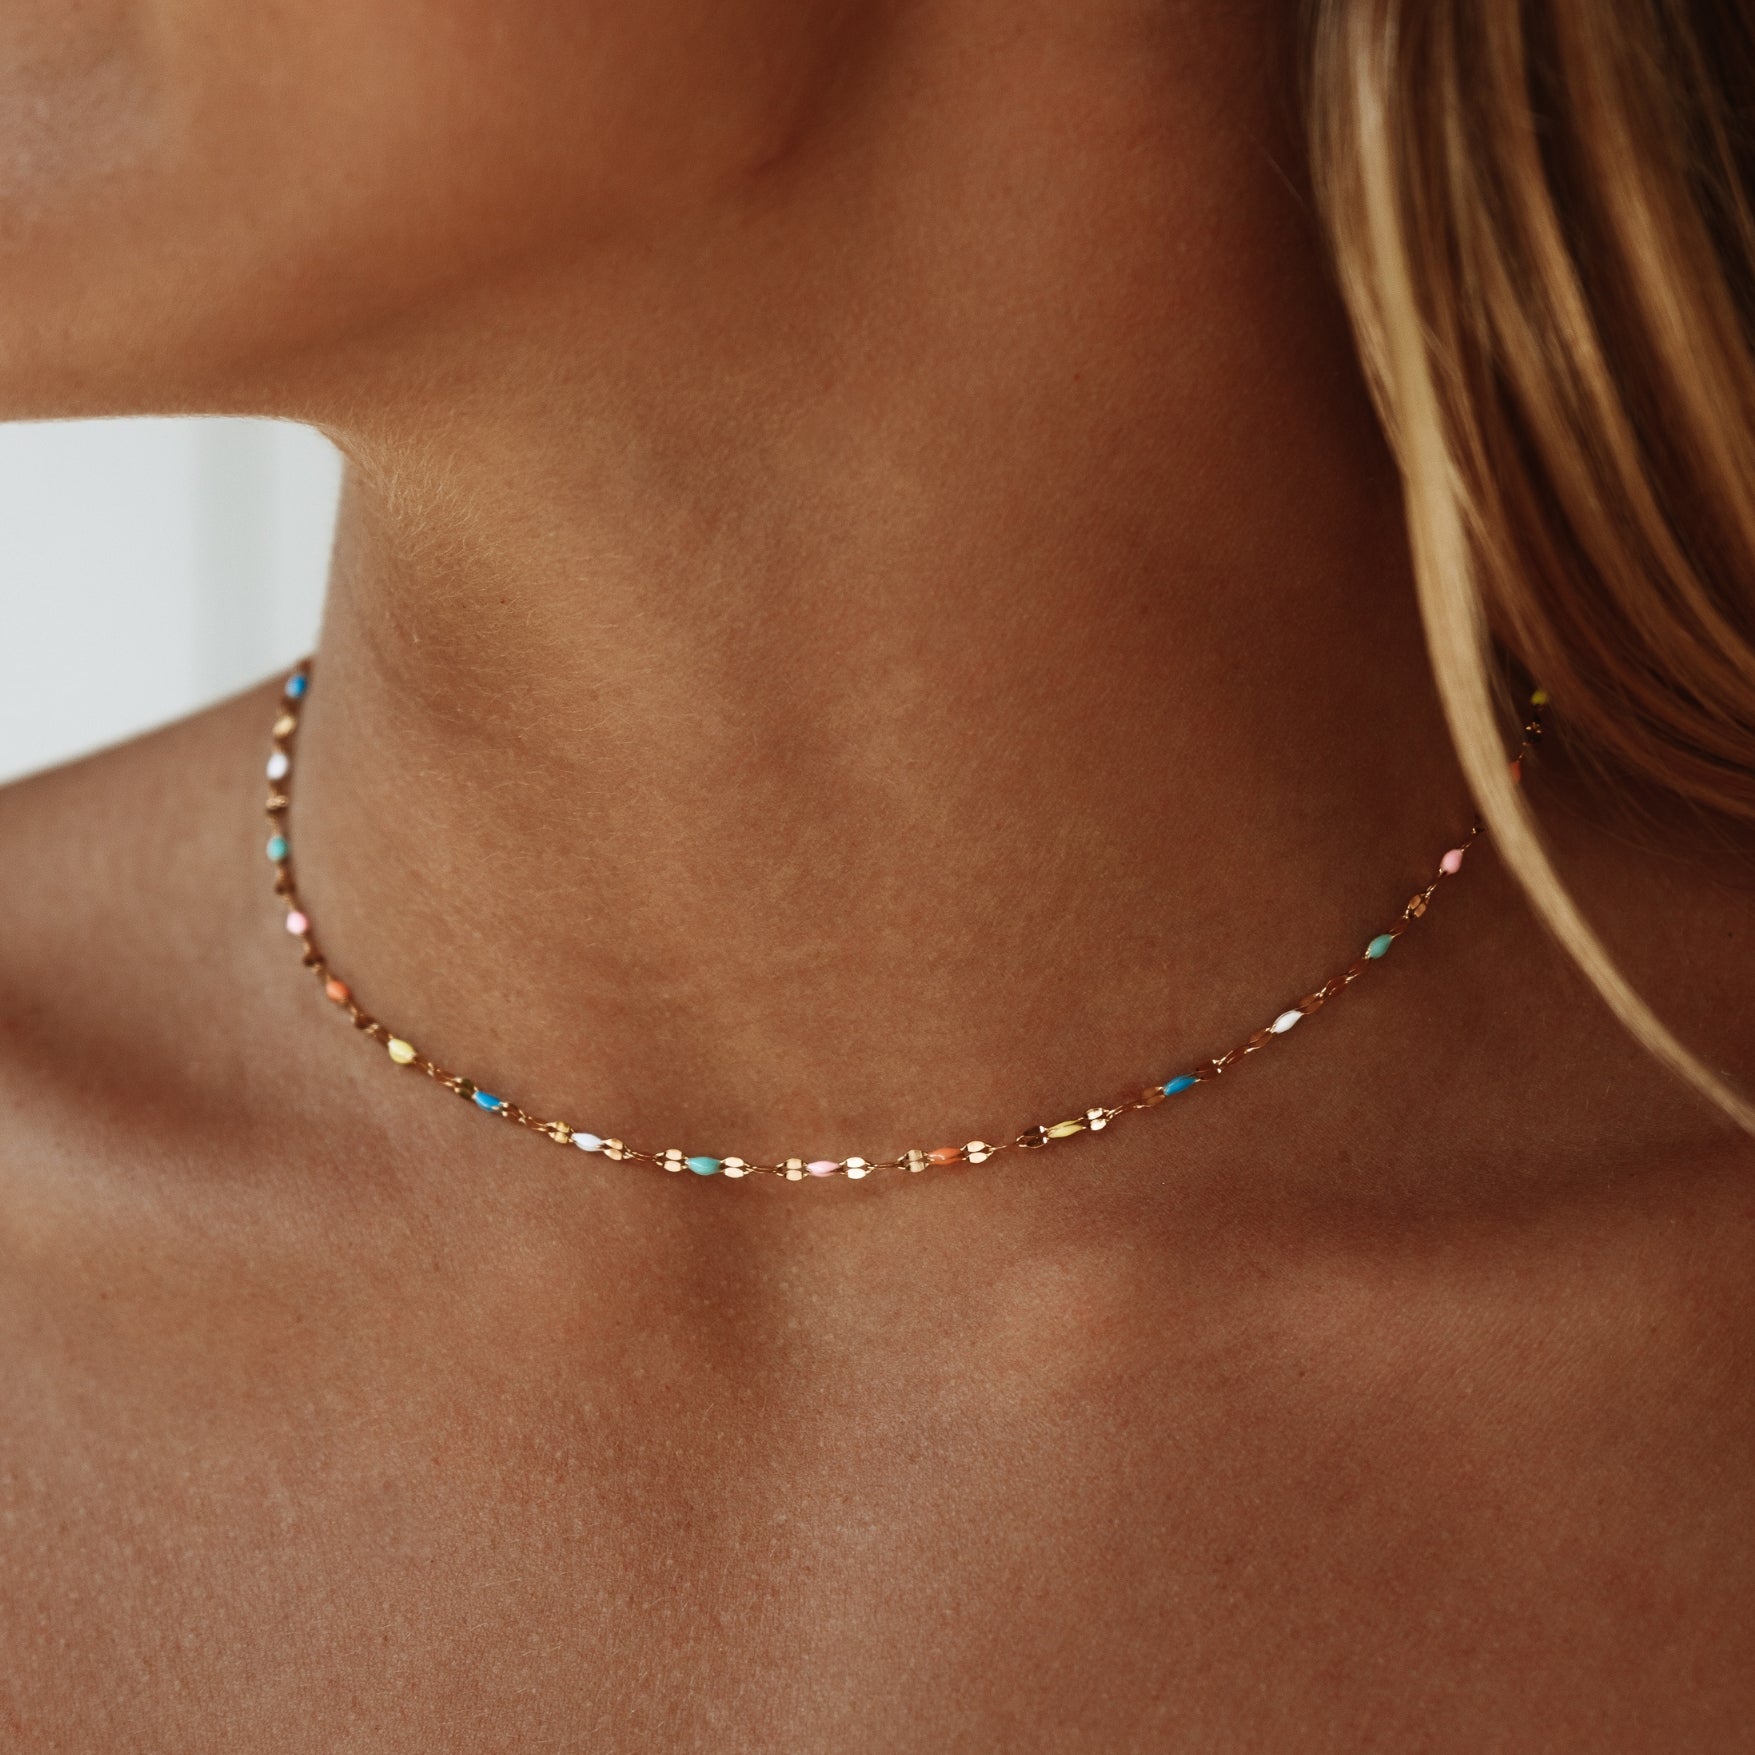
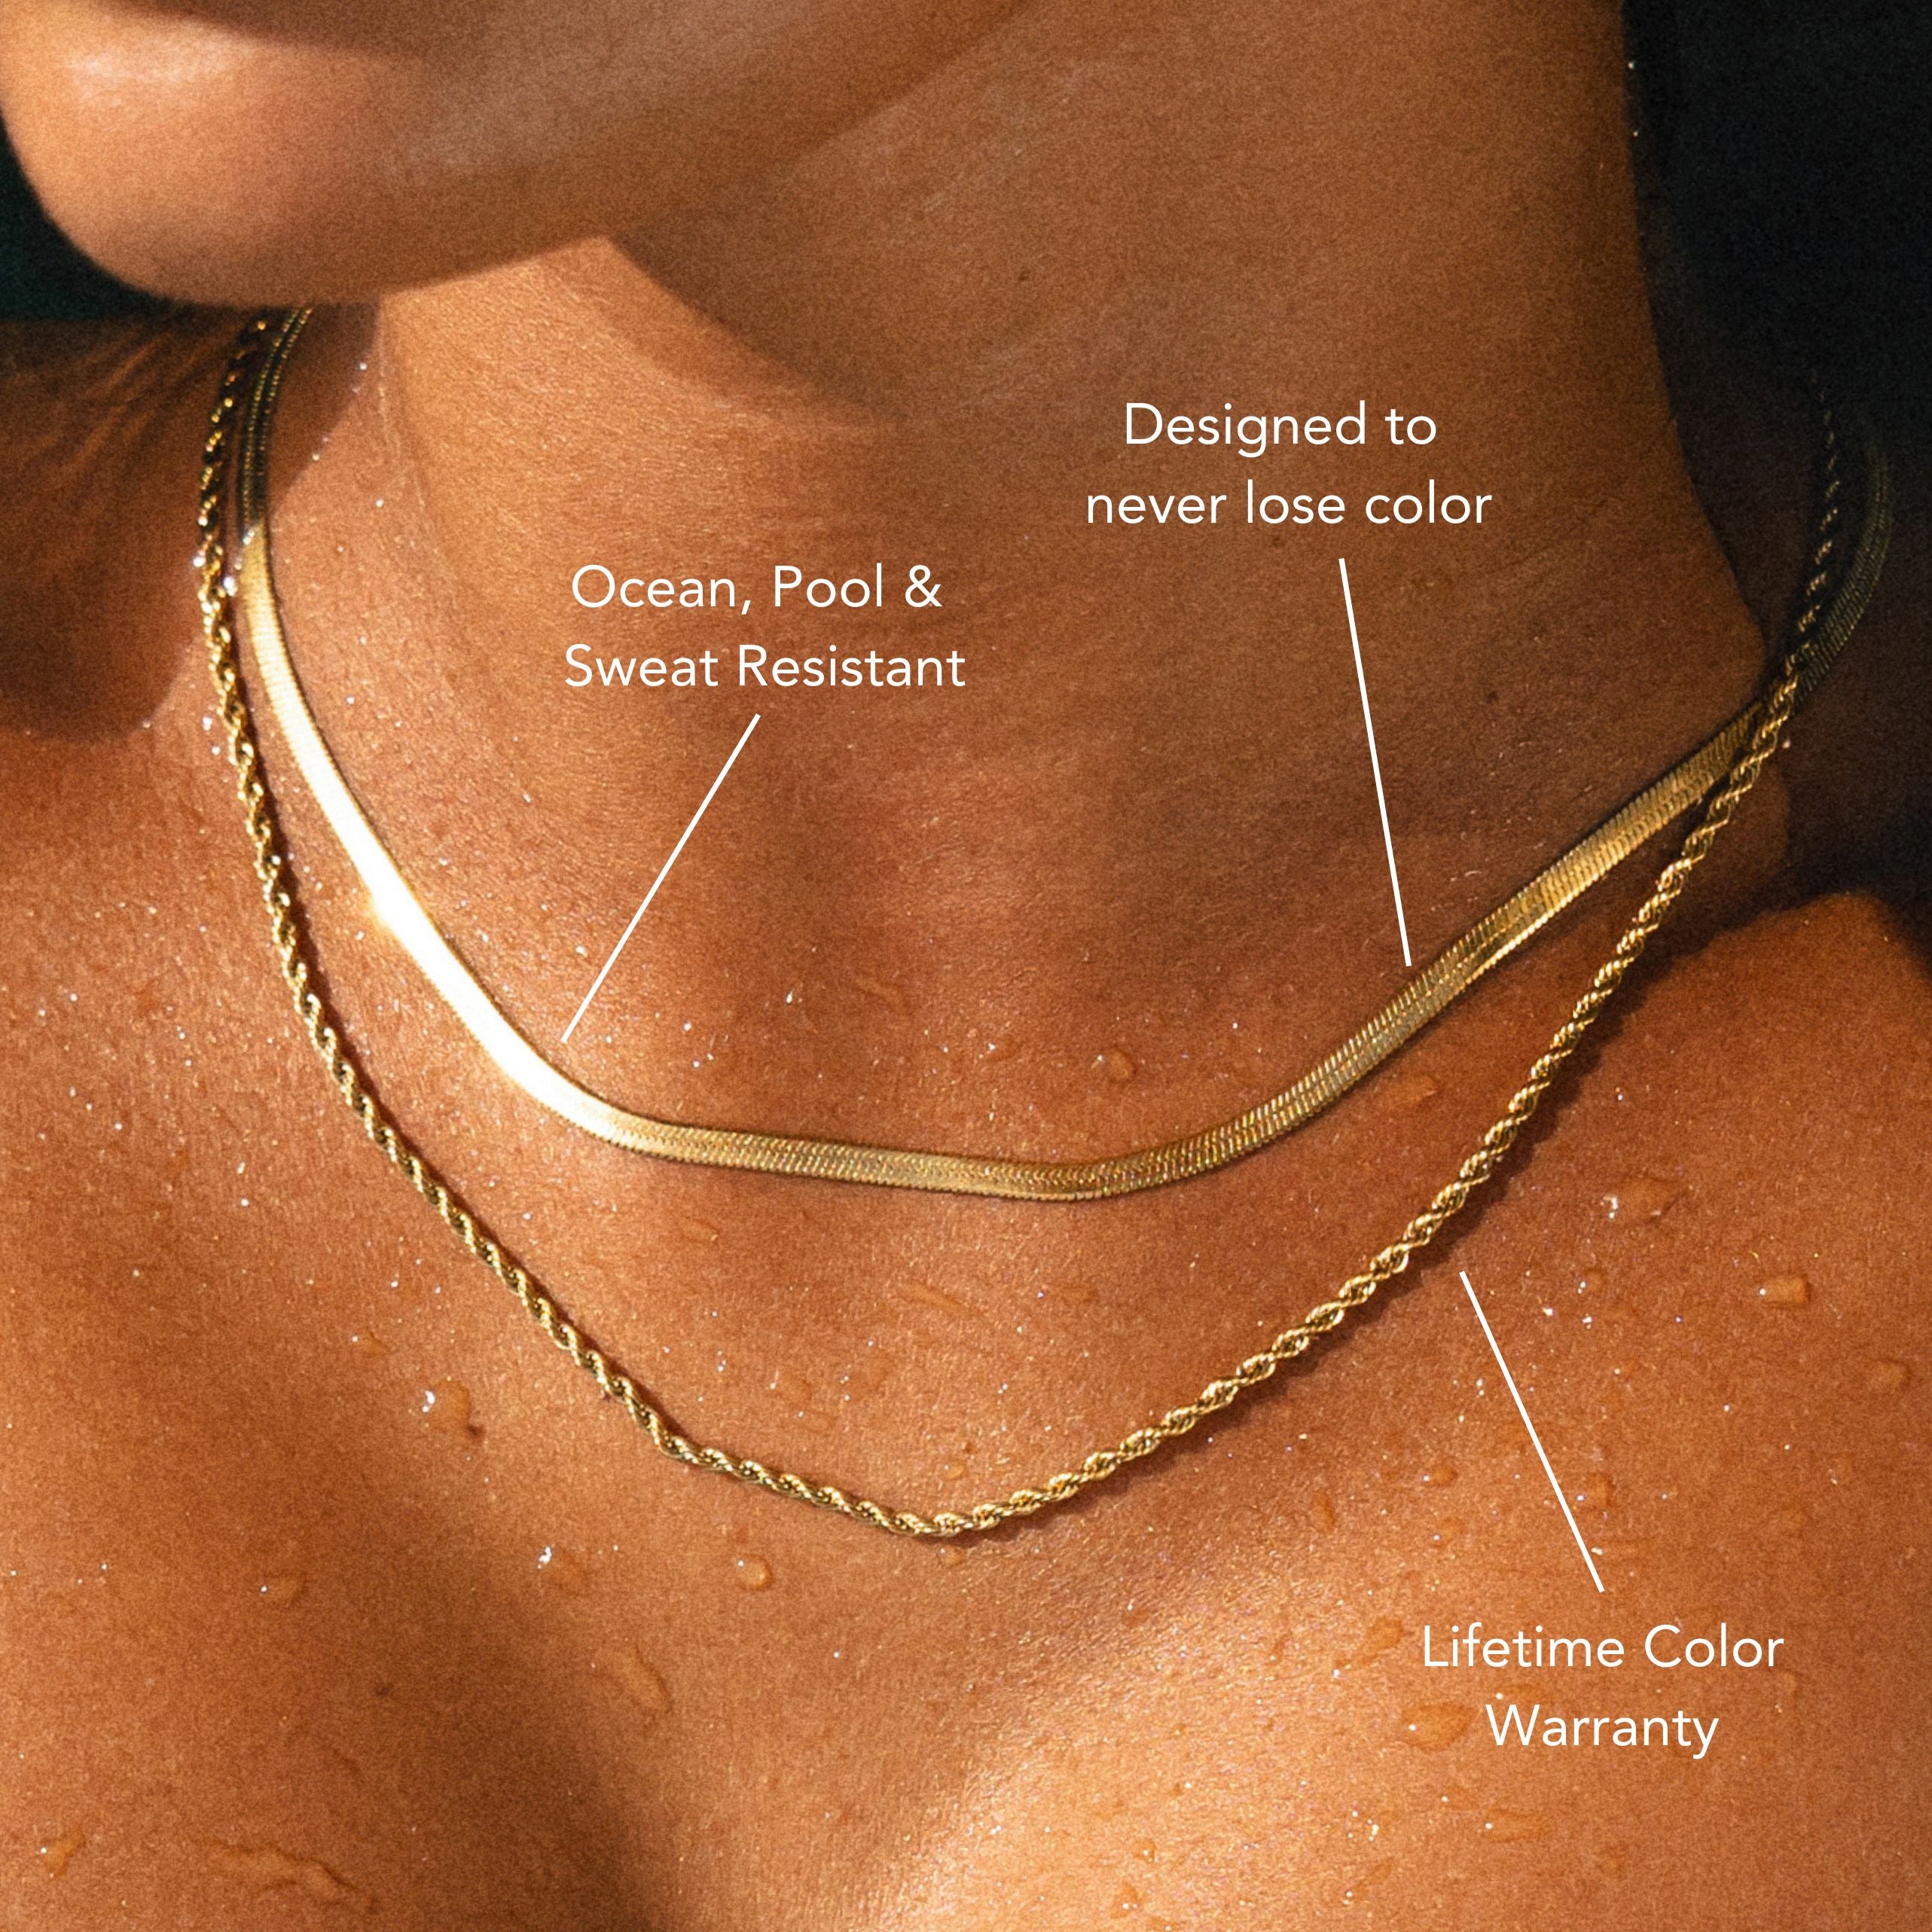
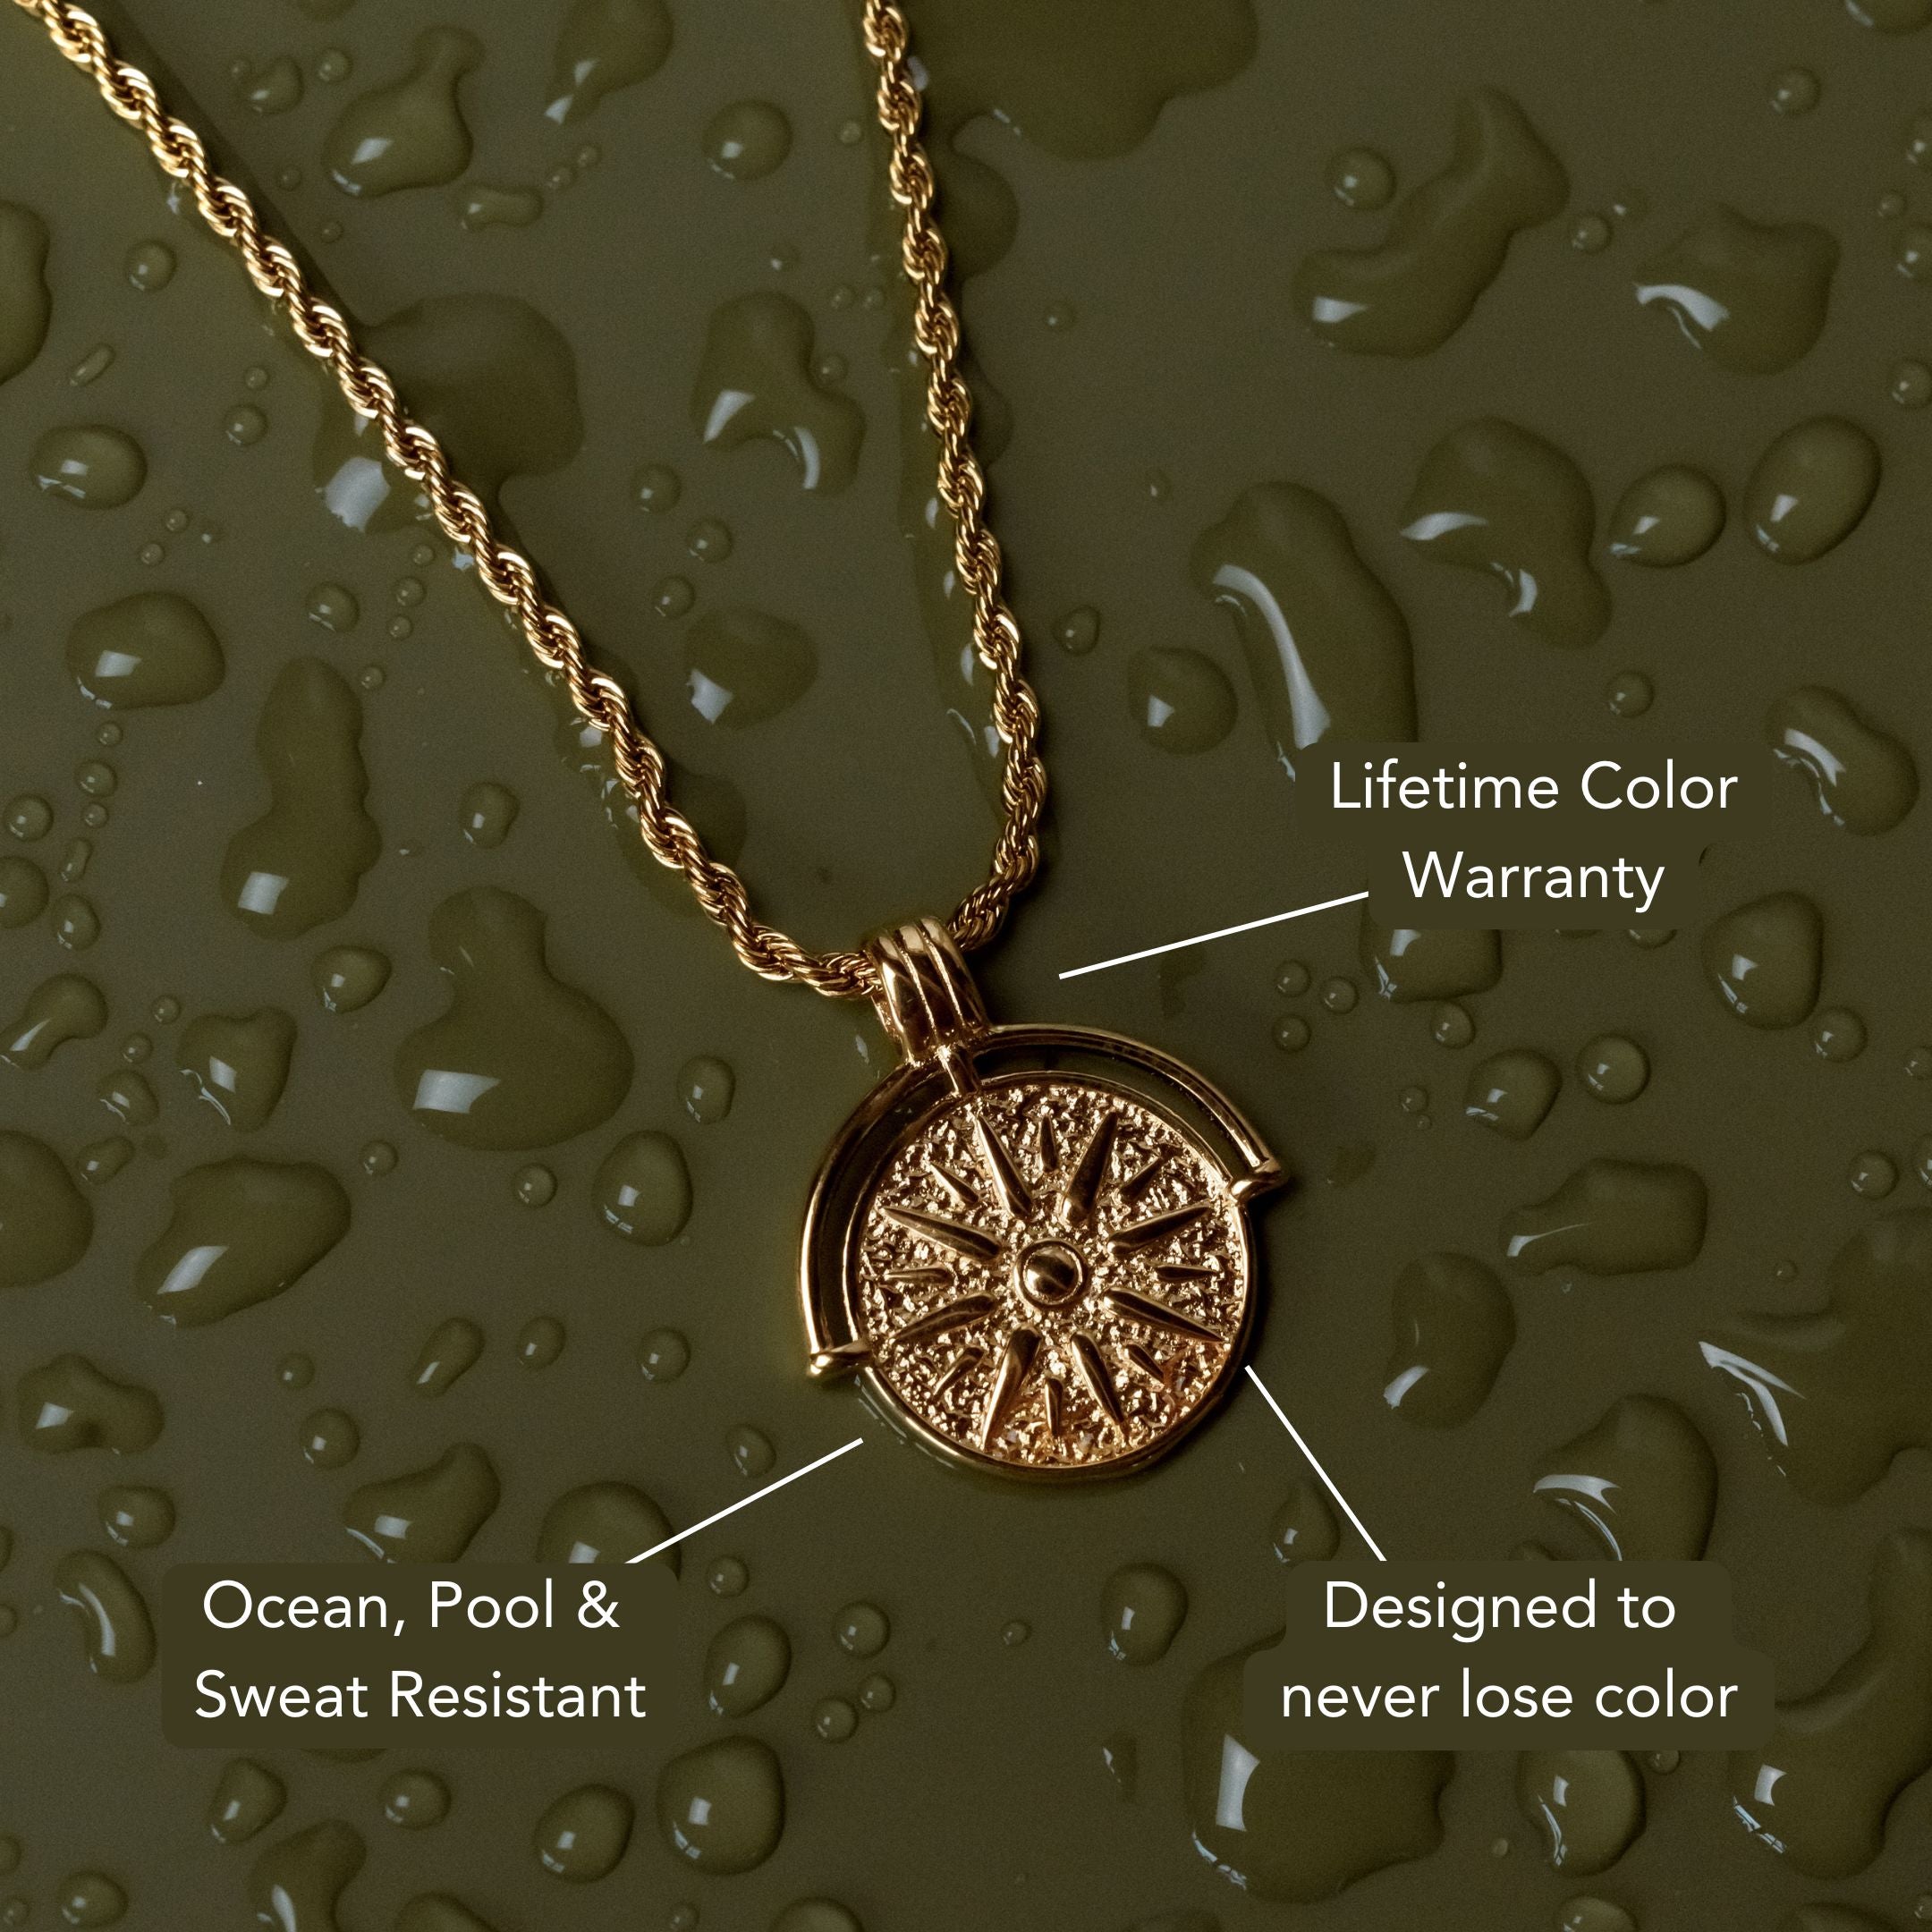
How to clean a tarnished silver ring? Start by wearing nitrile gloves and laying out a lint-free mat. Soak the ring for five minutes in lukewarm distilled water mixed with pH-neutral dish soap. Gently scrub along the metal’s grain using a soft natural-bristle brush—avoid abrasives and ammonia. Rinse with distilled water to prevent mineral spots, then pat dry with a microfiber cloth and lightly buff using a non-abrasive silver polishing cloth. For gemstone rings, shield softer stones and inspect prongs carefully. Store silver in airtight bags with anti-tarnish strips and silica gel. For low-maintenance pieces designed to resist discoloration, explore our Waterproof Jewelry collection—next, learn how to optimize prevention and long-term care.
Why Silver Tarnishes and How to Spot It
Although silver looks inert, it readily reacts with sulfur-containing gases (notably hydrogen sulfide) in air, forming a thin film of silver sulfide (Ag2S) on the surface—this is tarnish.
The primary causes of tarnish include ambient H2S, sulfur off-gassing from paper, rubber, felt, certain textiles, and cosmetics, plus ozone and chlorides that accelerate surface reactions. Skin pH, perspiration, and storage near cooking fuels or polluted air raise risk.
For identifying tarnish, inspect under neutral, diffuse light. You’ll see a progression: rainbow iridescence, then yellow-brown, purple, and finally matte gray-black Ag2S.
Check crevices, hallmarks, and solder seams—tarnish nucleates in micro-roughness. Distinguish dirt (wipes off) from sulfide (adheres). Note plating: thin silver over base metal can show uneven darkening.
Handle with clean, dry, lint-free gloves.

What You’ll Need: Safe Tools and Cleaners
Start with a minimalist, non-abrasive kit to control risk and prevent metal loss: lint-free microfiber cloths, cotton swabs, nitrile gloves, a soft natural-bristle brush, pH-neutral dish soap, distilled water, and high-purity calcium carbonate (whiting) or jeweler’s rouge-free silver polish.
These cleaning tools minimize surface scratching, preserve hallmark legibility, and reduce contamination.
Use nitrile gloves to prevent chloride transfer. Choose distilled water to avoid mineral spotting. Select pH-neutral surfactant to protect silver and gemstones.
For natural cleaners, favor a mild soap solution over acidic agents; avoid baking soda pastes on soft stones or plated items. Verify polish is non-ammoniated and sulfate-free.
Keep a magnification loupe (10x) to inspect prongs and micro-porosity. Store consumables separately, label grit, and discard any cloth that embeds particulate.
Step-by-Step: Gentle At-Home Cleaning Methods
With your kit assembled, proceed methodically to protect the alloy, settings, and stones.
Lay a lint-free mat, don nitrile gloves, and inspect the ring under bright, diffuse light. Prepare a lukewarm bath with pH-neutral soap; immerse for 5 minutes to soften sulfide films.
Using a soft-bristle brush, perform gentle scrubbing along the grain of the metal, avoiding lateral pressure that could abrade high-polish surfaces. Rinse with distilled water to prevent mineral spotting.
For heavier tarnish, mix a paste of baking soda and distilled water (3:1). Spot-apply with a microfiber swab, maintaining minimal dwell time. Brush lightly, then neutralize by rinsing thoroughly.
Pat dry with a clean microfiber; don’t air-dry. Finish by buffing with a nonabrasive silver cloth using linear strokes. Inspect and repeat only if necessary.

Special Care for Gemstones, Engravings, and Plated Pieces
Because construction and surface treatments vary, prioritize material-specific protocols before touching the ring.
Inspect gemstone settings under magnification; confirm prong integrity and note open vs. closed backs. Use pH‑neutral surfactant and distilled water; avoid ammonia or ultrasonic units for porous or fracture‑filled stones.
Shield soft gems with microfoam tape, then clean silver adjacent to stones with a lint‑free swab, minimal pressure, and linear strokes.
For engraving techniques, map the relief and depth.
Employ a soft goat‑hair brush to dislodge oxide from recesses; follow with a dampened microfiber to prevent burnishing of high points.
On rhodium‑ or gold‑plated silver, treat as thin‑film systems: no abrasives, no polishing compounds. Use only non‑ionic solutions and pat dry.
If plate loss appears, stop and defer to a bench jeweler.
Preventing Tarnish: Storage, Wear, and Maintenance Tips
Although silver’s oxide layer is inevitable in sulfur-rich environments, you can slow formation by controlling exposure, handling, and maintenance intervals.
Use inert storage solutions: airtight poly zip bags with anti-tarnish strips, or a gasketed jewelry case lined with sulfur-free, acid-free microfleece. Isolate rings from rubber, newsprint, wool, and bleached tissues that off-gas sulfur or chlorine.
Keep relative humidity below 40% with silica gel desiccants; regenerate packs per manufacturer guidance.
During wear, avoid chlorinated pools, sulfur-heavy hot springs, hair dyes, and thiol-containing cosmetics. Remove the ring for cleaning agents containing bleach, ammonia, or sulfides; don nitrile gloves if contact is unavoidable.
Establish a maintenance routine: weekly rinse and dry, monthly microfiber mechanical polish, quarterly inspect solder joints and prongs, and reapply protective lacquers as specified.

Frequently Asked Questions
Can Professional Jewelers Restore Severely Blackened or Pitted Silver Rings?
Yes. You’ll get restoration techniques like ultrasonic cleaning, ionic stripping, micro-abrasion, laser welding, and rhodium or silver replating. Professional services assess porosity and metal loss, recommend structural repairs, maintain hallmark integrity, and prioritize safe handling, contamination control, and heat management.
How Much Does a Professional Silver Ring Cleaning Typically Cost?
Expect professional cleaning to run $20–$60 per ring. Cost factors include tarnish severity, ultrasonic or steam processes, polishing grade, labor time, locale, and add-ons (rhodium flash, stone tightening). Request itemized estimates and confirm safe, non-abrasive media.
Is Tarnish Covered by Jewelry Warranties or Insurance Policies?
No. Most policies classify tarnish as maintenance, not a covered loss. Review jewelry warranty limits and policy exclusions. Use tarnish prevention tips: anti-tarnish strips, silica gel, sealed storage, periodic professional inspection, non-abrasive polishing cloths, and safe ultrasonic-cleaner settings.
Can Ultrasonic Cleaners Safely Be Used on All-Silver Rings?
No. You shouldn’t use ultrasonic cleaning on all-silver rings indiscriminately. For silver jewelry with gemstones, oxidation, enamel, or glued settings, it risks cavitation damage and loosening. Verify alloy, mounting integrity, and manufacturer specs; otherwise, use non-abrasive manual methods.
How Often Should Silver Rings Be Appraised After Restoration?
Schedule appraisals every 2–3 years post-restoration. You’ll verify workmanship integrity, gemstone security, and market valuation. Prioritize ring maintenance: document condition, monitor solder joints, prong tension, and surface finish. Adjust appraisal frequency after impacts, resizing, hallmarked modifications, or significant silver price changes.
Conclusion
You’ve restored luster by identifying sulfide tarnish, selecting non-abrasive media, and following controlled dwell times and rinse protocols. Maintain integrity by avoiding chloride bleach, ammonia near pearls, and ultrasonic agitation on porous gems. Document gemstone settings before cleaning, then inspect under 10x magnification for prong lift or microcracks. Finish with a microfiber dry-down and anti-tarnish storage. Wear pieces regularly to reduce oxidation, and schedule periodic professional assessment to verify plating thickness, solder joints, and structural stability.


コメントを書く
このサイトはhCaptchaによって保護されており、hCaptchaプライバシーポリシーおよび利用規約が適用されます。