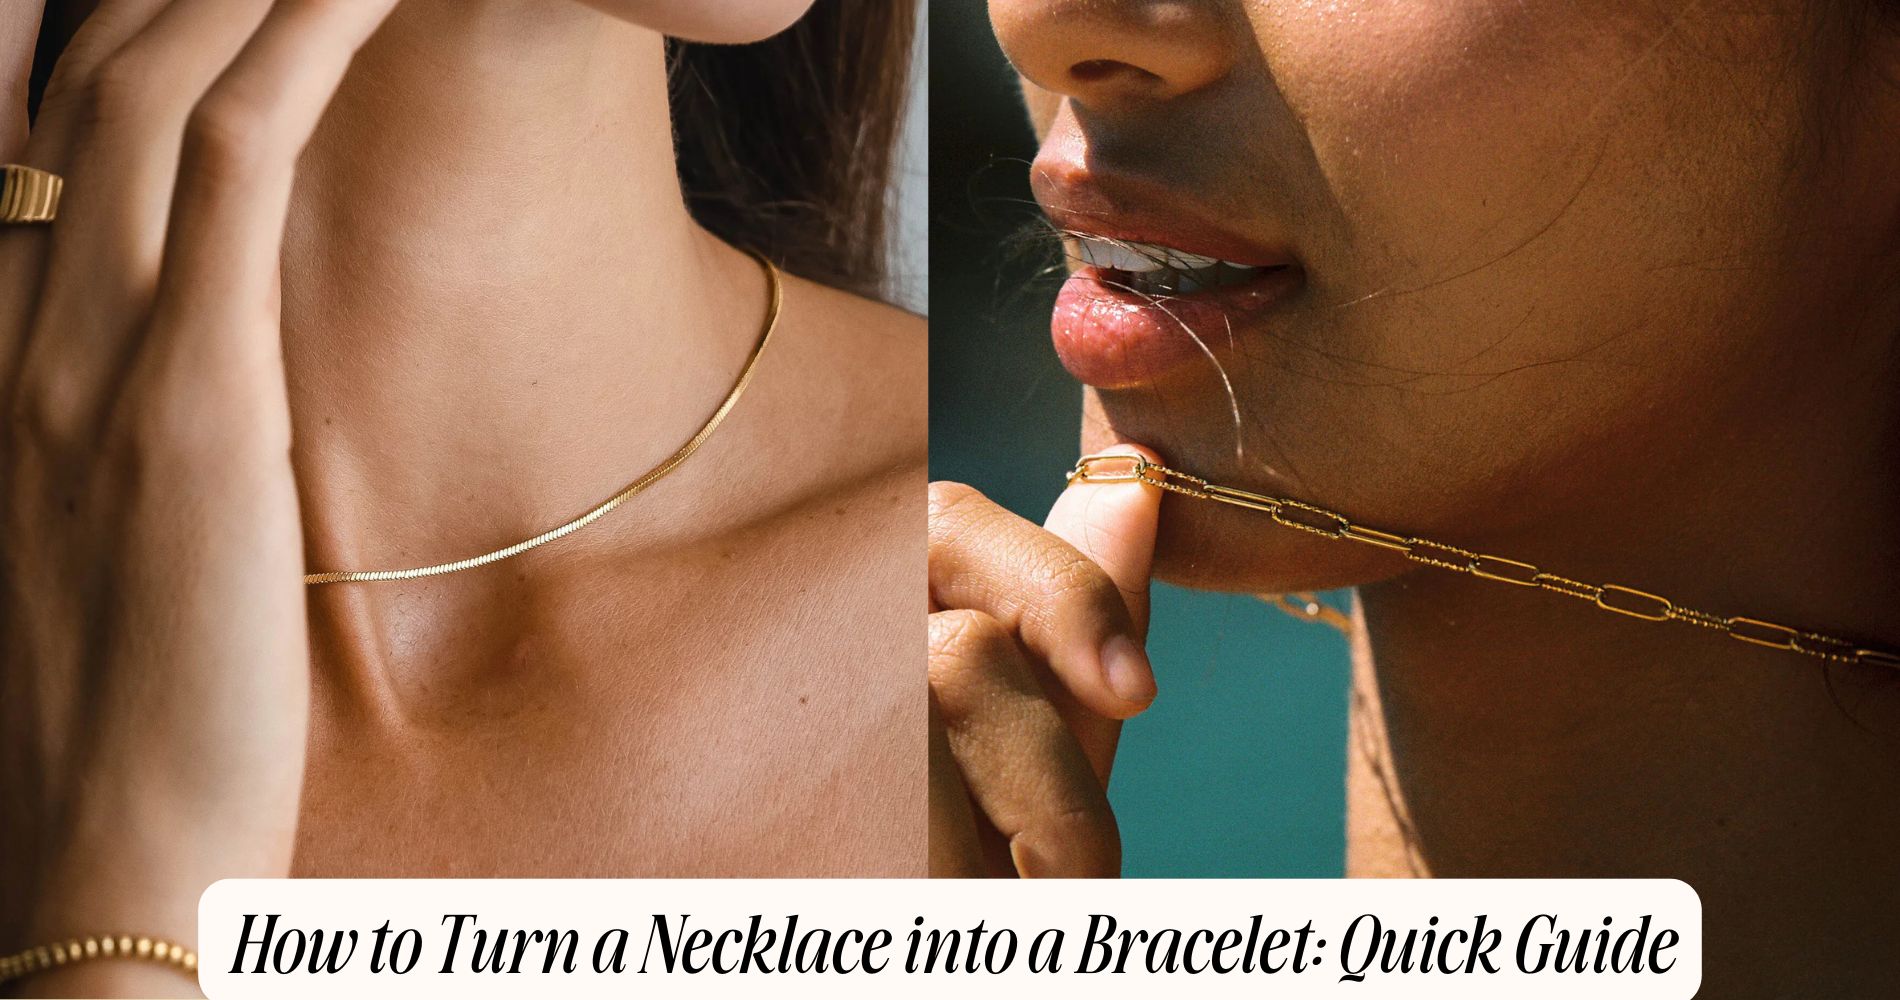
How to Turn a Necklace Into a Bracelet: Quick Guide
Learning how to turn a necklace into a bracelet can be a fun and creative adventure! Start by evaluating your necklace's beads and charms to decide what you'd like to use. Gather your tools—scissors, pliers, and perhaps some elastic thread if you're feeling crafty. Measure the desired bracelet length, typically 7-8 inches, and carefully cut the necklace. For versatile designs that are perfect for customization, explore our Everyday Gold Necklace collection to find the perfect piece to transform. Add a stylish clasp, such as a lobster or magnetic one, to make it easy to wear. Finally, pair your new bracelet with your favorite outfits and enjoy layering it for a personalized touch!
Assess Your Necklace
To plunge into transforming your necklace into a chic bracelet, start by carefully evaluating your necklace's design and materials.
Look closely at the beads, chains, or charms that make up your necklace. Are they vibrant and eye-catching, or subtle and understated? This assessment will guide your design inspiration for the bracelet.
Consider how the necklace's materials—like metal, glass, or fabric—can enhance your wrist's aesthetic. If it's a delicate gold chain, think about how it'll drape elegantly on your wrist. A statement piece adorned with colorful stones might inspire a more playful, bohemian bracelet.
Next, think about length. A necklace typically hangs around your neck, while a bracelet wraps snugly around your wrist. Measure your wrist and visualize how much of the necklace can be repurposed.
You might even decide to incorporate additional elements, like charms or clasps, to elevate your new design.
Gather Necessary Supplies
Before diving into your bracelet transformation, you'll need to gather a few essential supplies to guarantee the process goes smoothly.
Start with your necklace types—whether it's a delicate chain, chunky beads, or a statement piece, each offers unique possibilities for bracelet designs.
Next, grab scissors or wire cutters, depending on your necklace material, to make sure you can cut it down to the right length.
If you're working with beads or charms, a pair of pliers will be vital for manipulating jump rings or clasps.
You'll also want to have a measuring tape on hand to determine the perfect size for your wrist, ensuring comfort and style.
Don't forget to pick up some additional materials, like elastic thread or jewelry wire, if you plan to create a custom design with the beads from your necklace.
Finally, a clasp or closure mechanism will complete your bracelet, allowing it to stay securely fastened.
With all these supplies ready, you'll be well-equipped to breathe new life into your necklace and craft a stunning bracelet that reflects your personal style.
Measure and Cut
Measuring and cutting your necklace is the essential step that transforms it into a beautiful bracelet. Start by determining the desired length of your bracelet. Typically, a bracelet should measure around 7-8 inches, depending on your wrist size.
Use a soft measuring tape for accuracy, wrapping it around your wrist to find that perfect fit. If you don't have a measuring tape, a string can work in a pinch—just mark the length and measure it against a ruler.
Once you've got your measurement, it's time to grab your cutting tools. Sharp wire cutters or jewelry scissors are perfect for this task. Carefully hold the necklace taut and snip at the marked point. Make sure you're cutting cleanly; jagged edges can lead to discomfort when wearing your new bracelet.
Remember to measure twice and cut once to avoid mistakes. If your necklace includes beads, consider how many you want to keep for your bracelet. This way, you'll create a piece that's not only stylish but also uniquely yours.
With your necklace now cut to size, you're one step closer to wearing your customized bracelet!
Attach Closure or Clasp
Once you've snipped your necklace to the perfect length, it's time to secure it with a closure or clasp, guaranteeing your new bracelet stays comfortably in place.
Choosing the right closure types can elevate your bracelet's design and functionality. Start by considering your style—do you prefer the simplicity of a lobster clasp or the elegance of a magnetic closure?
Lobster clasps are popular for their reliability and ease of use. Simply attach one end to the bracelet and the other to the clasp.
If you're after something a bit more modern, magnetic clasps can make putting on and taking off your bracelet a breeze. Just make sure they're strong enough to hold!
You might also explore toggle clasps, which add a touch of sophistication while providing a secure fit. They consist of a bar and a loop, offering both style and security.
Whichever clasp option you choose, guarantee it complements the design of your bracelet and fits snugly.
Now that you've attached your closure, you're one step closer to showcasing your stunning new bracelet!
Style and Wear Your Bracelet
With your closure securely attached, it's time to release your creativity and style your new bracelet. Start by considering how it complements your wardrobe.
Think about bracelet styling; layering multiple bracelets can add dimension and flair. Mix textures—stack that shiny new bracelet with leather or fabric bands for a chic contrast.
Next, focus on color coordination. Take a moment to assess your outfit. If you're wearing bold patterns, opt for a simple, solid-colored bracelet to keep the look balanced. Conversely, if your outfit is neutral, don't shy away from vibrant hues to make a statement.
Accessorizing wisely can elevate your entire look. Consider wearing your bracelet alone for a minimalist vibe, or pair it with matching earrings or a necklace to create a cohesive ensemble.
You might even add charms or beads that reflect your personality, making your bracelet uniquely yours.
Lastly, don't forget about the occasion. Whether you're dressing up for a night out or going casual for brunch, tailoring your bracelet styling to fit the moment will guarantee you shine.
Enjoy experimenting and let your personal style radiate!
Frequently Asked Questions
Can I Use Any Type of Necklace for This Project?
You can use various chain types, but consider the material. Delicate chains might break, while sturdy ones hold up better. Just make certain the necklace's length suits your wrist, and you're ready to create something unique!
What if My Necklace Has a Pendant?
If your necklace has a pendant, consider its placement carefully. You might need to adjust the length for a comfortable fit. Experiment with different positions to create a unique bracelet that highlights your pendant beautifully.
How Do I Ensure Durability After Converting?
To guarantee durability after converting, choose durable materials like sturdy chains. Use proper fastening techniques to secure the ends tightly, preventing breakage. Reinforce connections with glue or solder for an added layer of strength and longevity.
Is It Possible to Add Charms to My Bracelet?
Absolutely, you can add charms to your bracelet! Choose charm types that reflect your style, and consider charm placement to create visual balance. Mix and match for a personalized touch that tells your unique story.
Can I Turn a Bracelet Back Into a Necklace?
Absolutely, you can turn a bracelet into a necklace! By adjusting bracelet styles and layering them, you can achieve various necklace lengths. Just experiment with different combinations to create a stunning, personalized accessory.
Conclusion
Now that you've transformed your necklace into a stunning bracelet, it's time to show it off! Wrap it around your wrist and let the unique design speak for itself. Feel free to layer it with other bracelets or wear it solo for a chic statement. Remember, this isn't just a DIY project; it's a way to breathe new life into your jewelry collection. So, go ahead—flaunt your creativity and enjoy the compliments that come your way!









Leave a comment
This site is protected by hCaptcha and the hCaptcha Privacy Policy and Terms of Service apply.