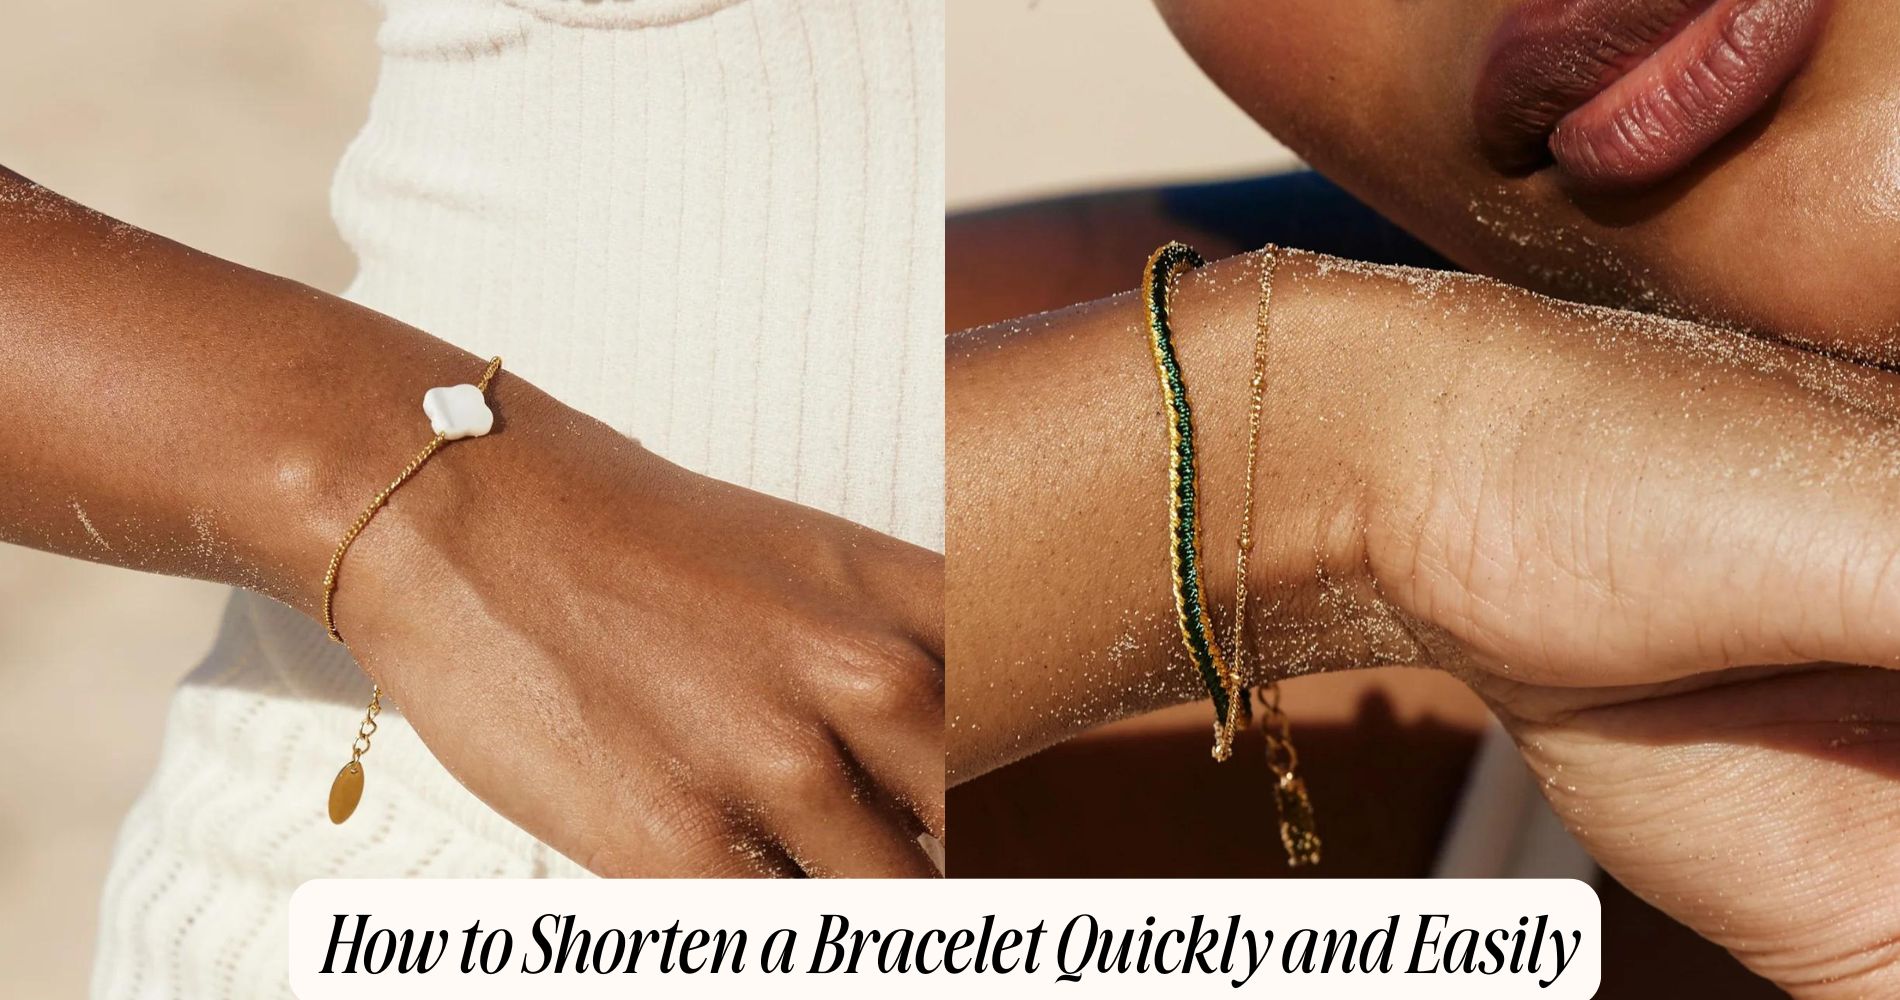
How to Shorten a Bracelet Quickly and Easily
How to shorten a bracelet quickly and easily starts with having the right tools: pliers, wire cutters, and a measuring tape. Begin by measuring your wrist to find the perfect length. For chain bracelets, remove excess links with wire cutters. For beaded bracelets, use pliers to adjust the beads and trim the string or wire. Leather or fabric bracelets can be cut to the desired length with scissors, sealing the edges to prevent fraying. Always test the fit after adjustments for comfort and security. Looking for more tips? Check out our Summer Bracelets collection for inspiration and customization ideas.
Assessing Bracelet Size
To effectively shorten a bracelet, you first need to evaluate its size. Begin by measuring your wrist accurately. Use a flexible measuring tape or a piece of string to wrap around your wrist comfortably. Make certain it's snug but not too tight, then note the measurement. This gives you a baseline for choosing the right style and length for your bracelet.
When evaluating the bracelet you want to shorten, lay it flat and measure its total length. Compare this length with your wrist measurement. Ideally, a bracelet should have a little extra length for comfort, typically around half an inch to an inch. If the bracelet exceeds this range, you'll need to shorten it.
Consider the bracelet's design when deciding how much to shorten it. Some styles, like charm bracelets, may require you to remove specific sections, while others might just need a simple adjustment.
Tools You'll Need
Before you start shortening your bracelet, gather the essential tools you'll need for the task.
First, you'll require measuring tools to determine the correct length. A flexible measuring tape is ideal, but a ruler or caliper can also work. Measure your wrist and the desired length of the bracelet accurately.
Next, you'll need recommended pliers. A pair of flat-nose pliers is perfect for gripping and bending metal links without causing damage. If your bracelet has jump rings or similar fasteners, consider using round-nose pliers to help open and close them without distortion.
Additionally, a wire cutter can be handy if you need to remove any links. Make sure the cutting edges are sharp to guarantee a clean cut.
A soft cloth will also help protect your workspace and your bracelet from scratches while you work.
Shortening Chain Bracelets
To shorten a chain bracelet, you'll need specific tools to guarantee a clean and precise adjustment.
Start by gathering pliers, a ruler, and any additional links you plan to remove.
Once you have everything ready, follow these steps to achieve the perfect fit.
Tools You'll Need
Gathering the right tools is essential for successfully shortening a chain bracelet. To start, you'll need a pair of jewelry pliers, specifically needle-nose pliers, for their precision. These pliers help you open and close the links without damaging the bracelet.
Next, a pair of wire cutters will be necessary to snip any excess chain links. You'll also want a soft cloth to protect the bracelet's surface while you work, guaranteeing no scratches occur.
A ruler or measuring tape is recommended for accurate length measurements, allowing you to achieve the perfect fit.
Before you begin, remember to follow safety precautions. Wear safety goggles to protect your eyes from any flying debris when cutting the chain. Work in a well-lit area to enhance visibility.
Gathering these recommended tools will streamline the process and help you feel more confident in shortening your chain bracelet. By having everything ready, you can guarantee a smooth and efficient experience, ultimately leading to a beautifully adjusted bracelet.
Step-by-Step Process
Start by measuring the desired length of your bracelet. Use a soft measuring tape or a piece of string to determine how much you'd like to shorten it.
Take note of this measurement, as it'll guide your adjustments.
Next, identify the design considerations of your bracelet style. Different styles, like charm or link bracelets, may require different techniques for shortening.
If your bracelet has a clasp, you might be able to remove links easily. For chain bracelets, use your pliers to open the jump rings connecting the links.
Carefully remove the excess links according to your measurement.
Make sure to keep the removed links in case you want to extend the bracelet later.
After you've removed the necessary length, reconnect the remaining links using the pliers.
Adjusting Beaded Bracelets
To adjust a beaded bracelet, you'll need a few essential tools, like pliers and wire cutters.
The process involves carefully removing beads and re-stringing them to achieve your desired length.
Follow these steps to guarantee a precise and secure fit.
Tools You'll Need
Before you begin adjusting your beaded bracelet, it's vital to have the right tools on hand. This will guarantee the process is efficient and your bracelet remains intact.
First, you'll need a pair of pliers. Different pliers types serve specific purposes; for beaded bracelets, round-nose pliers and flat-nose pliers are essential. Round-nose pliers help you create loops, while flat-nose pliers are great for gripping and bending wire.
Next, you should have scissors or wire cutters. These will be necessary for trimming any excess wire or string once you've shortened the bracelet.
Additionally, a ruler or measuring tape will help you determine the correct length before making adjustments.
Finally, if your bracelet uses specific types of bracelet clasps, make sure you have those on hand as well. Clasps come in various designs, and having the right one will guarantee your bracelet closes securely after adjustments.
With these tools at your disposal, you'll be ready to tackle the task of shortening your beaded bracelet effectively.
Step-by-Step Process
Adjusting a beaded bracelet requires a systematic approach to guarantee that you achieve the desired fit without damaging the piece. Start by laying your bracelet flat on a clean surface. Identify the beads you want to remove—this may vary depending on the bracelet styles you're working with.
Next, use a pair of sharp scissors or a bead reamer to carefully cut the string or wire. Make sure to leave enough length on both ends to reattach the beads.
Once you've removed the desired number of beads, you'll need to re-knot the remaining beads securely. If your bracelet has a clasp, verify it's properly aligned with the beads for ideal functionality.
Before finishing, check the bracelet's overall appearance, confirming it maintains its aesthetic appeal. This is essential for effective jewelry care, as a well-fitted bracelet not only looks good but lasts longer.
After you're satisfied with the fit, trim any excess string, and make sure all knots are tight. Finally, store your bracelet in a soft pouch to protect it from scratches and verify it stays in excellent condition.
Modifying Leather and Fabric
When it comes to shortening leather and fabric bracelets, a few simple steps can make the process straightforward. First, assess the type of leather or fabric you're working with, as different fabric types may require specific tools or methods.
For leather, you'll need a sharp blade, a ruler, and a cutting mat. Measure how much you need to remove, mark the cut line, and carefully slice through the leather, ensuring a clean edge.
For fabric bracelets, use sharp scissors instead. Before cutting, check if the fabric frays. If it does, you might need to apply a fabric sealant or use pinking shears to prevent fraying. Make sure to fold under the raw edges for a neat finish.
After shortening, it's crucial to practice proper leather care. If you've altered a leather bracelet, consider applying a conditioner to maintain its suppleness and prevent cracking.
For fabric, a light iron can help smooth out any wrinkles from the cutting process. By following these steps, you can effectively modify your leather and fabric bracelets while preserving their quality and appearance.
Testing the Fit
Once you've shortened your bracelet, testing the fit is important to guarantee it sits comfortably on your wrist.
Start by putting the bracelet on and adjusting it to your desired position. Pay attention to how it feels—tightness or pinching can indicate it's too small, while excessive movement may mean it's too large.
Consider different bracelet styles, as each might fit differently. For example, chunky styles may require a snugger fit compared to delicate chains.
Determine your fit preferences; some people prefer a tighter fit that stays in place, while others like a looser style that allows for some movement.
After wearing the bracelet for a few minutes, check for any irritation or discomfort. If it's uncomfortable, you may need to adjust the size further.
Note how it interacts with your wrist—does it slide around or dig in? This feedback is essential for achieving the perfect fit.
Frequently Asked Questions
Can I Shorten a Bracelet Without Special Tools?
Yes, you can shorten a bracelet without special tools, depending on the materials and clasp types. For example, metal bracelets often allow you to remove links, while fabric or elastic types can be easily trimmed.
What if I Damage the Bracelet While Shortening It?
If you damage the bracelet while shortening it, you might need professional bracelet repair. To guarantee damage prevention, use proper techniques and tools, or consult a jeweler for assistance to avoid costly mistakes.
Is It Possible to Lengthen a Shortened Bracelet Later?
Yes, you can lengthen a shortened bracelet later. Bracelet extension methods and jewelry repair options are available, allowing you to restore its original size or customize it to your preference without compromising its integrity.
Should I Consult a Professional Jeweler for This Task?
If you're unsure about altering your bracelet styles, consulting a professional jeweler for jewelry repair is wise. They'll guarantee the adjustment is done correctly, preserving the integrity and appearance of your beloved accessory.
How Do I Avoid Wrist Irritation After Shortening?
To avoid wrist irritation after shortening, prioritize wrist care by choosing smooth edges and hypoallergenic materials. Apply irritation relief methods, like moisturizing creams or wearing the bracelet loosely, to enhance comfort during wear.
Conclusion
Now that you know how to shorten various types of bracelets, you can easily achieve the perfect fit. Whether you're working with chain, beads, leather, or fabric, just gather your tools and follow the steps outlined. Remember to test the fit before finalizing any adjustments. With a little practice, you'll master the art of bracelet modification, ensuring your accessories are both stylish and comfortable. Enjoy your newly fitted bracelet!









Leave a comment
This site is protected by hCaptcha and the hCaptcha Privacy Policy and Terms of Service apply.