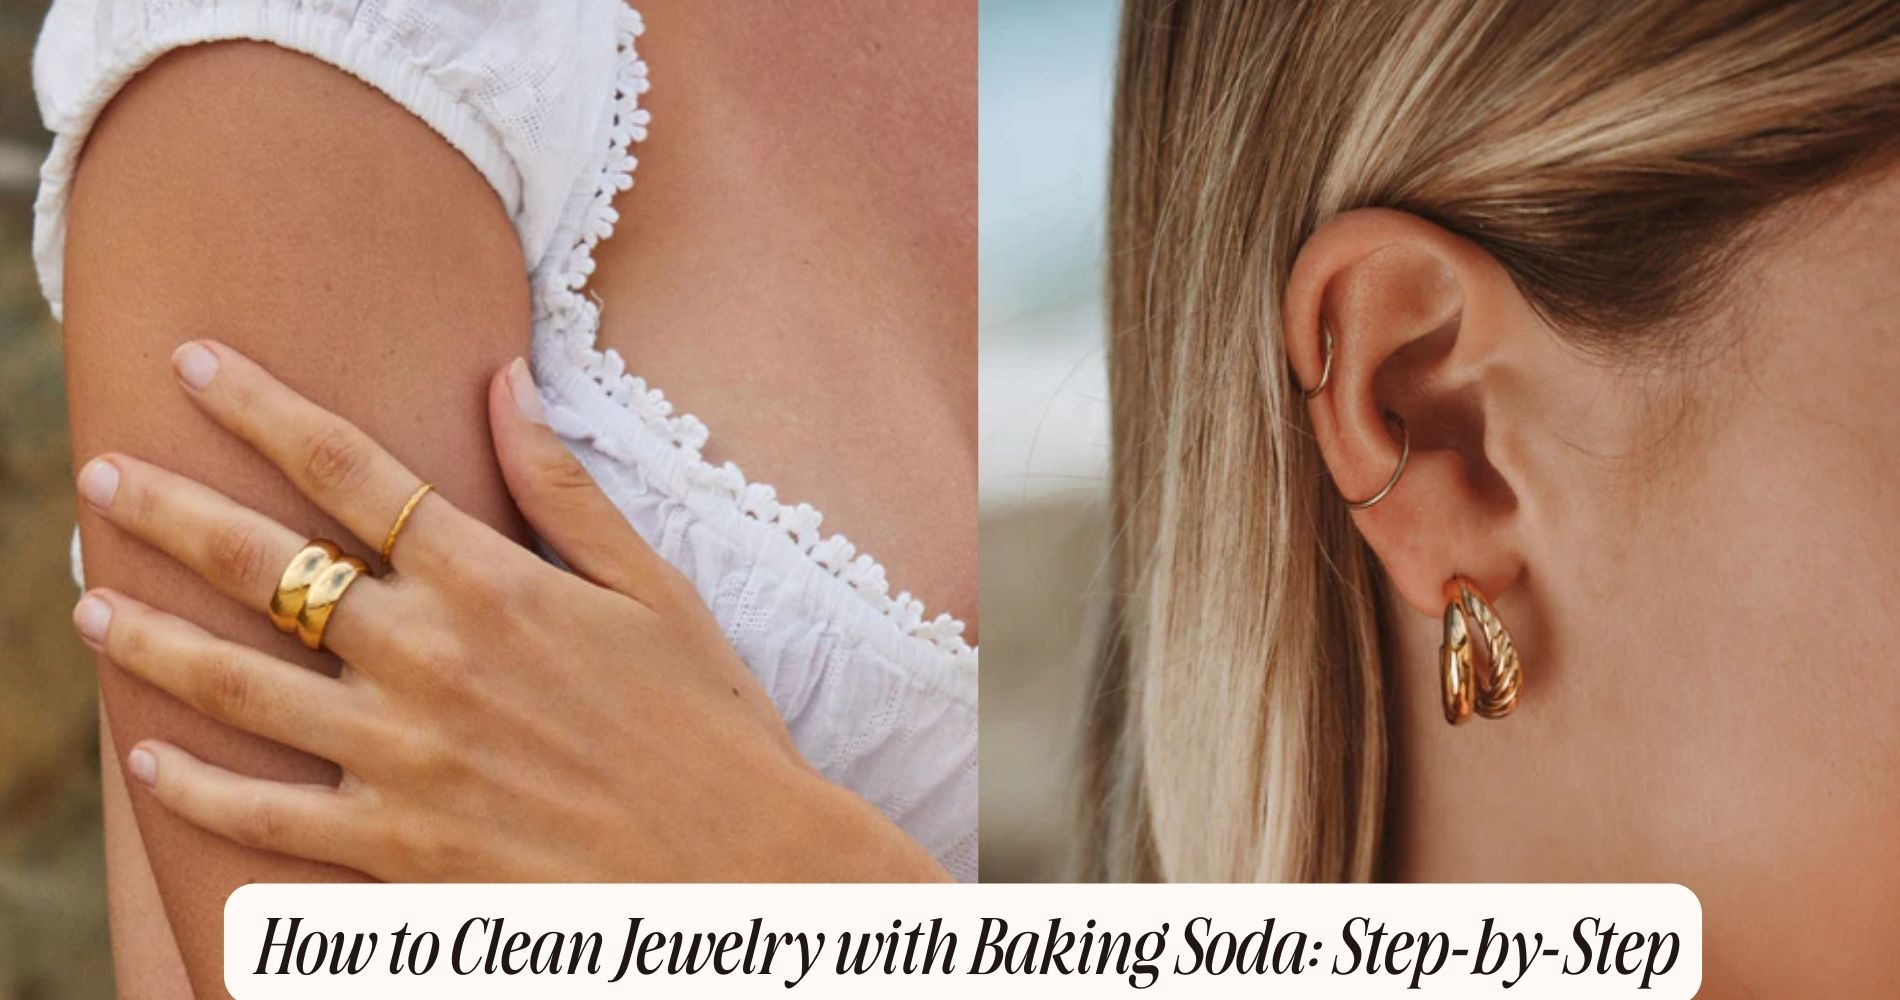
How to Clean Jewelry with Baking Soda: Step-by-Step
Can you clean jewelry with baking soda? Absolutely! Here's a straightforward guide to using this household staple for jewelry care. First, assemble your cleaning materials: baking soda, a small bowl, water, a soft-bristled toothbrush, and a microfiber cloth. Begin by mixing one tablespoon of baking soda with one cup of warm water until it forms a smooth solution. Submerge your jewelry in this mixture for 15-20 minutes. After soaking, gently scrub any detailed areas with the soft toothbrush, then rinse the jewelry well under lukewarm running water. Dry it completely using the microfiber cloth.
To ensure a thorough clean, check for any remaining residue and give your jewelry a final polish for extra shine. Store your pieces properly in a soft-lined compartment to maintain their luster. For additional care tips and to discover products that complement your routine, check out our Waterproof Jewelry collection.
Gather Your Supplies
To begin, you'll need to assemble all necessary materials, including baking soda, a small bowl, water, a soft-bristled toothbrush, and a microfiber cloth. Making sure you have the right supplies is vital for effective and safe jewelry cleaning.
First, prioritize safety gear. Wearing gloves will protect your hands from potential skin irritations caused by prolonged contact with baking soda. Although baking soda is generally safe, it's always best to err on the side of caution. Safety glasses are also advisable to prevent any accidental splashes from reaching your eyes.
Next, focus on your workspace setup. Choose a well-ventilated area with ample lighting to see the intricate details of your jewelry. Lay down a clean, dry towel to provide a non-slip surface that will catch any accidental spills and prevent your jewelry from getting scratched.
Position your small bowl, filled with water, within easy reach. Make sure that your soft-bristled toothbrush and microfiber cloth are clean and ready for use.
Prepare the Cleaning Solution
You'll need to gather a bowl, warm water, baking soda, and a soft brush.
Combine one tablespoon of baking soda with one cup of warm water, ensuring the mixture is homogeneous.
This solution will effectively loosen dirt and grime from your jewelry.
Gather Necessary Materials
Secure a small bowl, baking soda, water, a soft-bristled toothbrush, and a microfiber cloth to prepare the cleaning solution. Start by putting on protective gloves to shield your skin from potential irritants.
The small bowl will serve as the container for mixing your cleaning solution. Confirm it's clean and free of any residues that could contaminate the mixture.
Baking soda is your primary cleaning agent due to its mild abrasive properties, which can effectively lift dirt and tarnish without damaging delicate surfaces. Opt for distilled water, as it lacks minerals that could leave unwanted deposits on your jewelry.
A soft-bristled toothbrush is essential for gently scrubbing intricate details and crevices without scratching the metal or gemstones. Ensure the bristles are in good condition and free from any contaminants.
The microfiber cloth will be used for drying and polishing the jewelry afterward. Its non-abrasive fibers ensure a streak-free, polished finish, enhancing the overall appearance of your cleaned items.
Mix Baking Soda Solution
Begin by combining three parts baking soda with one part distilled water in your clean bowl to create a thick, paste-like cleaning solution. This precise solution ratio is crucial for achieving the ideal baking consistency, which is essential for effectively cleaning your jewelry without causing damage. Use a clean, dry measuring spoon to guarantee accuracy when measuring the baking soda and distilled water.
Stir the mixture thoroughly until you achieve a homogeneous paste. The baking soda should fully dissolve in the water, resulting in a smooth, consistent texture. If the solution appears too runny, incrementally add more baking soda until you reach the desired thickness. Conversely, if the mixture is too thick, add small amounts of distilled water to adjust the consistency.
The baking consistency of the solution is crucial; it should be viscous enough to adhere to the jewelry surface but not so thick that it clumps or falls off. A well-mixed solution ensures that the abrasive properties of the baking soda are evenly distributed, optimizing the cleaning process.
Once your solution is prepared, it's ready for application on your jewelry, ensuring an effective and safe cleaning procedure.
Soak the Jewelry
Guarantee you soak the jewelry for no more than 10 minutes to prevent any potential damage.
Use lukewarm water as excessively hot or cold temperatures can compromise the integrity of delicate pieces.
Regularly monitor the soaking process to maintain peak cleaning conditions.
Proper Soaking Time
To achieve the best possible results, immerse your jewelry in a solution of baking soda and water for a precise duration of 15 to 20 minutes. This soaking duration is crucial for allowing the baking soda to effectively break down dirt, grime, and tarnish without causing damage to delicate pieces.
When you're soaking your jewelry, it's vital to maintain exact timing intervals. Over-soaking can lead to potential damage to certain materials, while under-soaking may not provide the desired level of cleanliness.
Utilize a timer to guarantee accuracy in your soaking duration. Begin with the minimum 15-minute interval, especially if you're cleaning more delicate items such as softer gemstones or intricate settings. For more robust pieces like gold or silver chains, extending the soak to the full 20 minutes can offer enhanced cleaning benefits.
Monitor the jewelry during the soaking period, ensuring the solution remains consistent and each piece is fully submerged. If you're cleaning multiple items, ensure they don't overlap or touch each other, as this can impede the cleaning process.
Water Temperature Tips
Proper water temperature is crucial for optimizing the effectiveness of your baking soda solution and safeguarding the integrity of your jewelry. The thermal conditions play a pivotal role in the dissolution of baking soda and the removal of grime.
Using boiling water can be highly effective for certain types of robust jewelry, such as gold and silver, because it accelerates the chemical reactions, enhancing the cleaning power. However, you should avoid boiling water for delicate or heat-sensitive pieces like pearls or opals, as extreme temperatures can cause irreversible damage.
Cold water, on the other hand, is generally safer for fragile jewelry but may not be as effective in dissolving the baking soda and removing stubborn residues. To strike a balance, lukewarm water is often recommended for a broad spectrum of jewelry types. It provides enough heat to activate the baking soda without risking thermal shock to sensitive materials.
When preparing your solution, dissolve the baking soda thoroughly in the chosen temperature of water before soaking your jewelry. This ensures an even distribution of the cleaning agent and maximizes its efficacy.
Always remember to monitor the water temperature closely to maintain the integrity and appearance of your cherished pieces.
Gently Scrub the Jewelry
Using a soft-bristled toothbrush, gently scrub the jewelry to remove any tarnish or buildup from intricate crevices. Guarantee that you apply minimal pressure to avoid scratching the metal or gemstones. The use of a toothbrush is particularly effective for reaching detailed areas that a soft cloth can't access.
Dip the toothbrush into the baking soda mixture and use a circular motion to clean the surface. Focus on areas like prongs, bezels, and filigree, which tend to accumulate more dirt and tarnish.
Continue this process until the entire piece of jewelry appears clean. If your jewelry has intricate patterns, pay extra attention to these sections, as they often harbor stubborn debris. Maintain a steady hand and a light touch to prevent any damage. Always inspect the jewelry under good lighting to guarantee that all areas are thoroughly scrubbed.
After scrubbing, avoid wiping the jewelry immediately. Instead, make sure you've addressed all tarnished spots before moving on to the rinsing step. This methodical approach ensures your jewelry is cleaned effectively and safely.
Rinse Thoroughly
Rinse the jewelry under lukewarm running water to remove all traces of the baking soda mixture and any loosened debris. It's important to rinse thoroughly to guarantee that no remnants of the cleaning solution remain on the jewelry. Baking soda, while effective, can be abrasive if not entirely washed away, potentially causing micro-scratches over time.
Hold the jewelry securely, making sure it doesn't slip from your grasp. Allow the water to flow over every part of the piece, paying particular attention to crevices and intricate designs where residue might accumulate. Use your fingers to gently manipulate the jewelry, ensuring all areas are exposed to the running water.
When rinsing, it's vital to avoid damage by not using high-pressure settings, which can dislodge stones or delicate components. Instead, opt for a gentle stream, which is sufficient for removing the cleaning agent without imposing undue stress on the jewelry.
After confirming that all baking soda particles and debris are rinsed away, visually inspect the jewelry under bright light. This step affirms the thoroughness of the rinse and ensures that no abrasive particles remain, safeguarding the integrity and longevity of your treasured pieces.
Dry Completely
Make sure all moisture is removed by patting the jewelry dry with a soft, lint-free cloth, paying special attention to intricate details and hard-to-reach areas. This step is vital because lingering moisture can lead to tarnish or even corrosion over time. Use a drying cloth specifically designed for delicate surfaces to avoid any abrasion.
Apply gentle pressure to the cloth without rubbing vigorously, which could dislodge stones or damage intricate patterns. After patting, allow the jewelry to air dry naturally. Place it in an area with good air circulation to expedite the drying process. Avoid using hairdryers or other heat sources as they can cause thermal shock, especially to gemstones, leading to cracks or discoloration.
Make certain each piece is thoroughly dried before storing it. Moisture trapped in crevices can contribute to long-term damage. Lay the jewelry flat on a drying cloth, and periodically check to ensure all moisture has evaporated. If necessary, use a magnifying glass to inspect tiny areas.
Inspect for Residue
Carefully inspect each piece of jewelry for any remaining baking soda residue, as even small particles can cause abrasions or dull the finish over time. Begin by positioning the jewelry under a bright light source, which will enhance visibility for residue identification. Utilize a magnifying glass to conduct a detailed inspection, focusing on intricate areas such as prong settings, engravings, and chain links, where residue is likely to accumulate.
For thorough residue identification, employ a soft-bristled brush to gently dislodge any particles that may be adhering to the surface. Pay particular attention to crevices and recesses, as these areas are prone to trapping baking soda granules. If residue is detected, rinse the jewelry under warm running water, making sure all particles are adequately removed.
After rinsing, use a microfiber cloth to pat the jewelry dry, and then repeat the inspection process. Consistency in detailed inspection ensures that no abrasive particles remain, preserving the integrity and luster of your jewelry. By meticulously inspecting for and removing all residues, you'll maintain the brilliance and longevity of your prized pieces, preventing potential damage from unseen abrasive particles.
Polish for Shine
Achieve a brilliant finish by using a high-quality polishing cloth specifically designed for jewelry, ensuring that it lifts away any remaining tarnish and enhances the metal's natural luster. Choose a cloth type that features dual layers: an inner layer impregnated with cleaning agents and an outer layer for buffing. This all-encompassing design optimizes the polishing technique, providing both cleaning and shine in one go.
Begin by gently rubbing the jewelry with the inner layer of the cloth. Apply light pressure and use small, circular motions to effectively remove any remaining residue or tarnish. Avoid using excessive force, as this can scratch delicate surfaces. Focus on intricate details and hard-to-reach areas, ensuring thorough coverage.
Once the piece is free from tarnish, switch to the outer layer of the cloth. This layer is designed to buff and bring out the metal's natural shine. Using the same circular motion, polish the entire surface until you achieve a mirror-like finish. This method not only enhances the appearance but also creates a protective layer that slows down future tarnishing.
Store Properly
To guarantee your jewelry maintains its brilliance, store each piece in a separate, soft-lined compartment to prevent scratches and tarnish. Proper storage is crucial in preserving the integrity of your jewelry.
Opt for a jewelry box with individual compartments that are lined with a non-abrasive material, such as velvet or felt. This will prevent pieces from rubbing against each other, which can cause scratches and wear.
For anti-tarnish techniques, consider using silica gel packets or anti-tarnish strips. These absorb moisture and sulfur compounds, reducing the risk of tarnish. Additionally, it's advisable to store silver jewelry in airtight bags to further minimize exposure to air and humidity. Make sure each piece is completely dry before storage to prevent moisture-related damage.
Avoid leaving your jewelry in direct sunlight or in areas with fluctuating temperatures, as this can accelerate tarnishing and degradation of materials. For pieces with gemstones, keeping them in a cool, dark place helps maintain their color and luster.
Lastly, regularly inspect your storage methods and materials for signs of wear or contamination. Proper storage and consistent maintenance are vital to extending the life and beauty of your cherished jewelry.
Frequently Asked Questions
Can Baking Soda Damage Certain Types of Jewelry?
Yes, baking soda can damage certain types of jewelry. Material compatibility matters; baking soda may cause unwanted chemical reactions with softer metals like gold or silver, or with porous gemstones, leading to potential harm and surface degradation.
How Often Should I Clean My Jewelry With Baking Soda?
You should clean your jewelry with baking soda once a month. This cleaning frequency guarantees maximum shine and prevents buildup. Establish a consistent maintenance schedule to maintain the luster and longevity of your precious pieces.
Is It Safe to Clean Antique Jewelry With Baking Soda?
Cleaning antique jewelry with baking soda can risk damaging its antique value and historical significance. You should consult a professional jeweler who specializes in antique pieces to guarantee proper care and preservation techniques are used.
What Precautions Should I Take When Using Baking Soda on Jewelry With Gemstones?
When cleaning jewelry with gemstones, consider gemstone sensitivity. Avoid abrasive contact by using a soft brush and diluted baking soda solution. Employ protective measures like masking gemstones with tape to prevent damage. Always research specific gemstone care.
Can Baking Soda Remove Tarnish From Silver Jewelry?
Yes, baking soda can effectively remove tarnish from silver jewelry. Tarnish causes oxidation, and baking soda's ideal abrasiveness helps eliminate it. For the best results, adjust cleaning frequency based on how often you wear the jewelry.
Conclusion
By following these steps meticulously, you'll guarantee your jewelry not only sparkles but also maintains its integrity. Proper soaking, gentle scrubbing, thorough rinsing, and complete drying are essential.
Always inspect for any residue and polish for that extra shine. Finally, store your jewelry correctly to preserve its condition.
With these expert techniques, your cherished pieces will continue to dazzle, reflecting both their intrinsic beauty and your meticulous care.












Leave a comment
This site is protected by hCaptcha and the hCaptcha Privacy Policy and Terms of Service apply.