


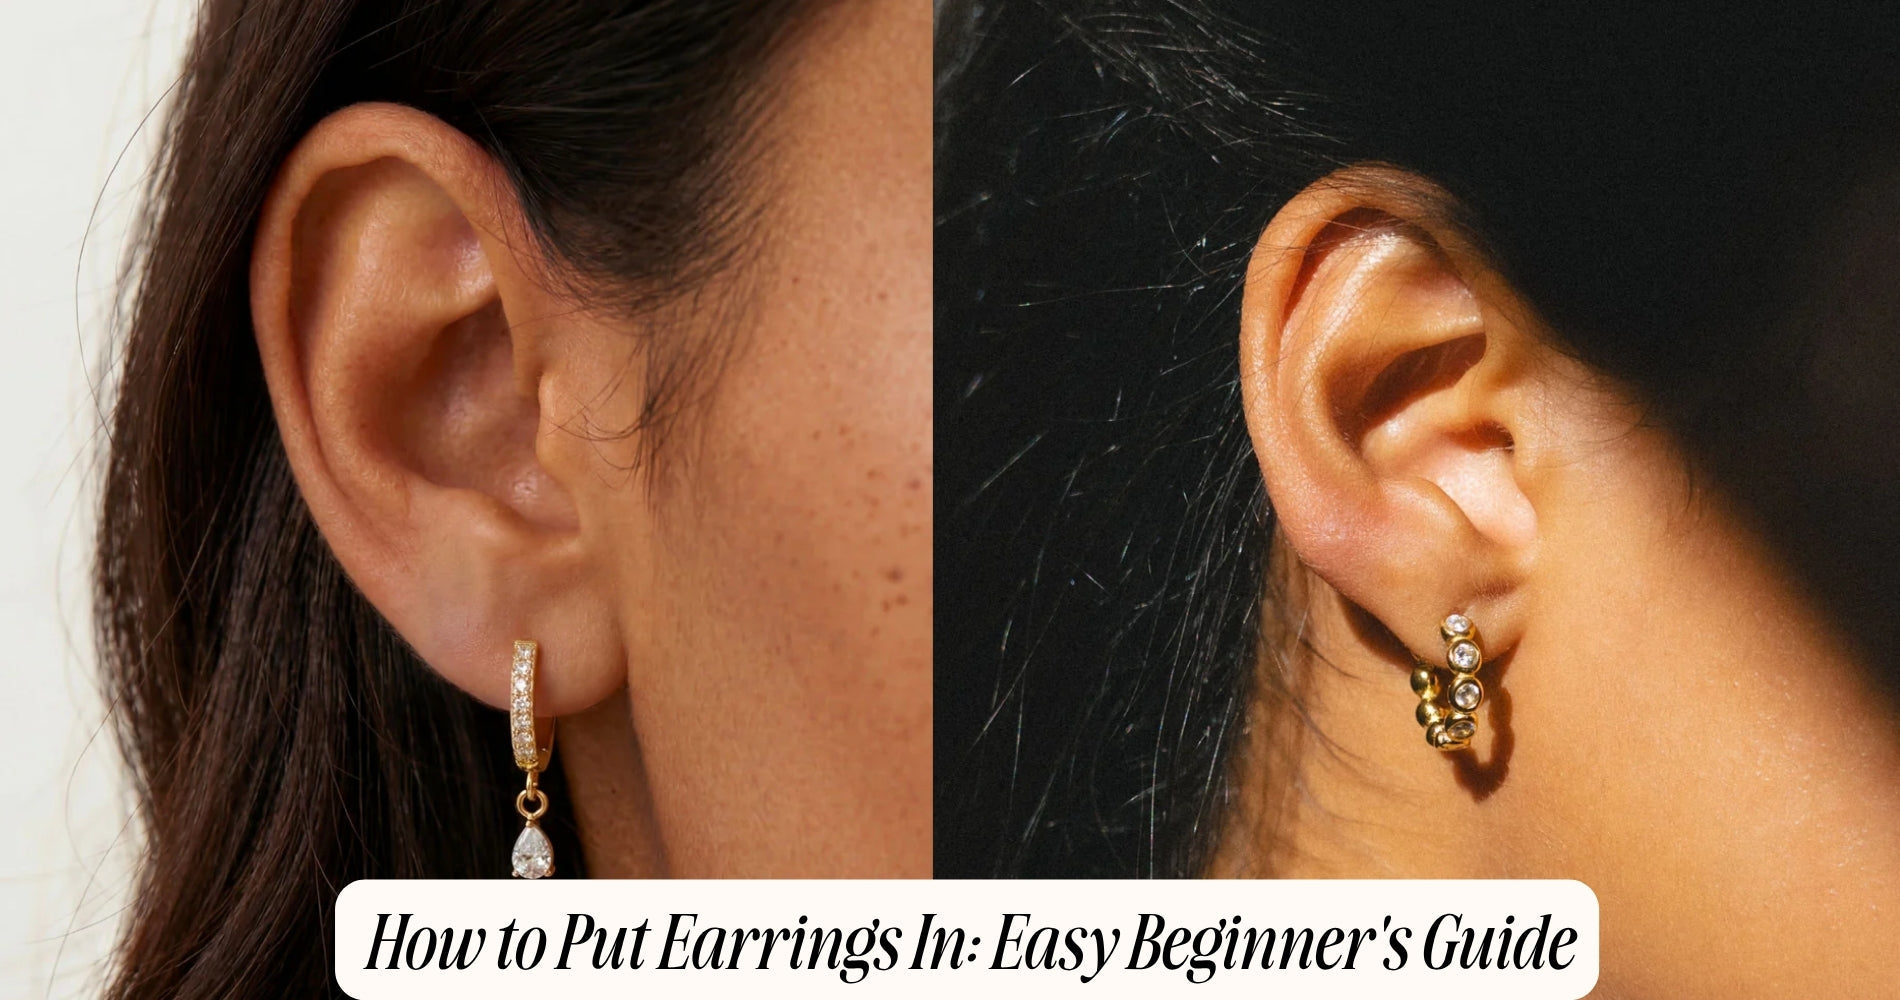
How to Put Earrings In: Easy Beginner's Guide
Putting in earrings might seem like a simple task, but for those new to piercings, returning to wearing earrings after a break, or simply struggling with a particularly stubborn clasp, it can feel more challenging than expected. Whether you are helping a child with their first pair of studs or just want to make your own daily routine a little smoother, learning how to put earrings in properly can save you time, frustration, and even help prevent irritation.
In this guide, we will walk through step by step instructions for inserting different types of earrings, along with tips for handling common challenges like healing piercings or tricky closures. If you are looking for a low maintenance option that is easy to wear every day, our Waterproof Earrings collection is designed with everyday comfort and durability in mind.
Before You Begin: Preparing to Put In Earrings
Before inserting any earrings, a few simple preparation steps can help make the process smoother and reduce the risk of irritation, particularly for newer or more sensitive piercings.
Always start with clean hands, washing thoroughly with soap and water to avoid introducing bacteria to the piercing site. If you are inserting earrings into a relatively new piercing, gently clean the area around the piercing with a saline solution or the aftercare product recommended by your piercer before proceeding. Inspect the earring itself to ensure the post is clean and free from any debris, particularly if the earring has been stored for an extended period.
Taking these small preparatory steps helps minimize the risk of irritation or infection, especially for those with sensitive skin or piercings that are still in the healing process.

How to Put In Stud Earrings
Stud earrings are typically the most straightforward style to insert, making them an excellent starting point for beginners or those helping someone else with their first pair.
Begin by locating the front of the earring, the decorative portion that will sit against your earlobe, and the post, the thin piece of metal that passes through the piercing itself. Using a mirror positioned at eye level, gently guide the post through the piercing hole from the front of the ear, angling it as needed to align with the direction of the piercing.
Once the post has fully passed through to the back of the ear, secure the earring using the appropriate backing, whether that is a simple push back, a screw back, or a butterfly clutch. Gently push or twist the backing into place, ensuring it feels snug but not overly tight, since backings that are too loose can cause the earring to fall out, while overly tight backings can create unnecessary pressure or discomfort.

How to Put In Hoop Earrings
Hoop earrings vary somewhat in their closure mechanism, so the exact insertion process depends on the specific style you are wearing.
Hinged Hoops
For hinged hoops, which use a small spring loaded mechanism to open and close, gently press the hinge to open the hoop slightly, creating a small gap. Guide the open end of the hoop through the piercing from front to back, then gently close the hinge until it clicks securely into place.
Clasp or Latch Back Hoops
For hoops with a separate post and latch closure, insert the post through the piercing similarly to a stud earring, then secure the latch on the back of the earring by gently pressing it closed against the post, ensuring it clicks or locks securely into place.
Wire Hoops
For simple wire hoops without a formal clasp mechanism, gently guide the wire through the piercing, then carefully bend or adjust the wire ends to create a secure, closed loop, being cautious not to bend the wire too aggressively, which could weaken the metal over time.

How to Put In Dangle or Drop Earrings
Dangle and drop earrings typically use a similar post and backing system to stud earrings, though the added length and movement of the design means a bit of extra care is often needed during insertion.
Hold the earring by the post, keeping the dangling portion steady to avoid unnecessary tangling or movement while inserting. Guide the post through the piercing from front to back, then secure the backing as you would with a standard stud earring. Once secured, gently allow the dangling portion to fall naturally, checking that it hangs evenly and comfortably without twisting or catching on hair or clothing.
Tips for Inserting Earrings Into New or Healing Piercings
If you are dealing with a newer piercing that is still healing, a few additional considerations can help make the process more comfortable and reduce the risk of irritation.
Move slowly and gently, since healing piercings can be more sensitive to pressure or friction compared to fully healed ones. If you experience resistance while attempting to insert an earring, avoid forcing it through, since this can cause unnecessary trauma to the healing tissue. Instead, gently rotate the earring slightly while guiding it through the piercing channel, which can sometimes help ease the process without causing discomfort.
For new piercings specifically, it is generally recommended to avoid changing earrings too frequently during the initial healing period, typically several weeks depending on the piercing location, to reduce the risk of irritation or delayed healing.
What to Do If the Earring Will Not Go Through
Occasionally, you may encounter resistance when trying to insert an earring, even into a fully healed piercing. This can happen for a few common reasons.
The piercing hole may have partially closed, particularly if the earring has not been worn for an extended period. In this case, gently and patiently working the earring through the opening, potentially using a small amount of water or saline solution to ease the process, can sometimes help reopen the channel without causing significant discomfort.
The earring post may be slightly bent or misaligned, making it more difficult to guide through the piercing smoothly. Inspecting the post closely and gently straightening it if needed, before attempting insertion again, can often resolve this issue.
Swelling or irritation around the piercing site can also make insertion more difficult. If you notice redness, swelling, or discomfort beyond typical minor resistance, it may be best to wait until any irritation subsides before attempting to insert earrings again, or consult a professional piercer if the issue persists.

Common Mistakes to Avoid When Putting In Earrings
A few common mistakes can make the process of putting in earrings more difficult or increase the risk of irritation.
Avoid inserting earrings with dirty or unwashed hands, since this increases the risk of introducing bacteria to the piercing site. Avoid forcing an earring through a piercing that feels significantly resistant, since this can cause unnecessary pain or damage to the surrounding tissue. Avoid overtightening earring backings, since excessive pressure can lead to discomfort or even contribute to irritation over time, particularly with prolonged wear.
Caring for Your Ears After Putting In Earrings
Once your earrings are securely in place, a few ongoing care habits can help maintain comfort and reduce the risk of irritation, particularly for those who wear earrings daily.
Periodically clean your earlobes and the earrings themselves to remove any buildup of oils, lotion, or product residue that can accumulate over time. If you notice any signs of irritation, such as redness, itching, or swelling, consider giving your ears a brief break from earrings, or switching to hypoallergenic materials if sensitivity seems to be a recurring issue.
Final Thoughts
Learning how to put earrings in does not need to feel complicated, even for beginners or those returning to wearing earrings after a break. By taking a few simple preparatory steps, understanding the specific closure mechanism for your particular earring style, and moving gently and patiently, especially with newer or more sensitive piercings, you can make this everyday task quick and comfortable.
With a little practice, inserting earrings will quickly become second nature, allowing you to enjoy your jewelry collection with confidence and ease.
Frequently Asked Questions
1. Why does my earring hurt when I put it in?
This can happen if the piercing has partially closed, if there is swelling or irritation present, or if the earring post is bent or misaligned, making insertion more difficult.
2. How do I know if my earring backing is too tight?
If the backing feels uncomfortable, causes visible indentation, or creates ongoing pressure on your earlobe, it is likely too tight and should be loosened slightly.
3. Is it normal for earrings to be difficult to insert into a new piercing?
Yes, new piercings can feel more sensitive and slightly more difficult to work with initially, so moving slowly and gently is especially important during the healing period.
4. What should I do if my piercing hole has closed?
Gently and patiently attempting to reinsert the earring, potentially with a bit of saline solution to ease the process, can sometimes help, but if the hole feels fully closed or insertion is painful, consulting a professional piercer is recommended.









Leave a comment
This site is protected by hCaptcha and the hCaptcha Privacy Policy and Terms of Service apply.