
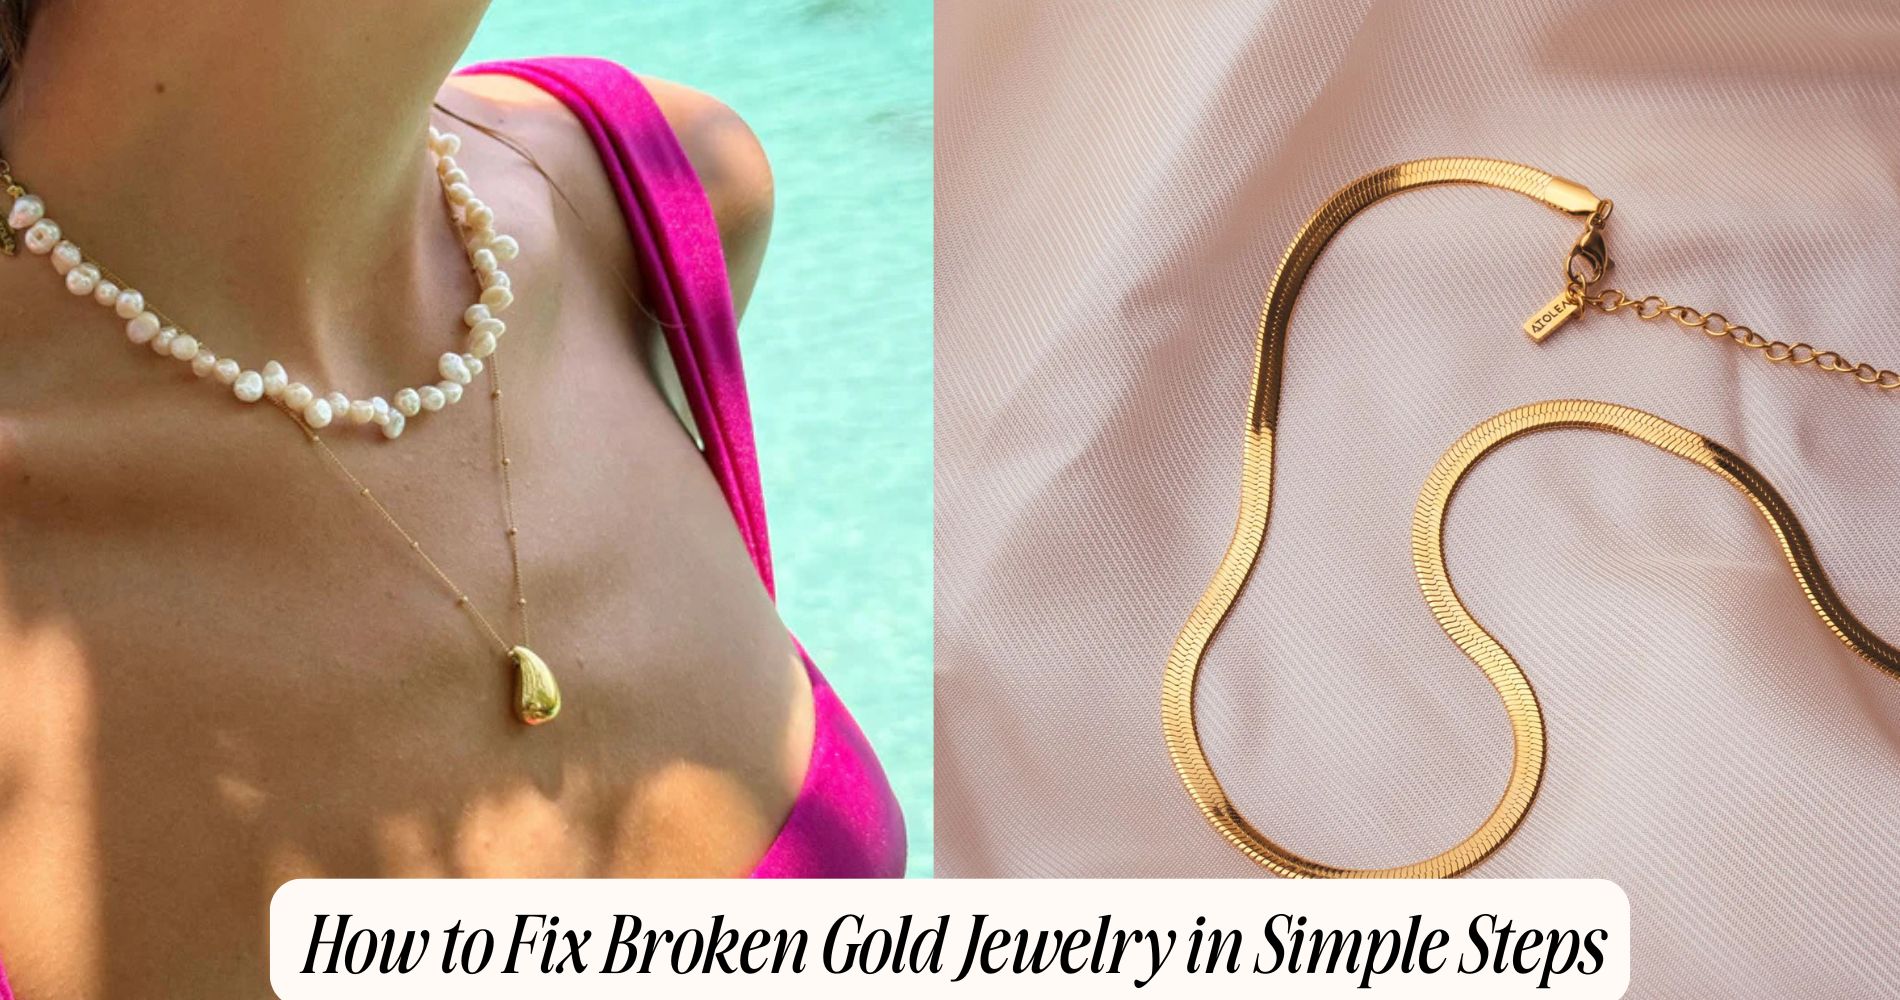
How to Fix Broken Gold Jewelry in Simple Steps
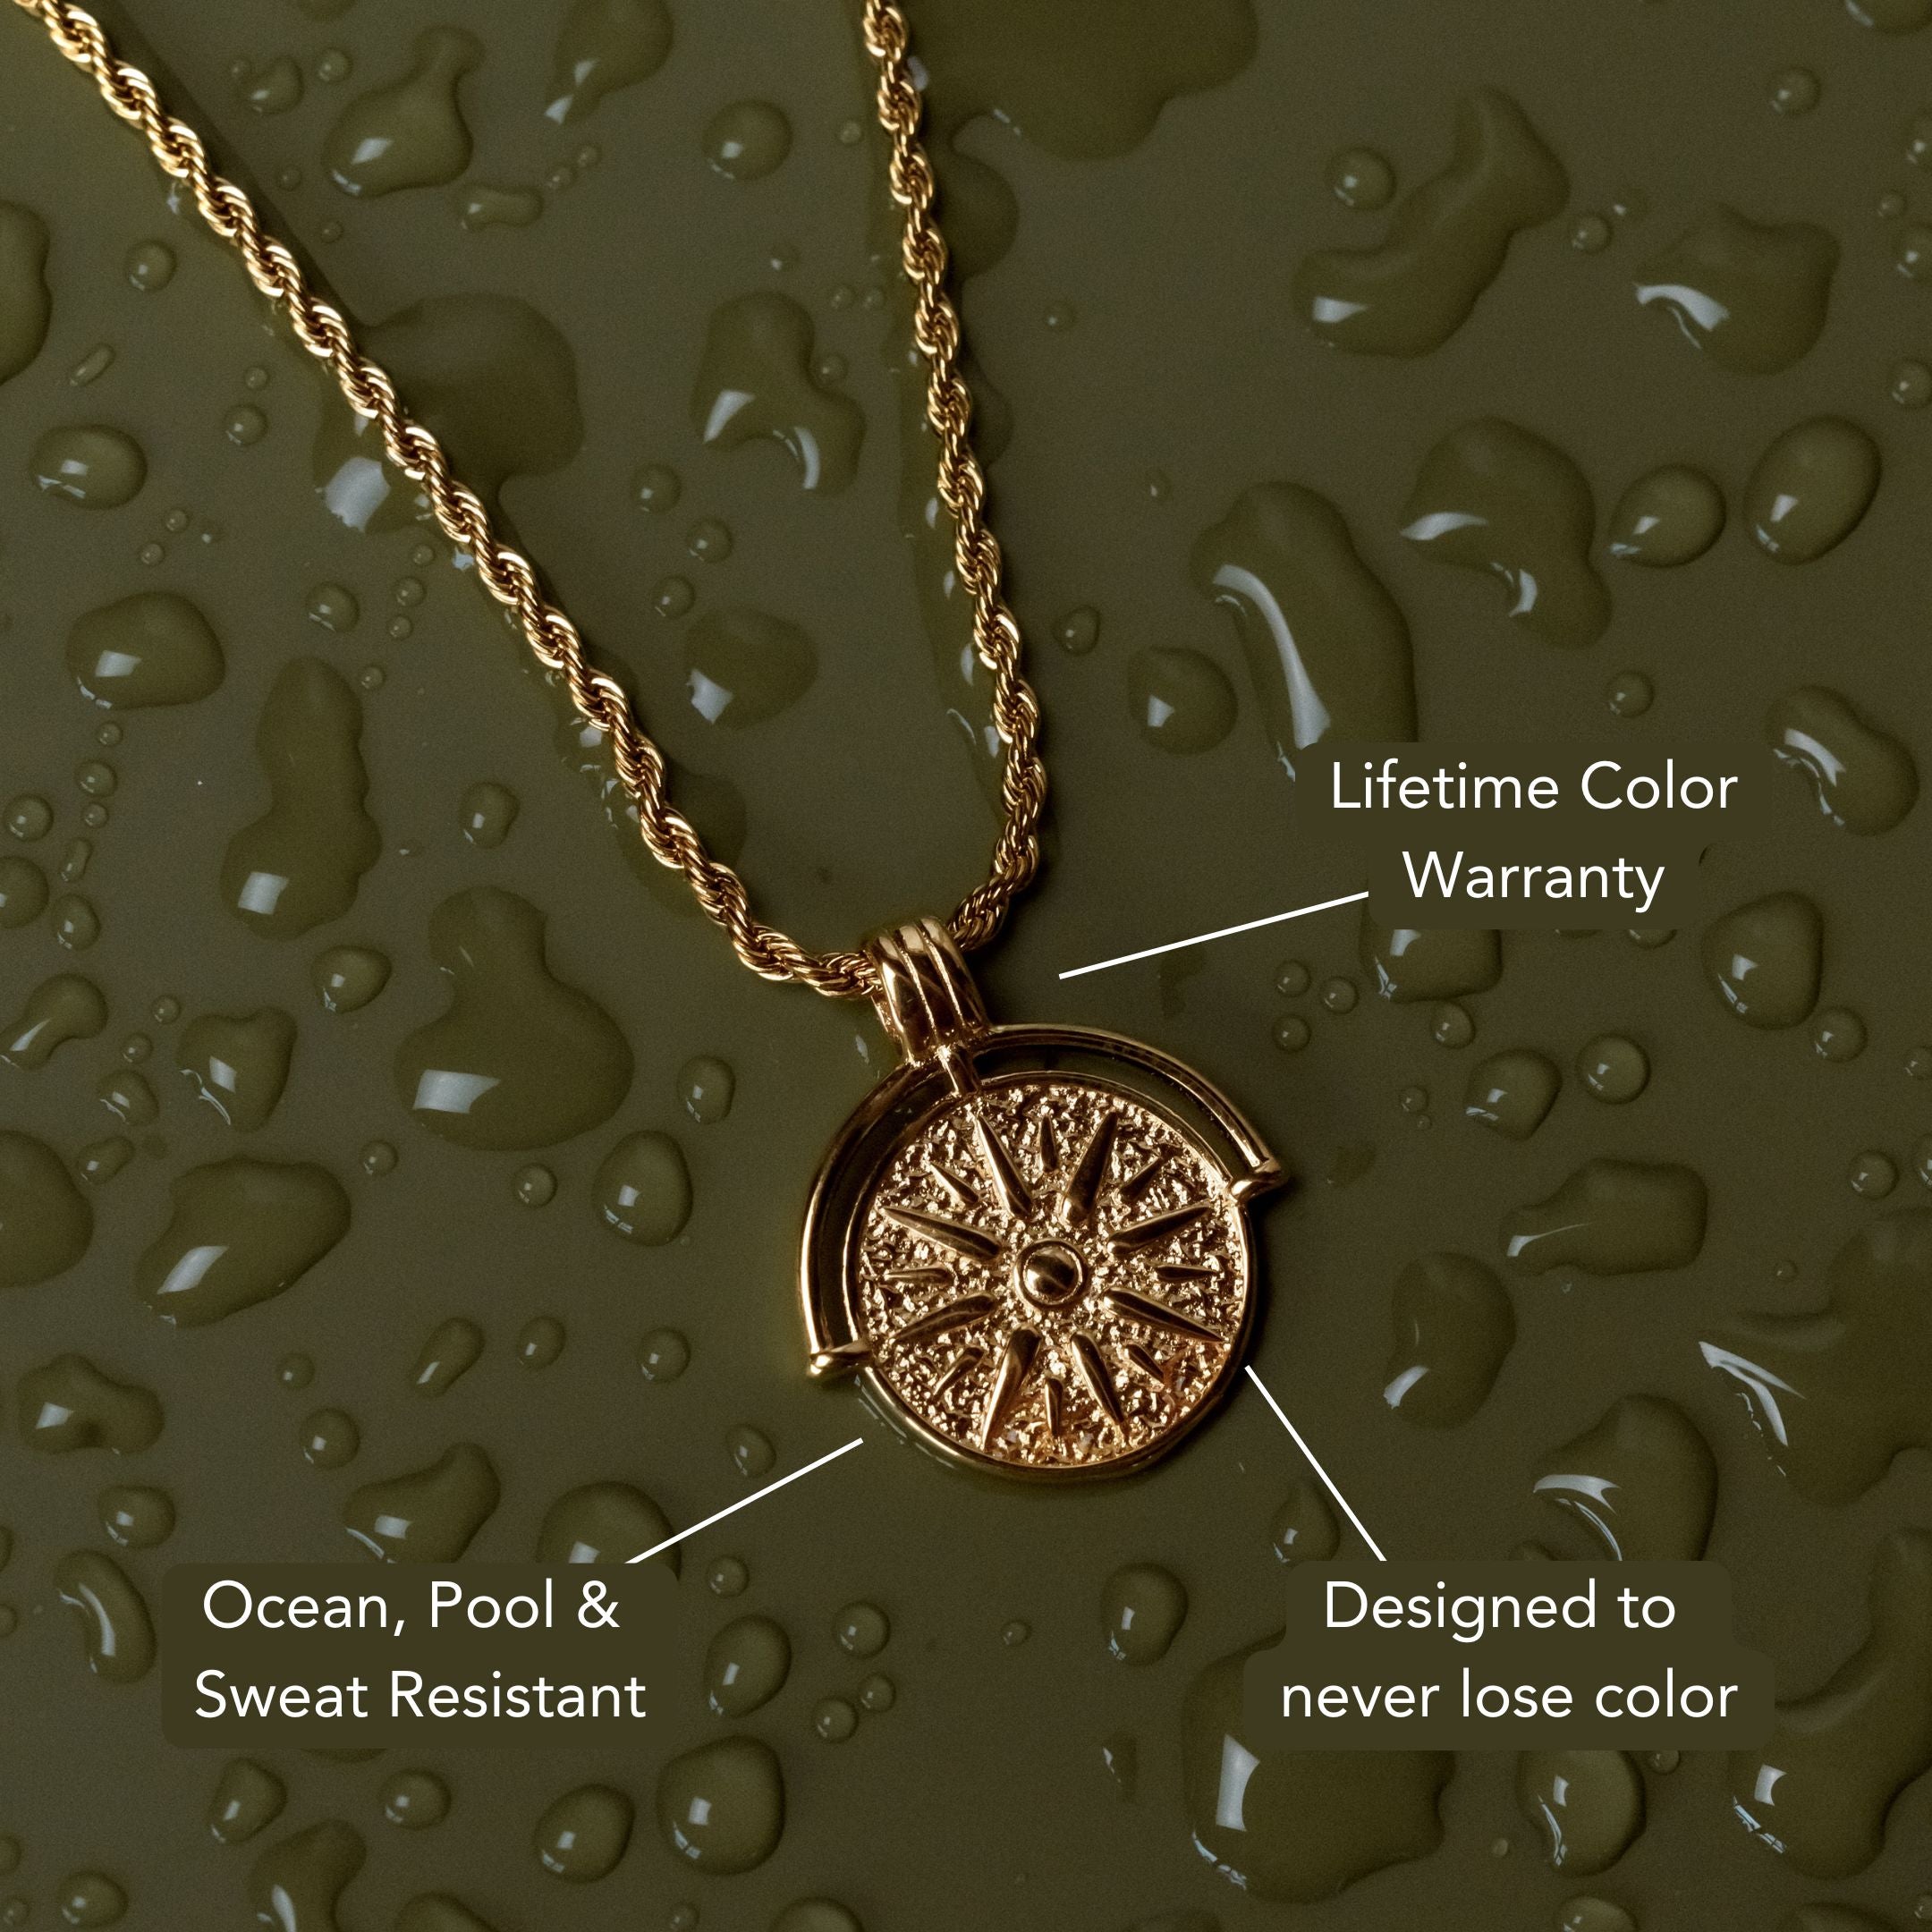
Knowing how to fix broken gold jewelry can help you restore your favorite pieces instead of replacing them. Start by assessing the damage under good lighting and gathering essential tools like pliers, a soldering kit, and a cleaning solution. Clean the affected areas thoroughly to ensure proper repairs. For broken chains, carefully open and close links with pliers, or use solder for more severe breaks. Cracked rings may require soldering or resizing, while loose clasps can be tightened or replaced. Finish by polishing the jewelry to bring back its shine. With the right care, you can keep your gold jewelry looking as good as new. If you're looking to refresh your collection, explore our Everyday Gold Necklace selection for timeless, high-quality pieces.
Assessing the Damage
When tackling broken gold jewelry, the first step is evaluating the damage. Identify the damage types, which may include broken clasps, snapped chains, or missing stones. Each type requires a different approach.
Use visual inspection as one of your evaluation methods; closely examine the piece under good lighting to spot cracks or bends. A magnifying glass can help you detect finer details. Take notes on any visible issues to guide your repair process.

If necessary, gently flex the metal to assess its structural integrity, but avoid applying excessive force. Understanding the extent of the damage will help you determine whether the jewelry can be repaired at home or if you need to consult a professional.
Gathering Necessary Tools
To successfully repair broken gold jewelry, you'll need a few essential tools at your disposal.
Start by gathering pliers, specifically needle-nose and flat-nose types, as they'll help you manipulate small components. You'll also require a jeweler's saw for cutting any stubborn links or pieces.
A soldering kit is vital for securely joining broken parts, so invest in a quality torch and solder suitable for gold. Additionally, having a file on hand will allow you to smooth any rough edges after repairs.
Finally, a magnifying glass will help you inspect small details closely. With these essential items, you'll be well-equipped to tackle your gold jewelry repairs efficiently and effectively.
Cleaning Your Jewelry
To clean your gold jewelry effectively, you'll need to gather the right supplies, such as a soft brush and a gentle cleaning solution.
Understanding various cleaning techniques will help you maintain the integrity of your jewelry without causing damage.
Finally, drying and polishing your pieces properly will enhance their shine and longevity.
Gather Necessary Supplies
Before diving into the cleaning process, it's essential to gather the right supplies to guarantee your gold jewelry is treated properly.
Start by collecting important tools like a soft-bristle brush, a microfiber cloth, and a small bowl. You'll also need mild dish soap and warm water for a gentle cleaning solution.
Make sure you have a fine mesh strainer or a soft towel to catch any small parts or stones. If your jewelry has intricate designs, a cotton swab can help you reach those tight spots.
Having these jewelry supplies ready will streamline your cleaning process, making certain you effectively remove dirt and tarnish without damaging your valuable pieces.
Being prepared sets you up for success.
Cleaning Techniques Explained
With your supplies ready, you can start the cleaning process for your gold jewelry.
First, choose a suitable cleaning solution; mild dish soap mixed with warm water works well. Soak your jewelry for about 15-20 minutes to loosen dirt and grime.
Next, gently scrub using a soft-bristle toothbrush, focusing on intricate areas where residue might accumulate. Rinse the pieces thoroughly under lukewarm water to remove any soap residue.
For regular jewelry maintenance, consider repeating this process every few months to keep your gold looking pristine.

Avoid harsh chemicals, as they can damage the metal's surface. Regular cleaning not only enhances the appearance of your jewelry but also prolongs its lifespan.
Drying and Polishing Tips
Once you've rinsed your gold jewelry, it's important to dry it properly to prevent water spots and maintain its shine. Use soft, lint-free cloths for effective drying techniques. Gently pat the jewelry instead of rubbing it to avoid scratches.
Make sure you reach all crevices, especially around settings, where moisture can linger.
After drying, consider polishing methods to enhance the luster of your gold pieces. You can use a specialized jewelry polishing cloth or a mild jewelry cleaner, applying it gently in circular motions.
Avoid using abrasive materials, as they can damage the surface. Regularly polishing your jewelry not only keeps it looking new but also helps protect it from tarnishing over time.
Repairing Broken Chains
When a gold chain breaks, it can feel disheartening, but you can often repair it at home with the right tools and techniques.
First, identify the chain type, as various styles like cable, curb, or rope may require different approaches. For minor breaks, use pliers to carefully open the link where the break occurred. Align the ends and close the link securely.
If the break is more severe, consider using a soldering kit, ensuring you've cleaned the area first to remove any dirt or oxidation. Heat the solder until it melts and fills the gap.
Always test the strength of the repair before wearing the chain again. With these repair methods, you'll restore your gold chain to its former glory.
Fixing Cracked Rings
Although cracked rings can be frustrating, you can often fix them at home with some basic tools and techniques.
Start by evaluating the crack's severity. If it's minor, you might be able to use a soldering kit to mend the break. Clean the area thoroughly, then apply solder and heat it carefully until it bonds.
For larger cracks, consider ring resizing; this process can help eliminate the crack while restoring the ring's shape. After resizing, polish the area to guarantee a smooth finish.
If the ring has gold plating, be cautious not to damage it during repairs. Finally, you can reapply gold plating to restore its original luster and protect the metal underneath.
Reattaching Loose Clasps
Loose clasps can lead to lost pieces of jewelry, making their timely repair important.
First, identify the clasp type—common options include spring ring, lobster, or toggle clasps. Examine the clasp materials, as gold-plated, solid gold, or gold-filled might require different approaches.

If the clasp is slightly loose, you can often tighten it by gently pinching the connection point with pliers, guaranteeing you don't damage the material.
For more significant issues, you may need to remove the clasp entirely. Use a small screwdriver for screw-type clasps or pliers for others. Once detached, check for wear or damage, then reattach it securely.
Always guarantee the clasp closes firmly to prevent future loss of your cherished jewelry.
Soldering Techniques
Soldering techniques are essential for repairing broken gold jewelry, as they create strong, lasting bonds between metal pieces.
To begin, select the appropriate soldering method—soft solder for delicate repairs and hard solder for structural fixes. Before you start, verify your workspace is well-ventilated and that you wear safety goggles and gloves to maintain soldering safety.
Heat the metal with a torch until it reaches the right temperature, then apply the solder to the joint. The solder should flow smoothly, filling any gaps.
Once cooled, inspect your work to verify a solid connection. Remember, practice makes perfect, so don't hesitate to experiment with different soldering methods to find what works best for your jewelry repair needs.
Polishing and Finishing Touches
After soldering your gold jewelry, it's essential to focus on polishing to restore its shine.
You'll need to choose the right polish for your piece and apply effective buffing techniques to achieve a professional finish.
Finally, conducting a thorough inspection will guarantee your repairs are flawless and ready for wear.
Choosing the Right Polish
Choosing the right polish is crucial for restoring the luster of your broken gold jewelry. There are various gold polish types available, including liquid polishes, paste polishes, and polishing cloths.
Liquid polishes are great for intricate designs, while paste polishes offer a more robust cleaning action. When selecting a polish, consider the extent of the tarnish and the intricacy of the piece.
Application techniques can vary; for liquid polishes, use a soft cloth to gently apply the product, guaranteeing even coverage.
For paste polishes, a small amount on a cloth can be worked into the gold with light pressure. Always test the polish on a discreet area first to verify compatibility and achieve the best results without damaging your jewelry.
Buffing Techniques Explained
While polishing your broken gold jewelry, mastering the right buffing techniques is essential for achieving a smooth, professional finish.
You'll want to choose appropriate buffing materials, such as soft cloths or buffing wheels, to avoid scratching the surface. Different buffing methods can yield varying results; for instance, using a rotary tool can speed up the process but requires careful handling to prevent overheating.

Conversely, hand-buffing offers more control and is perfect for intricate designs. Always apply a gentle touch, and work in small sections to guarantee even polishing.
After buffing, inspect your work closely to identify any remaining imperfections. Proper technique and the right materials will leave your gold jewelry looking revitalized and shiny.
Final Inspection Steps
Once you've completed the buffing process, it's important to conduct a thorough final inspection of your gold jewelry.
Start with final checks to verify all areas have a consistent polish. Use a magnifying glass to examine for any scratches or imperfections that may have been missed. Pay close attention to clasps and joints, as these are often prone to wear.
If you spot any issues, re-buff those areas for improved quality assurance.
Next, consider applying a protective coating or jewelry cleaner to enhance the shine and prevent tarnishing.
Finally, give your piece a gentle wipe with a soft cloth to remove any residue.
This meticulous attention to detail guarantees your jewelry looks its best and stands the test of time.
Preventive Care Tips
To keep your gold jewelry in excellent condition, regular preventive care is essential.
Start with preventive storage; always store your pieces in a soft pouch or a dedicated jewelry box to prevent scratches and tangling. Avoid placing your jewelry in areas where it might be exposed to extreme temperatures or moisture.
Conduct regular inspections to check for signs of wear, loose stones, or broken clasps. If you notice any issues, address them promptly to avoid further damage.
Additionally, clean your gold jewelry with a gentle solution and a soft cloth to maintain its shine.

Following these steps will help preserve the quality of your jewelry, ensuring it remains a cherished part of your collection for years to come.
Frequently Asked Questions
Can I Use Super Glue for Gold Jewelry Repairs?
You shouldn't use super glue for jewelry repairs, especially on gold. It can't withstand stress or exposure to moisture, leading to a weak bond. Instead, opt for specialized adhesives designed specifically for metal and jewelry materials.
How Do I Identify Real Gold vs. Fake Gold?
To identify real gold, examine the gold markings for karat purity. Conduct gold testing with a magnet; real gold won't stick. Also, consider density tests, as authentic gold is heavier than fake alternatives.
Is It Safe to Repair Gold Jewelry at Home?
Yes, it's generally safe to repair gold jewelry at home if you follow safety precautions. Using proper DIY techniques, like avoiding harsh chemicals and ensuring a clean workspace, can help you achieve successful repairs without damage.
What Should I Do if My Gold Jewelry Turns Green?
If your gold jewelry shows green discoloration, it's likely due to metal reactions. To address this, enhance your jewelry care routine by cleaning regularly and avoiding exposure to moisture and harsh chemicals.
How Often Should I Clean My Gold Jewelry?
You should clean your gold jewelry every few weeks to maintain its shine and prevent buildup. Regular cleaning frequency is essential for effective jewelry maintenance, ensuring your pieces remain beautiful and free from tarnish or dirt.
Conclusion
By following these simple steps, you can effectively restore your broken gold jewelry to its former glory. Whether you're repairing chains, fixing rings, or reattaching clasps, having the right tools and techniques makes all the difference. Remember to clean and polish your pieces after repairs to maintain their shine. With regular preventive care, you can keep your gold jewelry looking beautiful and minimize future damage. Don't let broken pieces sit unused—take action and enjoy your jewelry again!


Leave a comment
This site is protected by hCaptcha and the hCaptcha Privacy Policy and Terms of Service apply.