


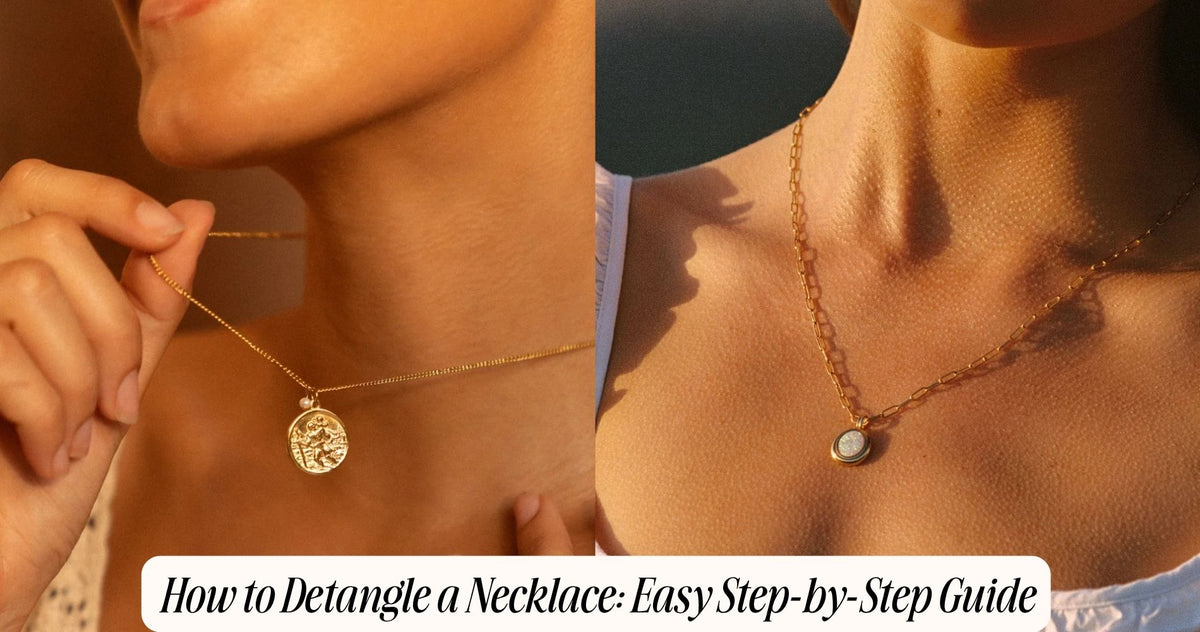
How to Detangle a Necklace: Easy Step-by-Step Guide
Few small frustrations feel quite as disproportionately annoying as pulling a favorite necklace out of a drawer only to find it hopelessly knotted. The instinct to yank and pull at a tangled chain is strong, but it is also the fastest way to weaken links, damage a clasp, or make the knot considerably worse. Learning how to detangle a necklace properly takes a bit of patience, but the right technique makes the process far less painful than it initially seems.
In this guide, we will walk through a step by step method for safely working out even a stubborn knot, along with tools that make the job easier and habits that can help you avoid tangles altogether going forward. If you want necklaces designed to resist this frustration in the first place, our Minimalist Gold Necklace collection offers simple, delicate styles that tangle less than bulkier designs.
Why Necklaces Tangle So Easily
Thin, delicate chains are particularly prone to tangling because their fine links have very little resistance to twisting and looping back on themselves, especially when tossed into a drawer, bag, or jewelry box without any separation from other pieces. Multiple necklaces stored together compound this problem significantly, since their links can interlock with one another, turning what starts as a simple twist into a genuinely complex, multi chain knot.
Understanding this tendency helps explain both why detangling requires patience rather than force, and why prevention matters just as much as knowing how to fix a tangle once it happens.

What You Will Need Before You Start
Before attempting to detangle a necklace, gather a few simple tools that will make the process considerably easier. You will want two straight pins or sewing needles, a flat, well lit surface to work on, a magnifying glass if you have one for particularly fine chains, and a small amount of baby oil or olive oil, which can help loosen a stubborn knot if needed.
Having these items ready before you begin means you will not need to stop midway through the process to search for something, which can be particularly frustrating once you have already made some progress loosening a knot.
Step 1: Assess the Tangle Before Touching It
Before pulling on anything, take a moment to actually look at the knot and understand its general structure. Identify where the chain enters and exits the tangled area, and try to trace the general path the chain takes through the knot. This initial assessment helps you understand which sections to focus on loosening first, rather than pulling randomly and potentially tightening the knot further.
Step 2: Lay the Necklace Flat on a Well Lit Surface
Place the tangled necklace flat on a table or other hard, well lit surface rather than trying to work on it while holding it in your hands. Working on a flat surface gives the chain room to spread out naturally and makes it much easier to see the specific structure of the knot, particularly for very fine or delicate chains where individual links can be difficult to distinguish while the piece is held up in the air.

Step 3: Apply a Small Amount of Oil to Stubborn Knots
If the knot appears particularly tight, applying a very small drop of baby oil or olive oil directly onto the tangled area can help reduce friction between the links, making it easier to work them apart. Use only a minimal amount, since excess oil can attract dust and residue to the chain, and wipe away any extra oil once the knot has been fully loosened.
Step 4: Use Two Pins to Gently Work the Knot Loose
Take your two straight pins or needles and gently insert them into the loosest part of the tangle you can identify. Rather than pulling the chain itself, use the pins to slowly separate individual links from one another, working patiently from the outer edges of the knot inward toward the center.
Move slowly and avoid forcing anything, since chains, particularly delicate ones, can bend, kink, or break if pulled too aggressively. If a section feels particularly resistant, move to a different part of the knot and return to the difficult section once other areas have loosened, since sometimes loosening the surrounding chain makes a previously stubborn section easier to address.
Step 5: Gently Shake and Straighten as You Progress
As sections of the knot loosen, periodically pick the necklace up and gently shake it or let gravity help pull the chain into a straighter line. This can help reveal additional structure in the remaining tangle and sometimes loosens smaller knots without any further manual intervention needed.

Step 6: Address the Final Small Knots
Once the majority of the tangle has been worked loose, you will often be left with one or two smaller, tighter knots. Continue using the pin method on these remaining sections, working especially slowly and carefully, since these final knots are often the tightest and most delicate part of the entire process.
Step 7: Inspect the Chain Once Fully Detangled
After the necklace is completely untangled, take a moment to inspect the chain closely for any bent or damaged links, particularly in the areas where the knot was tightest. Gently straighten any minor bends with your fingers, and if you notice any links that appear significantly weakened or damaged, consider having the piece professionally repaired before wearing it regularly.
Alternative Method: Using Cornstarch for Very Fine Chains
For extremely fine, delicate chains where the pin method feels too risky, an alternative approach involves sprinkling a small amount of cornstarch over the tangled area. The cornstarch acts similarly to the oil method by reducing friction between the links, though it works through a dry, powdery texture rather than a lubricating one. Gently work the tangle loose as described above, then wipe away any remaining cornstarch residue with a soft, dry cloth once finished.
What to Avoid When Detangling a Necklace
A few common mistakes can turn a manageable tangle into a much more significant problem. Avoid pulling on either end of the chain in an attempt to force the knot straight, since this typically tightens the knot rather than loosening it. Avoid using excessive force with pins or needles, since aggressive prying can bend or snap delicate links. Avoid using scissors or cutting tools anywhere near the tangle, since even a small slip could damage the chain beyond repair. Avoid rushing the process, since impatience is one of the most common reasons a simple tangle turns into hours of frustration.

When to Seek Professional Help
If you have worked at a tangle for a significant amount of time without meaningful progress, or if the chain feels at risk of breaking the more you work with it, it may be worth taking the piece to a professional jeweler rather than continuing to attempt the process yourself. Jewelers often have specialized tools and considerably more experience working with delicate chains, and for a particularly sentimental or valuable piece, professional assistance can prevent accidental damage that a DIY approach might risk.
How to Prevent Future Tangling
Once you have successfully detangled a necklace, a few simple storage habits can help prevent the same frustration from happening again.
Store necklaces separately from one another, ideally using individual compartments, hooks, or small pouches, rather than piling multiple chains together in a single space.
Use a jewelry stand or hanging organizer for frequently worn necklaces, allowing each chain to hang freely without touching others.
Thread delicate chains through a straw before placing them in a drawer or travel bag, closing the clasp around the straw to keep the chain straight and prevent it from looping back on itself.
Fasten the clasp before storing any necklace, even when placing it in an individual compartment, since a closed loop is considerably less likely to tangle than an open ended chain.
Final Thoughts
Learning how to detangle a necklace comes down to patience, the right small tools, and resisting the urge to pull or force anything loose. By working slowly with pins, using a bit of oil or cornstarch on particularly stubborn knots, and inspecting the chain carefully once finished, you can rescue even a seriously tangled necklace without causing lasting damage. Combined with a few simple prevention habits going forward, you can spend far less time untangling chains and far more time actually wearing them.
Frequently Asked Questions
1. What household items help loosen a stubborn necklace knot?
Baby oil, olive oil, or cornstarch can all help reduce friction between links, making a tight knot easier to work loose.
2. Is it safe to pull on a tangled necklace to straighten it?
No, pulling on either end typically tightens the knot further and increases the risk of bending or breaking delicate links.
3. How can I prevent my necklaces from tangling in storage?
Store necklaces separately using hooks, individual compartments, or pouches, and consider threading delicate chains through a straw before placing them in a drawer.
4. When should I take a tangled necklace to a professional instead of fixing it myself? If you have worked at the knot for a significant amount of time without progress, or the chain feels at risk of breaking, a professional jeweler is a safer option.













Leave a comment
This site is protected by hCaptcha and the hCaptcha Privacy Policy and Terms of Service apply.