
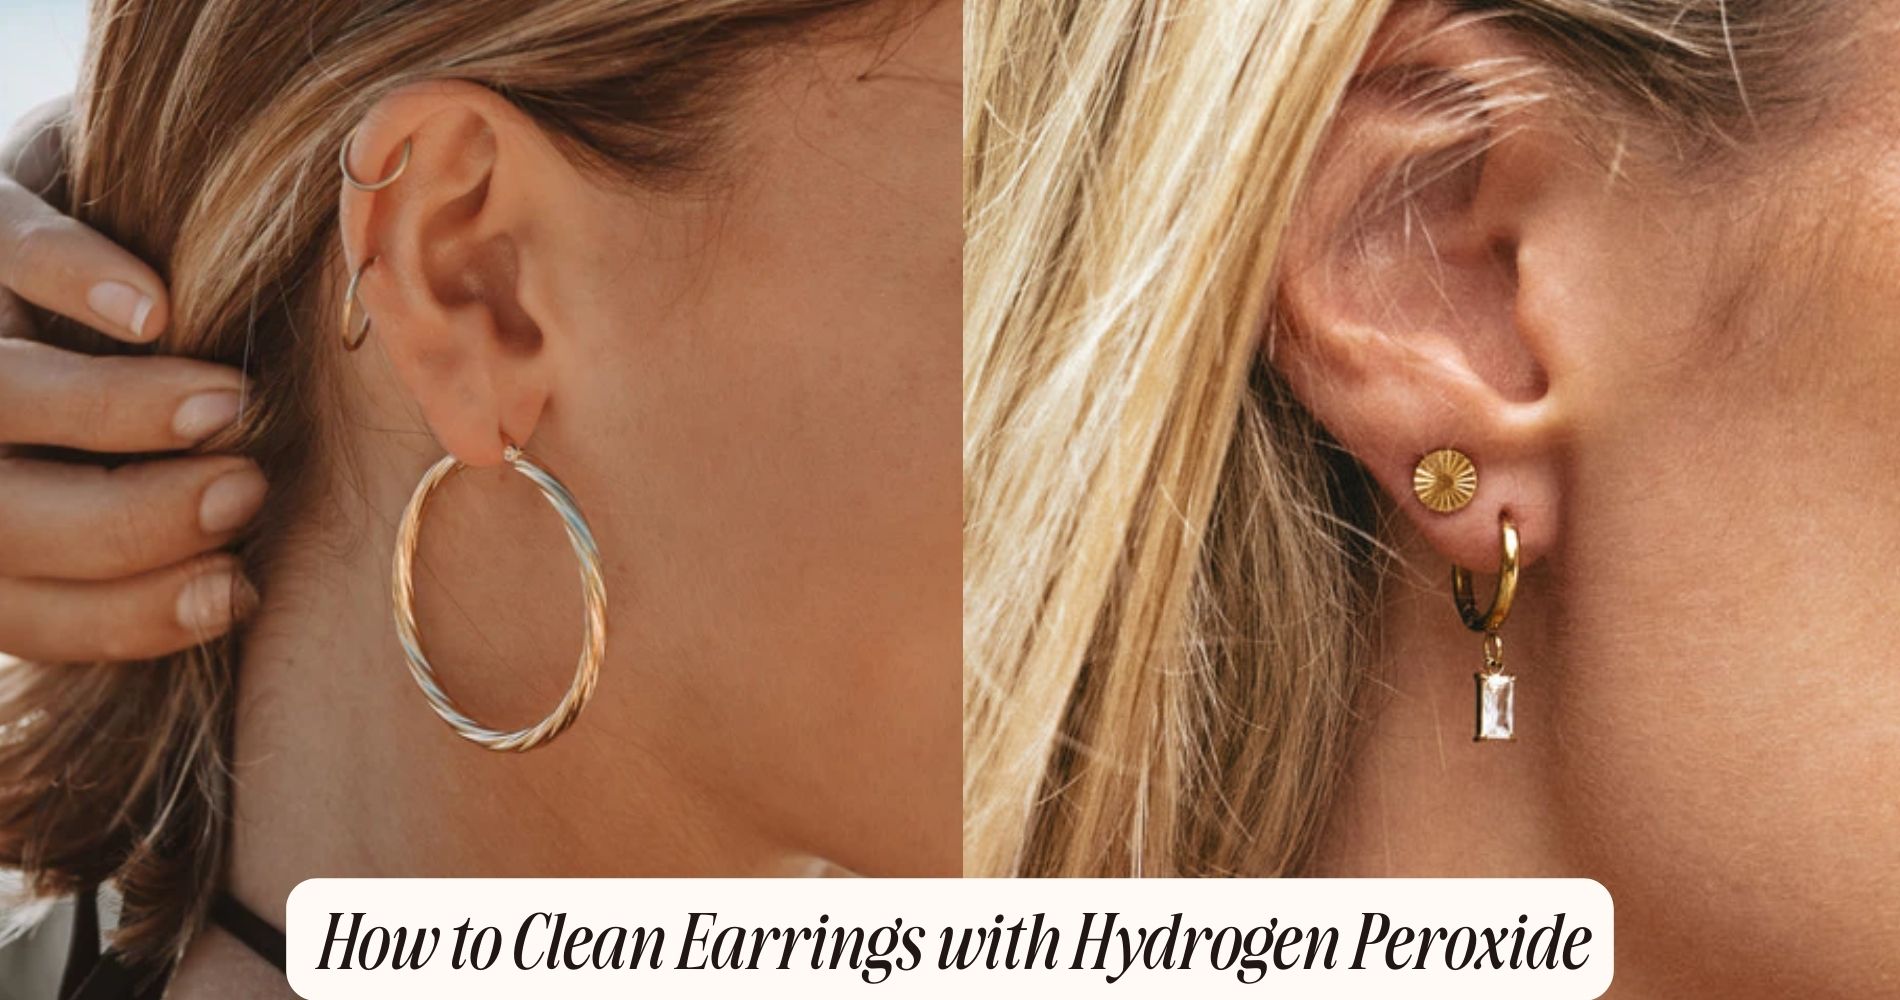
How to Clean Earrings with Hydrogen Peroxide
Gather Your Supplies
To effectively clean your earrings with hydrogen peroxide, make sure you have all necessary supplies, including hydrogen peroxide solution, a small bowl, cotton swabs, and a soft cloth. Start by retrieving your earrings from your jewelry box, making certain they're readily accessible. Lay out all your materials on a clean, flat surface to streamline the cleaning process.
Next, select a small bowl to hold the hydrogen peroxide solution. This container should be clean and free from any contaminants that might safeguard the cleaning process. Use cotton swabs for precision cleaning, particularly for intricate designs or hard-to-reach areas of your earrings. These swabs allow you to apply the solution directly and effectively.

You'll also need a soft cloth, specifically a cleaning cloth designed for jewelry, to gently wipe away any remaining residue. This ensures that your earrings aren't only clean but also free from potential scratching or damage. Place all these items within easy reach to maintain a smooth workflow.
Prepare the Cleaning Solution
First, gather all necessary materials including a clean container and a measuring cup.
Next, accurately measure one part hydrogen peroxide and mix it with two parts water in the container.
Guarantee the solution is thoroughly combined for best cleaning efficacy.
Gather Necessary Materials
Start by gathering hydrogen peroxide, a small bowl, a soft-bristled toothbrush, and lint-free cloths to guarantee a thorough and safe cleaning process. Each of these items plays a critical role in making sure that your earrings are cleaned effectively without causing any damage.
Begin by selecting a clean, non-reactive small bowl, such as one made of glass or ceramic, to hold the hydrogen peroxide. This guarantees that the solution remains uncontaminated.
Next, choose a soft-bristled toothbrush. The soft bristles are essential for gently scrubbing the delicate surfaces and intricate details of your earrings without scratching or damaging them.

To protect your hands from the hydrogen peroxide, put on a pair of rubber gloves. These will prevent skin irritation and provide a better grip on your tools and the earrings.
Lint-free cloths are indispensable for this task. They're made of fine, tightly woven fibers that won't leave behind any lint or residue on your earrings. Use these cloths to dry and polish your earrings after cleaning.
Measure Hydrogen Peroxide
Pour an appropriate amount of hydrogen peroxide into the small bowl, making sure you have enough to fully submerge the earrings. Typically, a 3% hydrogen peroxide solution is used for cleaning jewelry due to its effective yet gentle disinfecting properties. Measure out around 1-2 tablespoons, which should be sufficient for most pairs of earrings.
Before proceeding, let's address some critical safety precautions. Always use gloves when handling hydrogen peroxide to avoid skin irritation. Ensure the area is well-ventilated, as hydrogen peroxide can release oxygen and create a slight fume. Also, keep the solution away from any open flames or heat sources as it can be reactive.
Proper dosage is essential when preparing the cleaning solution. Using too little hydrogen peroxide may not effectively clean the earrings, while too much can lead to unnecessary waste and potential safety risks. If you're uncertain about the quantity, it's better to start with less and add more if needed.
Make sure that the small bowl you're using is made of glass or plastic and not metal, as hydrogen peroxide can react with certain metals. This step ensures both the efficacy of the cleaning process and the longevity of your earrings.
Mix With Water
To prepare the cleaning solution, combine the measured hydrogen peroxide with an equal amount of distilled water in the glass or plastic bowl. The ideal mixing ratio is 1:1, ensuring equal parts hydrogen peroxide and distilled water to maintain the solution's efficacy without causing damage to your earrings. Use a graduated cylinder or measuring cup for precise measurement.
Ensure the water temperature is at room temperature. Extreme temperatures can affect the chemical properties of hydrogen peroxide, reducing its effectiveness. Room temperature water helps maintain the stability of the solution, ensuring the best cleaning performance.

Stir the mixture gently using a clean plastic or glass stirrer. Avoid using metal utensils as they can react with hydrogen peroxide and compromise the solution's integrity. Once mixed, the solution should appear clear and evenly combined.
If you're cleaning multiple pairs of earrings, prepare a fresh solution for each batch to maintain consistency and prevent cross-contamination. Properly mixed, this solution is effective for disinfecting and removing grime from various earring materials, including gold, silver, and certain gemstones.
Following these detailed steps will enhance the longevity and sparkle of your earrings, ensuring they remain in pristine condition.
Soak the Earrings
Immerse the earrings completely in a small container filled with hydrogen peroxide, ensuring all surfaces are adequately covered. This step is important for a thorough disinfection process. The soaking duration can vary depending on the earring material. For gold and silver earrings, a 10-15 minute soak should suffice. These metals are generally resilient and won't react adversely to hydrogen peroxide. For earrings made from more delicate materials like pearls or certain types of gemstones, limit the soaking duration to 5 minutes to prevent potential damage.
While submerged, hydrogen peroxide will work to break down any accumulated grime, bacteria, or debris on the earrings. Ensure the hydrogen peroxide solution thoroughly penetrates all crevices, especially for intricate designs. This step is fundamental in achieving a deep clean without manual scrubbing, which can sometimes scratch or damage delicate surfaces.
Be sure to use a small, non-reactive container; glass or ceramic works best. Avoid using metal containers to prevent any unintended chemical reactions.
Gently Scrub the Earrings
After soaking, use a soft-bristled toothbrush to gently scrub the earrings, focusing on intricate details and hard-to-reach areas. The soft bristles are essential for avoiding scratches on delicate metals or gemstones. Hold the earring securely in one hand, and with the other, apply a gentle, circular motion with the toothbrush. This technique guarantees that you're effectively dislodging any residual grime or buildup, particularly in the tiny crevices where dirt tends to accumulate.
Start by targeting the posts and backs, which often harbor the most buildup. Pay special attention to any prong settings, as debris can easily get trapped there. For earrings with complex designs, like filigree or engraved patterns, the soft bristle will maneuver through the intricate details without causing damage. Maintain consistent, light pressure to avoid dislodging any stones or bending delicate parts.

If you encounter stubborn spots, don't increase pressure; instead, go over the area multiple times with gentle, circular strokes. This approach minimizes the risk of damage while ensuring thorough cleaning. By focusing on precision and careful handling, you'll maintain the integrity and brilliance of your earrings.
Rinse Thoroughly
Once you've finished scrubbing, rinse the earrings thoroughly under lukewarm running water to wash away any loosened debris and remaining hydrogen peroxide. Make sure the water flows over all surfaces of the earrings, including intricate settings and crevices. Proper rinsing is vital to remove any residual cleaning agents, which could potentially cause irritation if left on the earrings.
Hold each earring securely but gently, mindful of any delicate parts. Rotate them under the stream, ensuring each angle gets direct contact with the water. This step is essential not only for hygiene but also for maintaining the integrity of your jewelry. Avoid using hot water as it could damage certain materials, while cold water may not efficiently remove residues.
Once rinsed, shake off excess water gently.
Next, place the earrings on a clean, soft cloth. Avoid air drying as it can leave water spots. Instead, pat them dry with another soft, lint-free cloth. Thorough drying ensures no moisture remains, which could otherwise lead to tarnishing or bacterial growth. Pay special attention to any areas that might trap water, like clasps or settings.
Dry and Inspect
Thoroughly dry the earrings using a soft, lint-free cloth, making sure you pat rather than rub to avoid scratching delicate surfaces. Utilize specialized drying cloths designed for jewelry to guarantee maximum absorption and minimal abrasion. Gently press the cloth against the earrings, focusing on crevices where moisture may linger. These cloths are engineered to wick away moisture efficiently without leaving behind fibers or residues.
Once dry, proceed to a meticulous inspection. Employ magnification tools, such as a jeweler's loupe, to scrutinize the earrings for any remaining debris or damage. Your inspection techniques should be thorough: examine the clasps, backs, and posts for signs of wear or corrosion. Pay special attention to gemstones, making sure they remain securely set and free of nicks or scratches.

Rotate the earrings under good lighting to spot any imperfections that mightn't be visible at first glance. If you notice any residues or marks, a careful re-clean may be necessary.
Store Properly
To store your earrings properly, select suitable containers with individual compartments to prevent tangling.
Use soft, non-abrasive materials like velvet or felt linings to minimize damage to delicate surfaces.
Make sure each pair is separated to maintain their condition and avoid unnecessary wear.
Choose Suitable Containers
Selecting appropriate containers for storing your cleaned earrings is crucial to maintaining their hygiene and preventing contamination. You should consider using a glass dish or plastic container with a secure lid to guarantee a sterile environment.
Glass dishes are excellent for this purpose because they're non-porous, which means they won't absorb any contaminants from the air or the surface they're placed on. Make sure the glass dish is thoroughly cleaned and dried before placing your earrings inside.

Plastic containers can also be effective, provided they're made from high-quality, food-grade plastic. These containers should have airtight seals to prevent dust and bacteria from entering. Before using a plastic container, wash it with warm soapy water and dry it completely to remove any residual manufacturing chemicals.
When choosing containers, ensure they're the right size for your earrings. Too much space can cause movement, leading to potential scratches or other damage. Label each container with the type of earrings stored inside to maintain organization and facilitate easy access.
Prevent Tangling and Damage
Storing your earrings properly is essential to prevent tangling and damage, ensuring they remain in peak condition. Begin by selecting an appropriate jewelry box with multiple compartments. This will allow you to organize jewelry efficiently, keeping each pair of earrings separate.
Consider using soft-lined inserts to cushion your earrings and prevent scratches. For delicate chains, such as those often found on dangly earrings, employ anti-tangle techniques. You can thread the chain through a drinking straw or use small plastic bags to keep them isolated. This method helps untangle chains and avoids frustrating knots.
Earring studs and smaller pieces benefit from being stored in individual slots or compartments. If your jewelry box doesn't have these, consider using a pill organizer. It's a simple and effective way to keep each pair from knocking into each other, thereby reducing the risk of damage.
Additionally, always close the clasps on your earrings before storing them. This prevents them from catching on other items and causing potential damage. By following these meticulous storage practices, you'll maintain the integrity and longevity of your earrings, ensuring they remain as stunning as the day you bought them.
Conclusion
To sum up, properly cleaning your earrings with hydrogen peroxide guarantees they remain hygienic and sparkling. By gathering your supplies, preparing the cleaning solution, soaking the earrings, gently scrubbing, rinsing thoroughly, drying, and inspecting them, you maintain their brilliance and longevity.
Always store your earrings in a clean, dry place to prevent tarnishing and contamination. Adhering to these expert steps will keep your earrings in pristine condition, ensuring they're safe and beautiful to wear.


Leave a comment
This site is protected by hCaptcha and the hCaptcha Privacy Policy and Terms of Service apply.