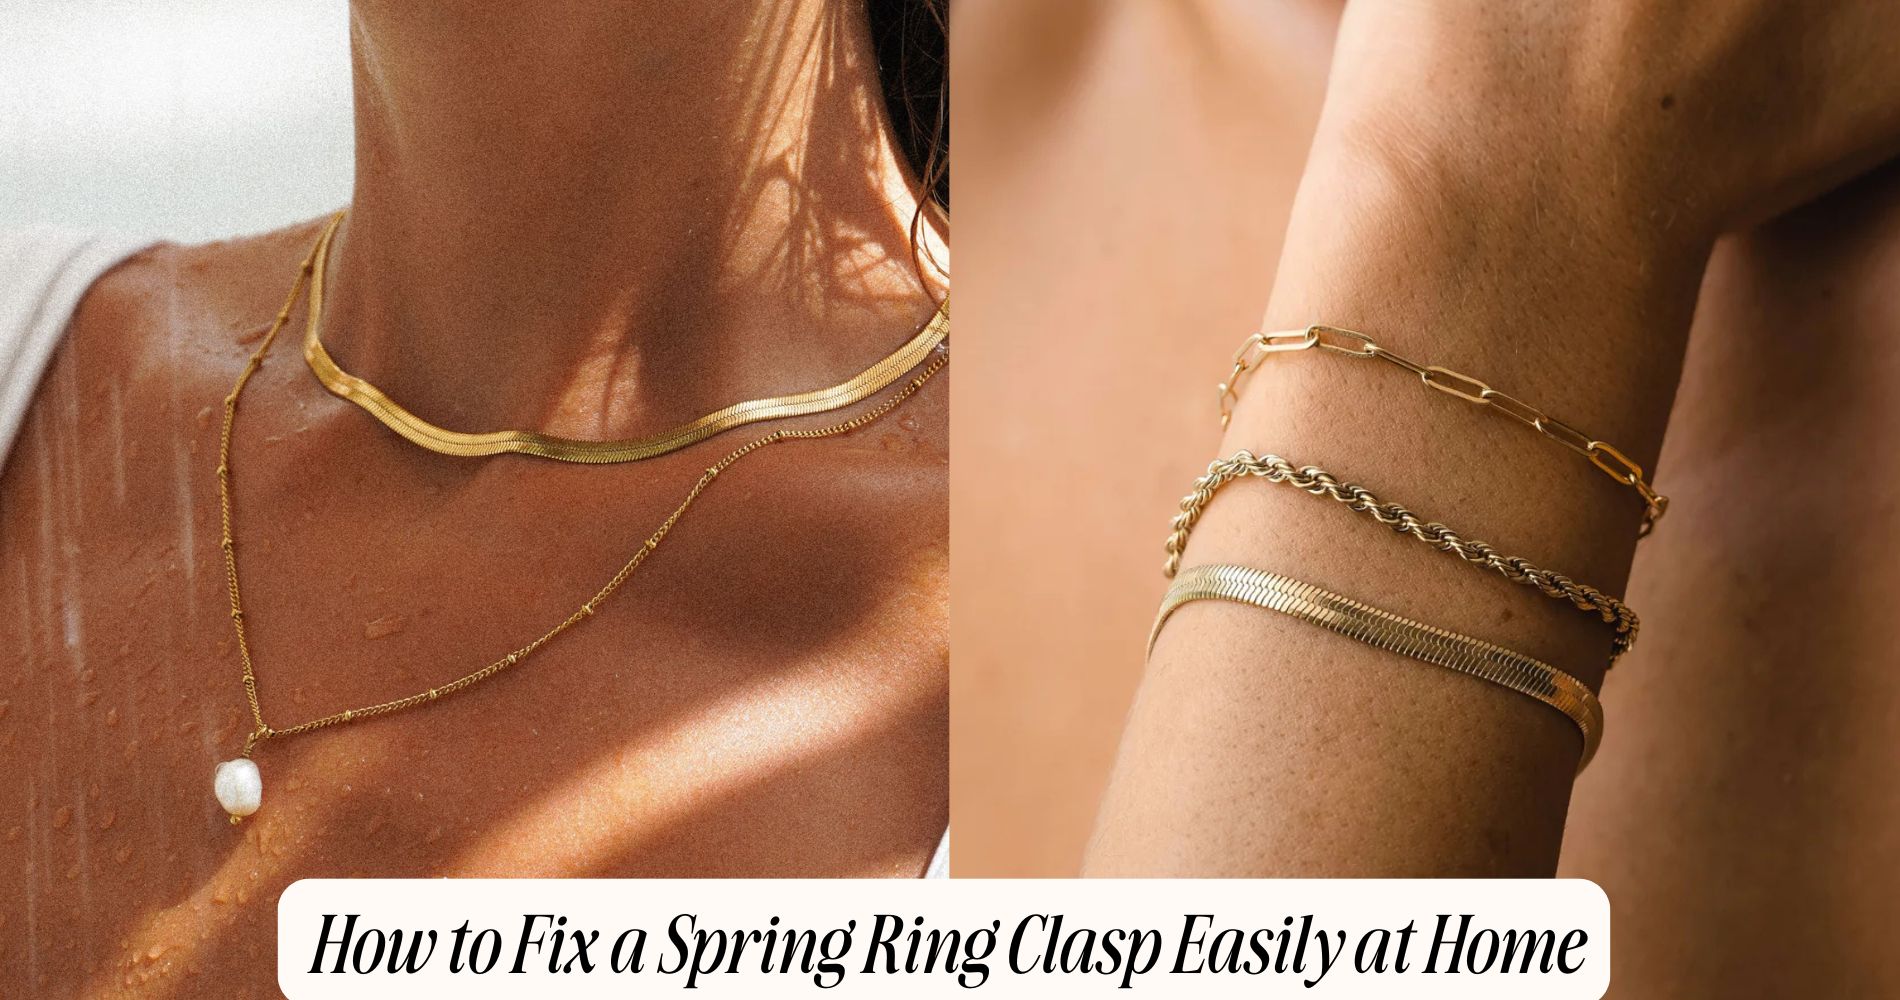
How to Fix a Spring Ring Clasp Easily at Home
Wondering how to fix a spring ring clasp? It’s easier than you might think! To repair it at home, gather needle-nose pliers, a magnifying glass, and a small flathead screwdriver. Start by inspecting the clasp for wear or debris. If the clasp won’t close properly, carefully use the pliers to adjust the spring back into shape. For a clasp that remains stuck open, clean the mechanism and check for any damage. Adjust the spring tension by gently twisting the loop with pliers. Once reassembled, ensure all components fit snugly and test it by opening and closing several times. With these steps, you can easily maintain your jewelry, including timeless pieces from our minimal jewelry set.
Understanding Spring Ring Clasps
When you're working with jewelry, understanding spring ring clasps is vital for proper repairs and maintenance. These clasps utilize a spring mechanism, which allows them to open and close smoothly with the push of a lever.
The design features a small loop that holds the chain or jewelry piece securely when engaged, making it a popular choice for necklaces and bracelets.
You'll find spring ring clasps made from various clasp materials, including sterling silver, gold, and stainless steel. The choice of material not only affects the clasp's durability but also its compatibility with the rest of your jewelry.
While sterling silver and gold provide a classic look, stainless steel offers increased strength and resistance to tarnishing.
To function correctly, it's essential that the spring mechanism remains intact. If the spring becomes weakened or damaged, the clasp may not hold securely, leading to potential loss of your jewelry.
Regularly inspect the clasp for wear and tear, ensuring that the spring mechanism operates smoothly. This understanding of spring ring clasps will aid in effective repairs and prolong the life of your jewelry.
Tools You Will Need
To fix a spring ring clasp effectively, you'll need a few essential tools at your disposal.
These tools will streamline the repair process and guarantee a secure result.
Additionally, we'll explore some alternative fixing methods that might come in handy if you lack the standard equipment.
Essential Tools Required
Fixing a spring ring clasp requires a few essential tools to guarantee the process goes smoothly.
First, you'll need a pair of needle-nose pliers. These are vital for manipulating delicate clasp materials without causing damage. Make sure you have a magnifying glass handy, as it can help you see small parts more clearly.
Next, gather a small flathead screwdriver. This tool will assist you in accessing the internal components of the clasp.
If your spring ring clasp contains a spring mechanism, having a set of tweezers will be beneficial for handling tiny springs or pins.
You should also have a soft cloth on hand to wipe down your jewelry during maintenance. Keeping your jewelry clean prevents dirt from interfering with the clasp's functionality.
Alternative Fixing Methods
Have you considered alternative methods for fixing a spring ring clasp? There are several DIY repair tips that can be effective in addressing common issues without needing extensive tools or professional help.
First, gather a few essential items. You'll need a pair of pliers, a small screwdriver, and possibly a magnifying glass for detailed inspection.
If the clasp isn't closing properly, check for debris or wear. Use the screwdriver to gently clean the mechanism and remove any obstructions.
If the spring mechanism is loose, use your pliers to carefully bend the spring back into shape, ensuring not to overdo it, as this could lead to breakage.
For a clasp that won't open, inspect the spring for signs of damage. If it's broken, you might consider replacing it entirely; many craft stores offer replacement clasps that are easy to install.
Lastly, if the clasp is tarnished, consider using a polishing cloth to restore its shine.
Keep these tools handy and remember these DIY repair tips for quick fixes the next time you encounter common issues with your spring ring clasp.
Inspecting the Clasp
Start by closely examining the spring ring clasp for any visible signs of wear or damage.
Look for scratches, dents, or corrosion on the clasp materials, which could compromise its function. Inspect the spring tension; if it feels weak or lacks resistance, the clasp may not close properly, risking loss of your jewelry.
Next, check the connection points where the clasp meets the chain or cord.
Verify these areas aren't bent or broken, as this can affect the clasp's ability to hold securely. Pay attention to any misalignment in the mechanism, which could hinder its operation.
If you notice any foreign debris or buildup, clean the clasp gently using a soft brush or cloth.
This will help maintain the integrity of the spring mechanism and prevent further issues.
Opening the Clasp
To open a spring ring clasp effectively, you first need to identify the clasp type to guarantee you're using the correct method.
Gather the necessary tools, such as pliers or your fingers, to assist in the process.
Then, apply the proper opening technique to prevent damage and guarantee a smooth operation.
Identify the Clasp Type
Identifying the clasp type is essential before attempting to open a spring ring clasp. Start by examining the clasp's design—spring ring clasps typically feature a small lever that you can press to release the spring mechanism. You'll find these clasps in various clasp materials, including stainless steel, gold, and silver, which may influence their operation and durability.
Next, check the clasp's overall design. Some spring ring clasps have a smooth, rounded exterior, while others might've decorative elements. This detail can help you determine how gently or forcefully you need to interact with the clasp.
Pay attention to the wear and tear on the clasp, as older or damaged clasps might behave differently than new ones.
Moreover, verify that you're familiar with the specific characteristics of the clasp design you're dealing with, as variations exist. A sturdy clasp will require more pressure to open, while a delicate one might need a lighter touch.
Gather Necessary Tools
Often, having the right tools on hand makes opening a spring ring clasp much easier. For effective jewelry maintenance, you'll need a few essential tools.
First, grab a pair of fine-tipped pliers; these will provide the precision necessary for manipulating the clasp without damaging it. If you have a flathead screwdriver, keep it nearby as well; it can help in cases where the mechanism is stuck.
Next, you might consider using a magnifying glass. This tool isn't required, but it's invaluable for inspecting the clasp closely, especially if it's small or intricately designed.
It'll help you identify any issues, such as dirt or wear, that may be affecting its functionality.
Lastly, have a soft cloth on hand. This is useful for cleaning around the clasp area before you start working on it.
Remember, different clasp types may require specific techniques, so being prepared with the right tools guarantees you won't face any unnecessary challenges.
With everything gathered, you'll be set to properly address the issues with your spring ring clasp efficiently.
Proper Opening Technique
With your tools ready, it's time to focus on the proper opening technique for a spring ring clasp. Begin by holding the clasp securely in one hand, making sure it's oriented correctly. Identify the small lever or tab on the clasp; this is essential for opening it.
Using your dominant hand, gently press down on the lever while pulling the ring away from the clasp. Make certain to apply even pressure to avoid damaging the mechanism. If you encounter resistance, check for any dirt or debris that might be obstructing the opening. Regular clasp maintenance can prevent this issue, so keep your jewelry clean and well-cared-for.
Once the clasp is open, detach it from the chain or other jewelry components.
When closing, reverse the process—press the lever down and guide the ring back into the clasp until you hear a click. This confirms it's securely fastened.
Repairing the Mechanism
Repairing the mechanism of a spring ring clasp requires careful attention to detail and a steady hand.
Begin by examining the clasp to identify any common issues. One frequent problem is weakened spring tension, which can prevent the clasp from closing securely.
To address this, you'll need a small pair of pliers. Gently grip the loop at the end of the spring and carefully twist it to increase the tension. Be cautious not to apply too much force, as this can lead to further damage. If the spring is too loose, it may be necessary to replace it entirely.
Next, inspect the pivot point where the spring connects. If debris or corrosion is present, clean it using a soft cloth and a tiny amount of lubricant. This helps guarantee smooth operation.
After addressing the spring tension and cleaning, test the mechanism by opening and closing it multiple times. Confirm it snaps shut firmly, indicating adequate tension.
If you still experience issues, consider consulting a professional jeweler for further assistance. By following these steps, you can effectively repair the mechanism of your spring ring clasp at home.
Reassembling the Clasp
After addressing the spring tension and confirming the pivot point is clean, you can start reassembling the clasp.
First, take the spring and insert it into the designated slot on the clasp. Make sure it's properly aligned with the pivot point. Use a small tool, like tweezers, to assist you if needed.
Next, attach the clasp materials securely, confirming that any metal components align without gaps. If the clasp contains additional parts, like a small cover or closure, position these correctly before proceeding.
Apply gentle pressure to guarantee the spring fits snugly against the clasp's interior. This step is essential for maintaining functionality and preventing future repair needs.
If you're using repair techniques such as soldering, confirm that the solder joints are clean and free of excess material to allow smooth operation.
Testing Your Repair
Testing your repair is essential to verify the spring ring clasp functions properly. After you've applied your repair techniques, it's time to confirm everything's working as intended.
Start by gently pulling the clasp open and closed several times. This will help you assess the spring's tension and the overall mechanism's responsiveness.
Next, examine the clasp materials closely. Look for any signs of wear or damage that might affect the clasp's integrity. If you notice any deformation or weakness, you may need to reinforce or replace specific components.
Once you're satisfied with the mechanical operation, attach the clasp to a chain or bracelet. Give it a few gentle tugs to simulate normal use. Confirm that the clasp securely holds the jewelry without slipping or disengaging.
Lastly, consider wearing the piece for a short period. This real-world testing helps identify any potential issues that might arise during regular use.
If everything holds up well, congratulations! You've successfully repaired your spring ring clasp. If not, reassess your repair techniques and make additional adjustments as necessary.
Frequently Asked Questions
Can I Use Super Glue to Fix a Broken Spring Ring Clasp?
You can't rely solely on super glue for clasp repairs. Instead, explore super glue alternatives like epoxy or soldering. Mastering clasp repair techniques guarantees a durable fix and enhances the longevity of your jewelry.
What Materials Are Spring Ring Clasps Typically Made From?
Spring ring clasps are typically made from metals like stainless steel, brass, or silver. These spring ring materials enhance clasp durability, ensuring they withstand wear while maintaining functionality and aesthetic appeal in jewelry designs.
Conclusion
By following these steps, you can easily fix a spring ring clasp at home. Remember to inspect the clasp thoroughly before attempting repairs, and handle the mechanism with care to avoid further damage. After reassembling the clasp, test it to verify it functions properly. With the right tools and a bit of patience, you can restore your clasp's functionality, saving both time and money on professional repairs.












Leave a comment
This site is protected by hCaptcha and the hCaptcha Privacy Policy and Terms of Service apply.