
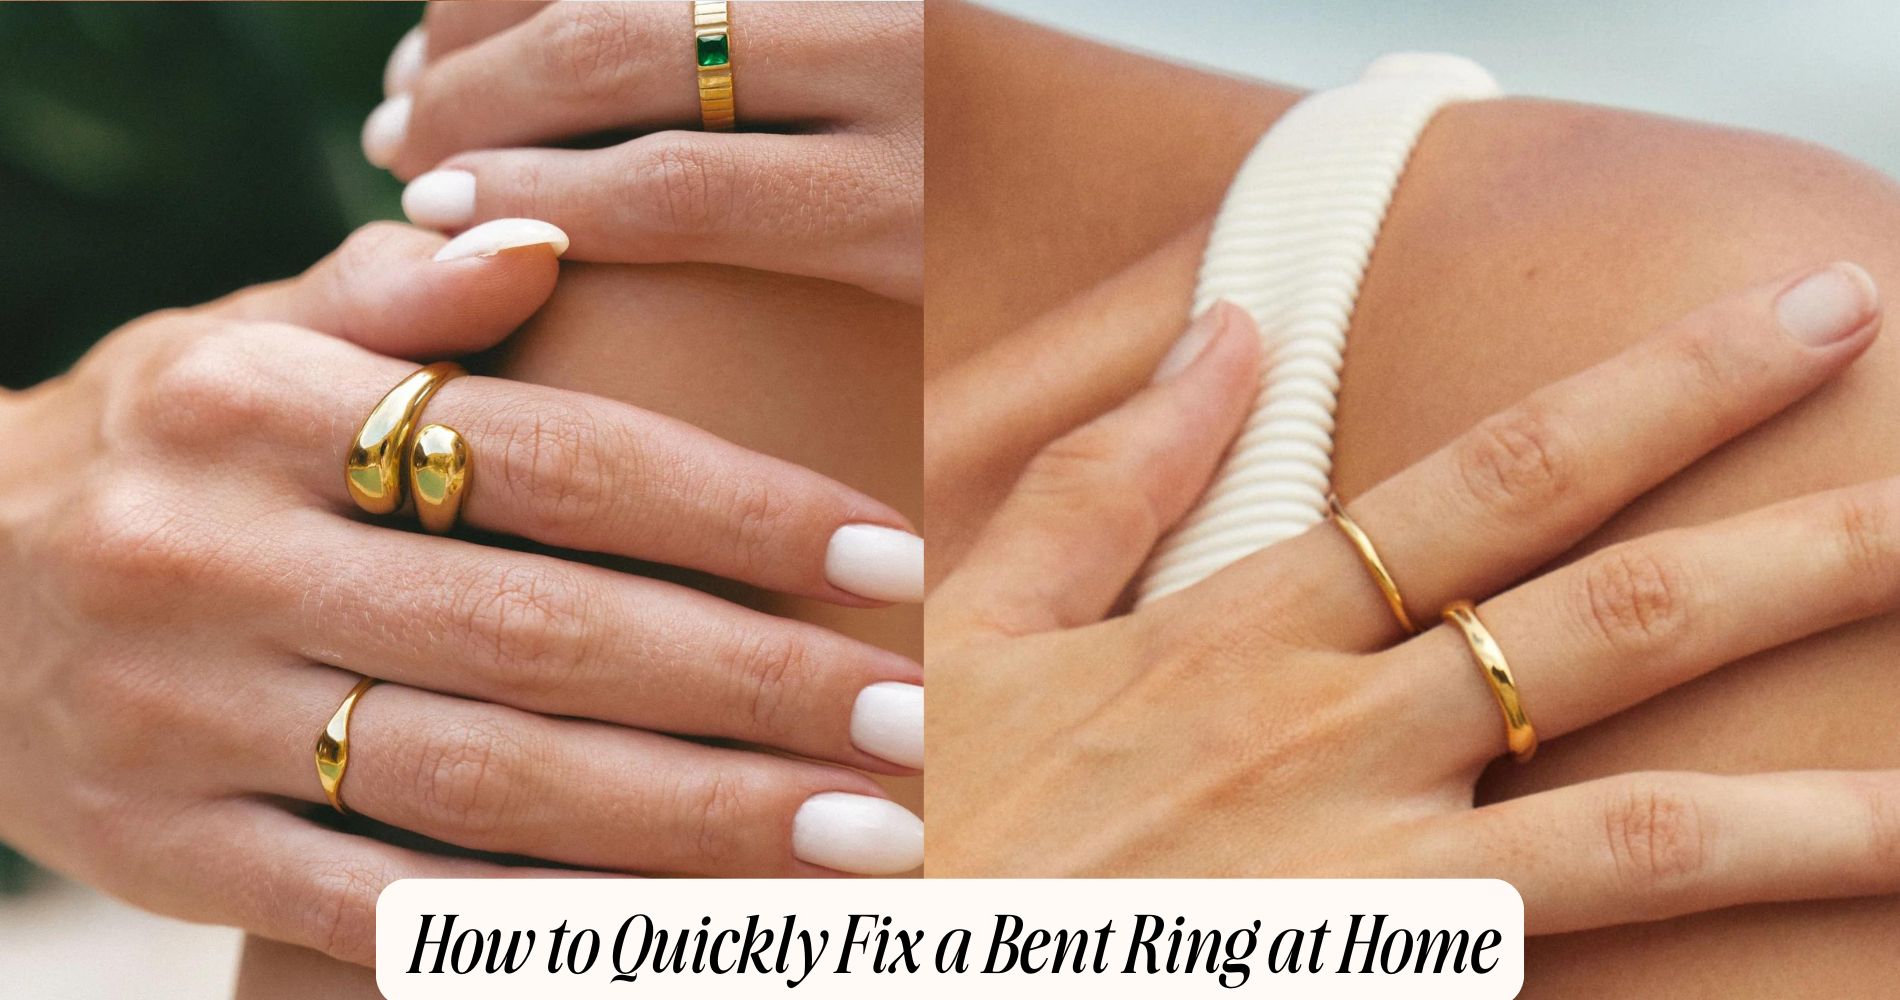
How to Quickly Fix a Bent Ring at Home
To quickly fix a bent ring at home, start by evaluating the damage for bends or cracks. Gather essential tools like a ring mandrel, a rubber mallet, and flat-nose pliers. Secure your workspace to guarantee precision and comfort. Gently slide the ring onto the mandrel, applying even pressure on the bent area. Rotate the ring to check alignment while taking care not to use excessive force. After reshaping, check for sharp edges and smooth them out if necessary. Finally, clean and polish your ring for a renewed shine. You'll find additional tips for better care if you explore further, including a collection of Waterproof Rings that are durable and stylish, perfect for everyday wear.
Assess the Damage
Before you begin fixing your bent ring, it's crucial to assess the damage accurately. Start by examining the ring closely, noting the specific type of ring you're dealing with, as different ring types may require different approaches.
Look for any noticeable bends, dents, or irregularities in the shape. Pay attention to the metal's surface; signs of scratches or discoloration can indicate further issues that might need addressing.
Next, check for structural integrity. Gently apply pressure to see if the ring holds its shape or if it flexes too easily. If the band has cracked or if stones are loose, you'll need to take these factors into account during your repair process.
A thorough damage assessment not only helps you pinpoint the severity of the problem but also informs the methods you'll use to restore the ring.
Gather Necessary Tools
Before you start fixing your bent ring, gather the essential tools you'll need for the job.
This includes materials for repair and any safety precautions to protect yourself during the process.

Having everything ready will guarantee a smoother and more efficient repair.
Essential Tools Required
To successfully fix a bent ring at home, you'll need to gather a few essential tools that will make the process efficient and effective.
First, verify you have a ring mandrel. This tool is vital for ring resizing and helps reshape your ring accurately. A rubber mallet is also necessary; it allows you to gently tap the ring back into shape without damaging it.
You'll want a pair of pliers, specifically flat-nose pliers, to manipulate the metal if it's particularly stubborn. A soft cloth is essential for jewelry care, as it protects your ring's surface from scratches during the process.
Lastly, consider using a bowl of warm water or a jewelry cleaner for an initial clean before you start. This not only enhances the ring's appearance but also allows you to evaluate the extent of the bending.
Materials for Repair
Having the right materials on hand is vital for effectively repairing a bent ring at home. First, identify the material type of your ring, whether it's gold, silver, or another metal. This will influence the repair techniques you'll use.
For softer metals like gold and silver, you'll need a rubber mallet and a soft cloth to cushion your strikes. If your ring is made of harder materials, like titanium, you might require a more specialized approach, possibly using a jeweler's block.
You'll also need a ring mandrel, which helps reshape the ring to its original size and form. A pair of pliers can assist in adjusting any prongs or settings that may have shifted during the bending.
Additionally, having a small bowl of water nearby is essential for cooling the metal, especially if you're applying heat during the repair process.
Make sure you gather all necessary items before starting the repair. This preparation will streamline your process, ensuring you have everything needed to restore your bent ring to its original beauty efficiently.
Safety Precautions Needed
When you're ready to repair your bent ring, prioritizing safety is essential to prevent injury and damage to your jewelry.
Start by gathering the necessary tools, which include a ring mandrel, rubber mallet, and protective gloves. The ring mandrel will help you reshape the ring accurately, while the rubber mallet guarantees you don't apply excessive force that might damage the metal properties of the ring.
Different ring types, such as gold, silver, or platinum, have unique properties that can affect how you approach the repair. For example, gold is more malleable than silver, which means it requires less force to reshape.
Always wear safety glasses to protect your eyes from any debris that may fly off during the repair process.

Confirm you work in a well-lit area to clearly see the ring's condition and any tools you're using. If your ring features delicate stones or intricate designs, consider wrapping it in a soft cloth to avoid scratches.
Prepare Your Workspace
Before you start fixing your bent ring, make certain you have all your necessary tools on hand.
Choose a flat, stable surface to work on; this guarantees precision and prevents further damage to the ring.
A well-prepared workspace sets the foundation for a successful repair.
Gather Necessary Tools
To successfully fix a bent ring at home, you'll need a few essential tools to guarantee the process goes smoothly.
Start by gathering a pair of needle-nose pliers, as they provide the precision needed to manipulate the ring without causing further damage. You'll also want a flat block of wood or a rubber mallet to serve as a backing surface; this will help protect the ring's finish during the repair.
Depending on the metal types of your ring—such as gold, silver, or platinum—you may require additional tools. For softer metals, a simple pair of hands may suffice, but for harder materials, consider having a steel block on hand to support the ring while you work.
A jeweler's loupe is also beneficial if you need to inspect the ring closely for any signs of stress or damage.
Choose a Flat Surface
Choosing a flat, stable surface is essential for effectively repairing a bent ring. The right workspace helps maintain ring stability during the fixing process. Start by identifying suitable flat surface types, such as a sturdy table, a countertop, or a workbench.
Avoid surfaces that are uneven or soft, like a bed or a couch, as these can lead to inaccuracies in your repair efforts.
Once you've selected a flat surface, clear it of any clutter to create a focused workspace. Make sure you have adequate lighting, as good visibility is critical for evaluating the ring's damage and performing precise adjustments.
If you have a non-slip mat, consider placing it on the flat surface; this will provide additional grip and prevent any accidental slips during the repair.
Next, lay the ring flat on the surface, making certain it's fully supported and stable. This positioning is essential for maintaining the ring's shape while you work.
With everything in place, you're now ready to proceed with the repair process, knowing that a solid, flat surface greatly contributes to your success.
Use a Ring Mandrel
Using a ring mandrel can effectively restore your bent ring to its original shape. First, identify the appropriate size on the mandrel that corresponds to your desired ring sizing. This step is vital, as different metal types—like gold, silver, or platinum—may require varying amounts of pressure to reshape without damage.
Begin by placing the ring onto the mandrel at the identified size. Make sure that the mandrel is securely positioned on a flat surface to prevent slippage during the process. If your ring is severely bent, you may need to adjust your technique slightly, as some metal types may be more malleable than others.
Next, gently slide the ring down the mandrel, working it toward the larger end. Pay attention to the metal's response; if it feels resistant, stop and reassess your technique. It's important to proceed slowly and carefully, as rushing can lead to further bending or cracking.
Once you've achieved the desired shape, remove the ring and check for fit. You should now have a ring that closely resembles its original form, ready for further adjustments if necessary.
Apply Gentle Pressure
Once you've positioned the ring on the mandrel, applying gentle pressure is key to reshaping it without causing damage.
Begin by using your fingers to gradually push against the area of the ring that's bent. Focus on the most distorted section first, as this will help in achieving a more balanced ring adjustment.
Remember, metal flexibility varies with different types of metals; softer metals like gold will respond more easily than harder metals such as platinum.
Use steady, even pressure to avoid any sudden shifts that could cause further bending or cracking. If the ring feels resistant, stop and reassess your technique instead of forcing it.
It's essential to apply pressure in a direction that aligns with the ring's natural curvature.
As you work, periodically check your progress by rotating the ring around the mandrel. This helps you maintain an even shape.
Always prioritize a gentle approach; excessive force can lead to irreversible damage.
Once you're satisfied with the adjustment, you can proceed to further inspect the ring for any sharp edges that may need attention.
Check for Sharp Edges
After reshaping the ring, it's important to check for any sharp edges that may have developed during the process. Sharp edge identification is vital for guaranteeing ring edge safety, as these edges can cause injury or damage to other items.
Start by running your fingers gently along the inner and outer edges of the ring. If you feel any roughness or jagged points, you've likely identified a sharp edge that needs attention.
Next, use a magnifying glass or a bright light to inspect the edges closely. Look for any areas that appear uneven or out of alignment, as these can indicate problem areas.
If you find sharp edges, consider using a fine file or sandpaper to smooth them down. Be cautious during this process; apply light pressure to avoid further deforming the ring.

Additionally, periodically check your progress by feeling the edges again. You want to confirm that all sharp points are adequately addressed before wearing the ring.
Once you've confirmed that there are no sharp edges left, you can proceed to the next steps in restoring your ring.
Polish and Clean the Ring
To restore your ring's luster and shine, polishing and cleaning it's essential.
Begin by selecting an appropriate cleaning solution. For most metals, a mixture of warm water and mild dish soap works well. Soak your ring for about 15 minutes to loosen dirt and grime. After soaking, use a soft-bristle toothbrush to gently scrub the surface, focusing on crevices where dirt can accumulate.
Next, rinse your ring thoroughly under warm water to remove soap residue. Pat it dry with a microfiber cloth to prevent scratches.
Now you can move on to polishing techniques. Use a quality jewelry polishing cloth, which contains a gentle abrasive that can enhance shine without damaging the metal. Gently rub the ring in circular motions, ensuring even coverage.
For additional ring maintenance tips, consider using a commercial jewelry cleaner specifically formulated for your ring's material. Always follow the manufacturer's instructions.

Regularly cleaning and polishing your ring not only keeps it looking its best but also helps maintain its structural integrity. By incorporating these practices into your jewelry care routine, you can prolong the life and appearance of your ring.
Prevent Future Bending
Preventing future bending of your ring starts with understanding how daily activities can put stress on it. Activities like manual labor, exercising, or even household chores can easily lead to bending if your ring isn't properly protected.
To mitigate this risk, consider implementing some practical ring maintenance tips.
First, remove your ring during strenuous activities. This simple step can notably reduce the chances of bending. Additionally, verify you're wearing the correct size; a ring that's too loose may twist and bend more easily.

Next, invest in effective jewelry storage solutions. Store your ring in a designated jewelry box or a soft pouch when not in use. Avoid tossing it in a drawer with other items, as this can lead to scratches and potential bending.
Frequently Asked Questions
Can I Fix a Ring Without Special Tools?
Yes, you can fix a ring without special tools. Using common home tools for DIY ring repair, like pliers or a soft cloth, allows you to gently reshape the ring back to its original form.
What Types of Rings Are Easiest to Fix at Home?
When considering types of rings, softer metals like gold and silver are easiest to fix at home. In contrast, harder materials like titanium or stainless steel require specialized tools and techniques to restore their shape effectively.
How Do I Know if My Ring Is Too Damaged to Repair?
To determine if your ring's too damaged to repair, inspect the ring materials for cracks or breaks. If repair techniques like resizing or reshaping can't restore its integrity, consider consulting a professional jeweler for advice.
Is It Safe to Use Heat on My Ring?
Using heat applications on your ring can be risky, depending on the ring materials. Certain metals, like gold, can withstand heat better than others. Always assess your ring's composition before applying any heat.
Can I Fix a Ring With Gemstones or Delicate Settings?
You can't apply pressure on a ring with gemstones or delicate settings without risking damage. For gemstone safety, consider professional assistance instead. Delicate adjustments require precision that's hard to achieve with at-home methods.
Conclusion
By following these steps, you can effectively repair a bent ring at home without professional help. Always assess the damage first and gather the right tools to guarantee a smooth process. Using a ring mandrel allows you to apply gentle pressure for a precise fix. After correcting the shape, check for sharp edges and polish the ring for a finished look. With proper care, you can prevent future bending and keep your jewelry in excellent condition.


Leave a comment
This site is protected by hCaptcha and the hCaptcha Privacy Policy and Terms of Service apply.