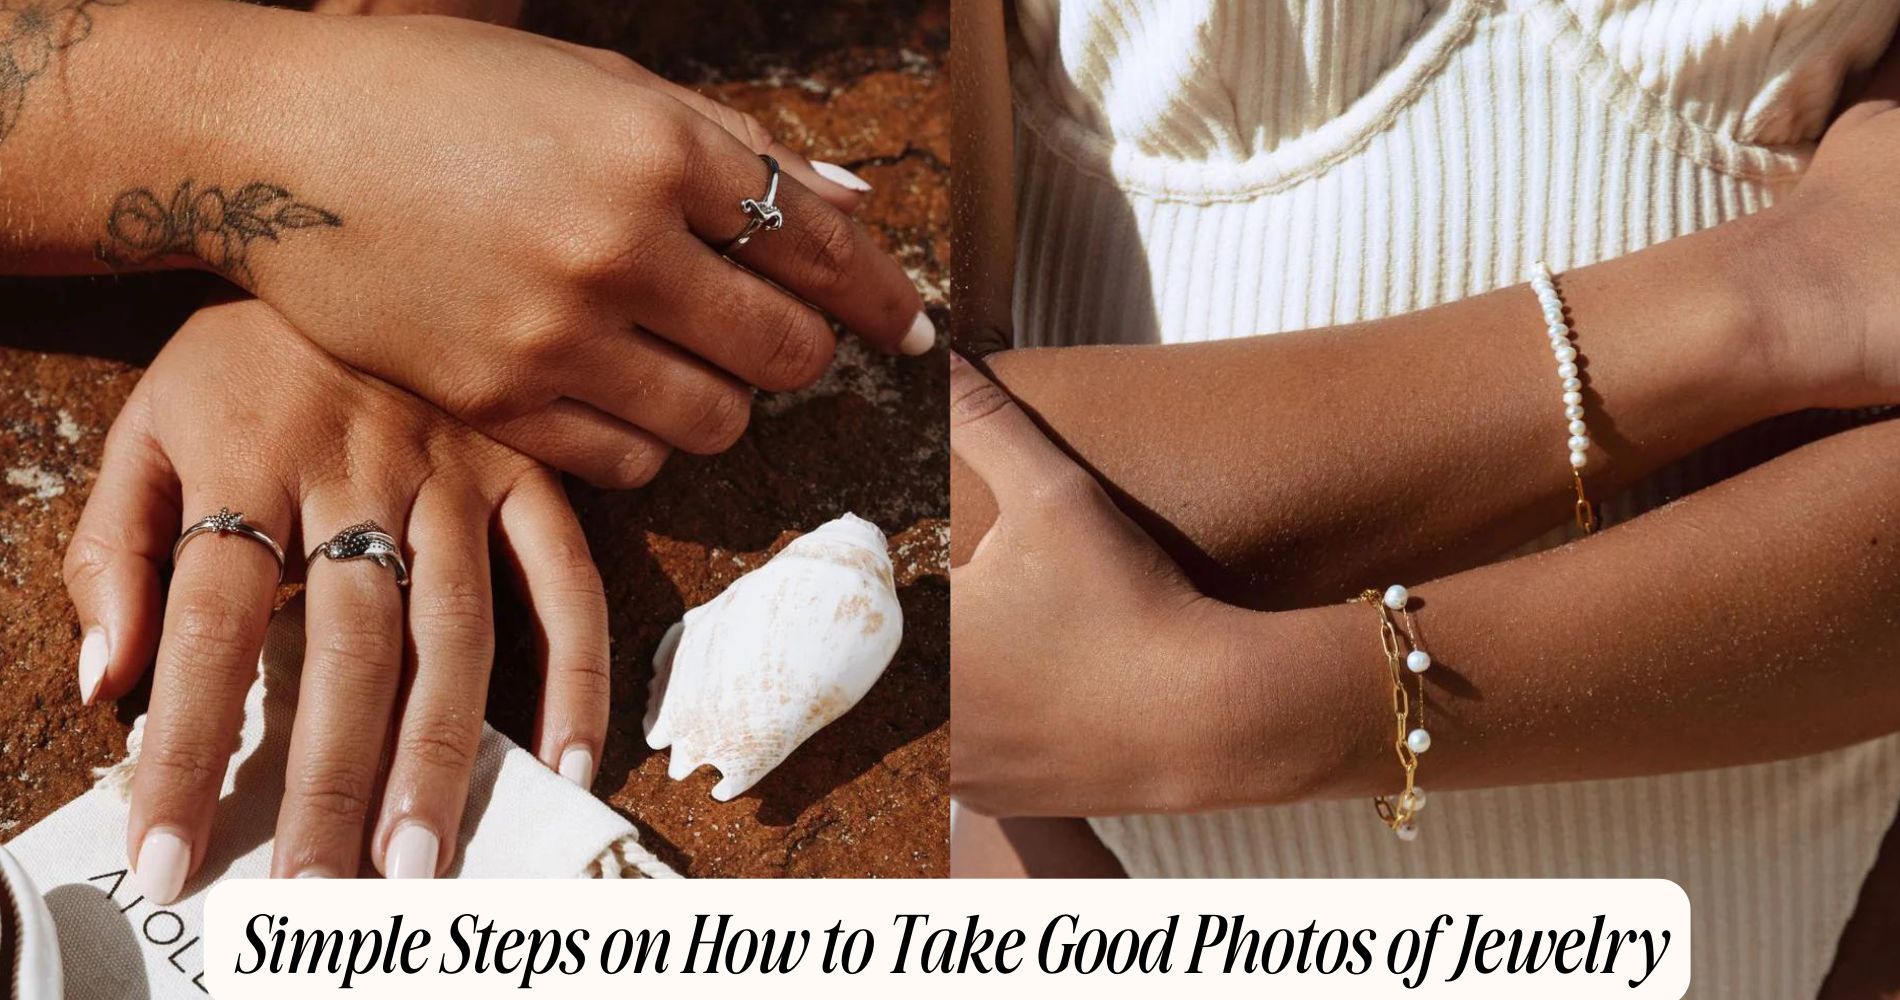
Simple Steps on How to Take Good Photos of Jewelry
If you're wondering how to take good photos of jewelry, start by choosing the right lighting—natural light near a window is ideal, especially during the golden hour. A neutral background helps your pieces stand out, and using a tripod ensures stability to avoid blur. Experiment with different angles to capture the most captivating perspectives, and use macro photography to highlight the intricate details and textures. Lastly, enhance your photos with editing software by adjusting exposure and color for the most accurate representation. These simple techniques can elevate your Waterproof Jewelry photography, giving you stunning results every time.
Choose the Right Lighting
When it comes to photographing jewelry, the right lighting can make all the difference in showcasing its brilliance and details. Start by considering natural light; it's soft and flattering, perfect for capturing intricate designs. Position your jewelry near a window, using diffused light to minimize harsh shadows.
If you're shooting indoors, an artificial light setup can provide consistent results. Use softboxes or LED lights to create a balanced color temperature, ensuring your gemstones' hues appear true to life.
Experiment with backlighting techniques to add depth and dimension. This method illuminates the piece from behind, highlighting transparency and enhancing light reflections. Just be mindful of the resulting shadow effects; you want to create intrigue without obscuring details.
As you adjust your lighting setup, consider the angle of your light sources. A 45-degree angle often yields the best results, allowing for dynamic reflections and minimizing glare.
Select a Suitable Background
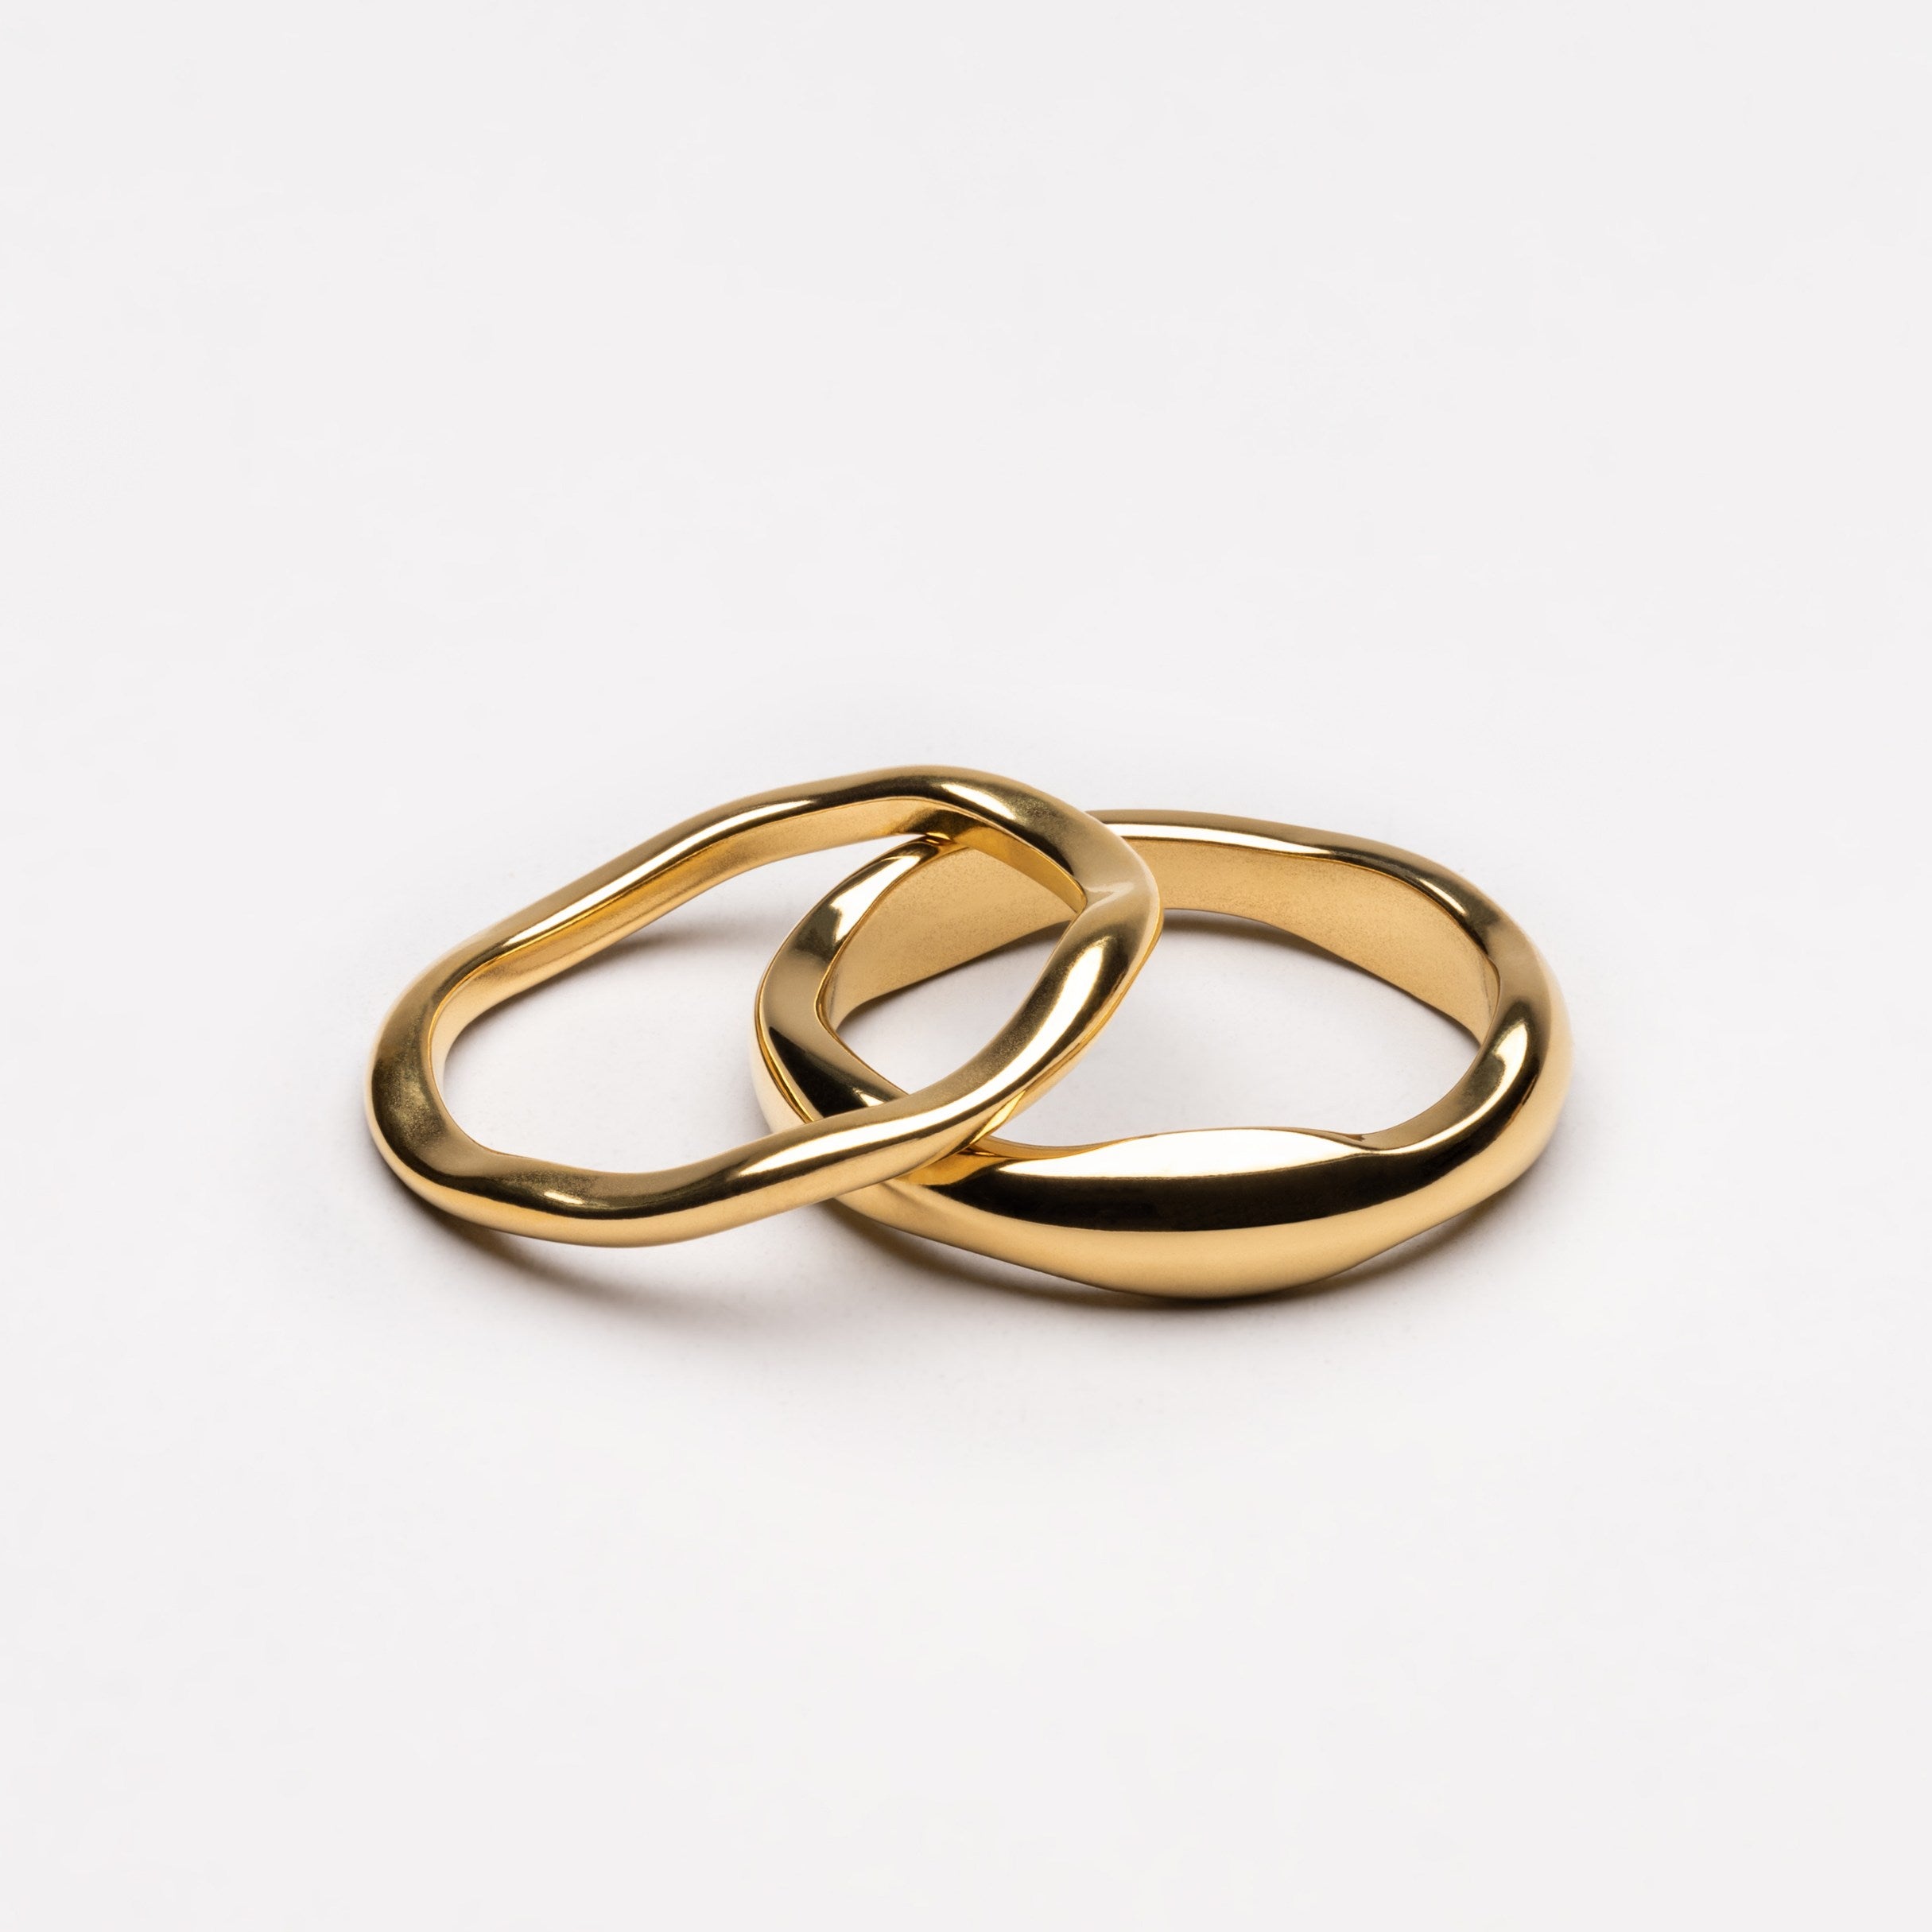
A well-chosen background can elevate your jewelry photography from ordinary to extraordinary. Start by considering the background color; neutral tones like white, gray, or beige often work best, allowing the jewelry to shine.
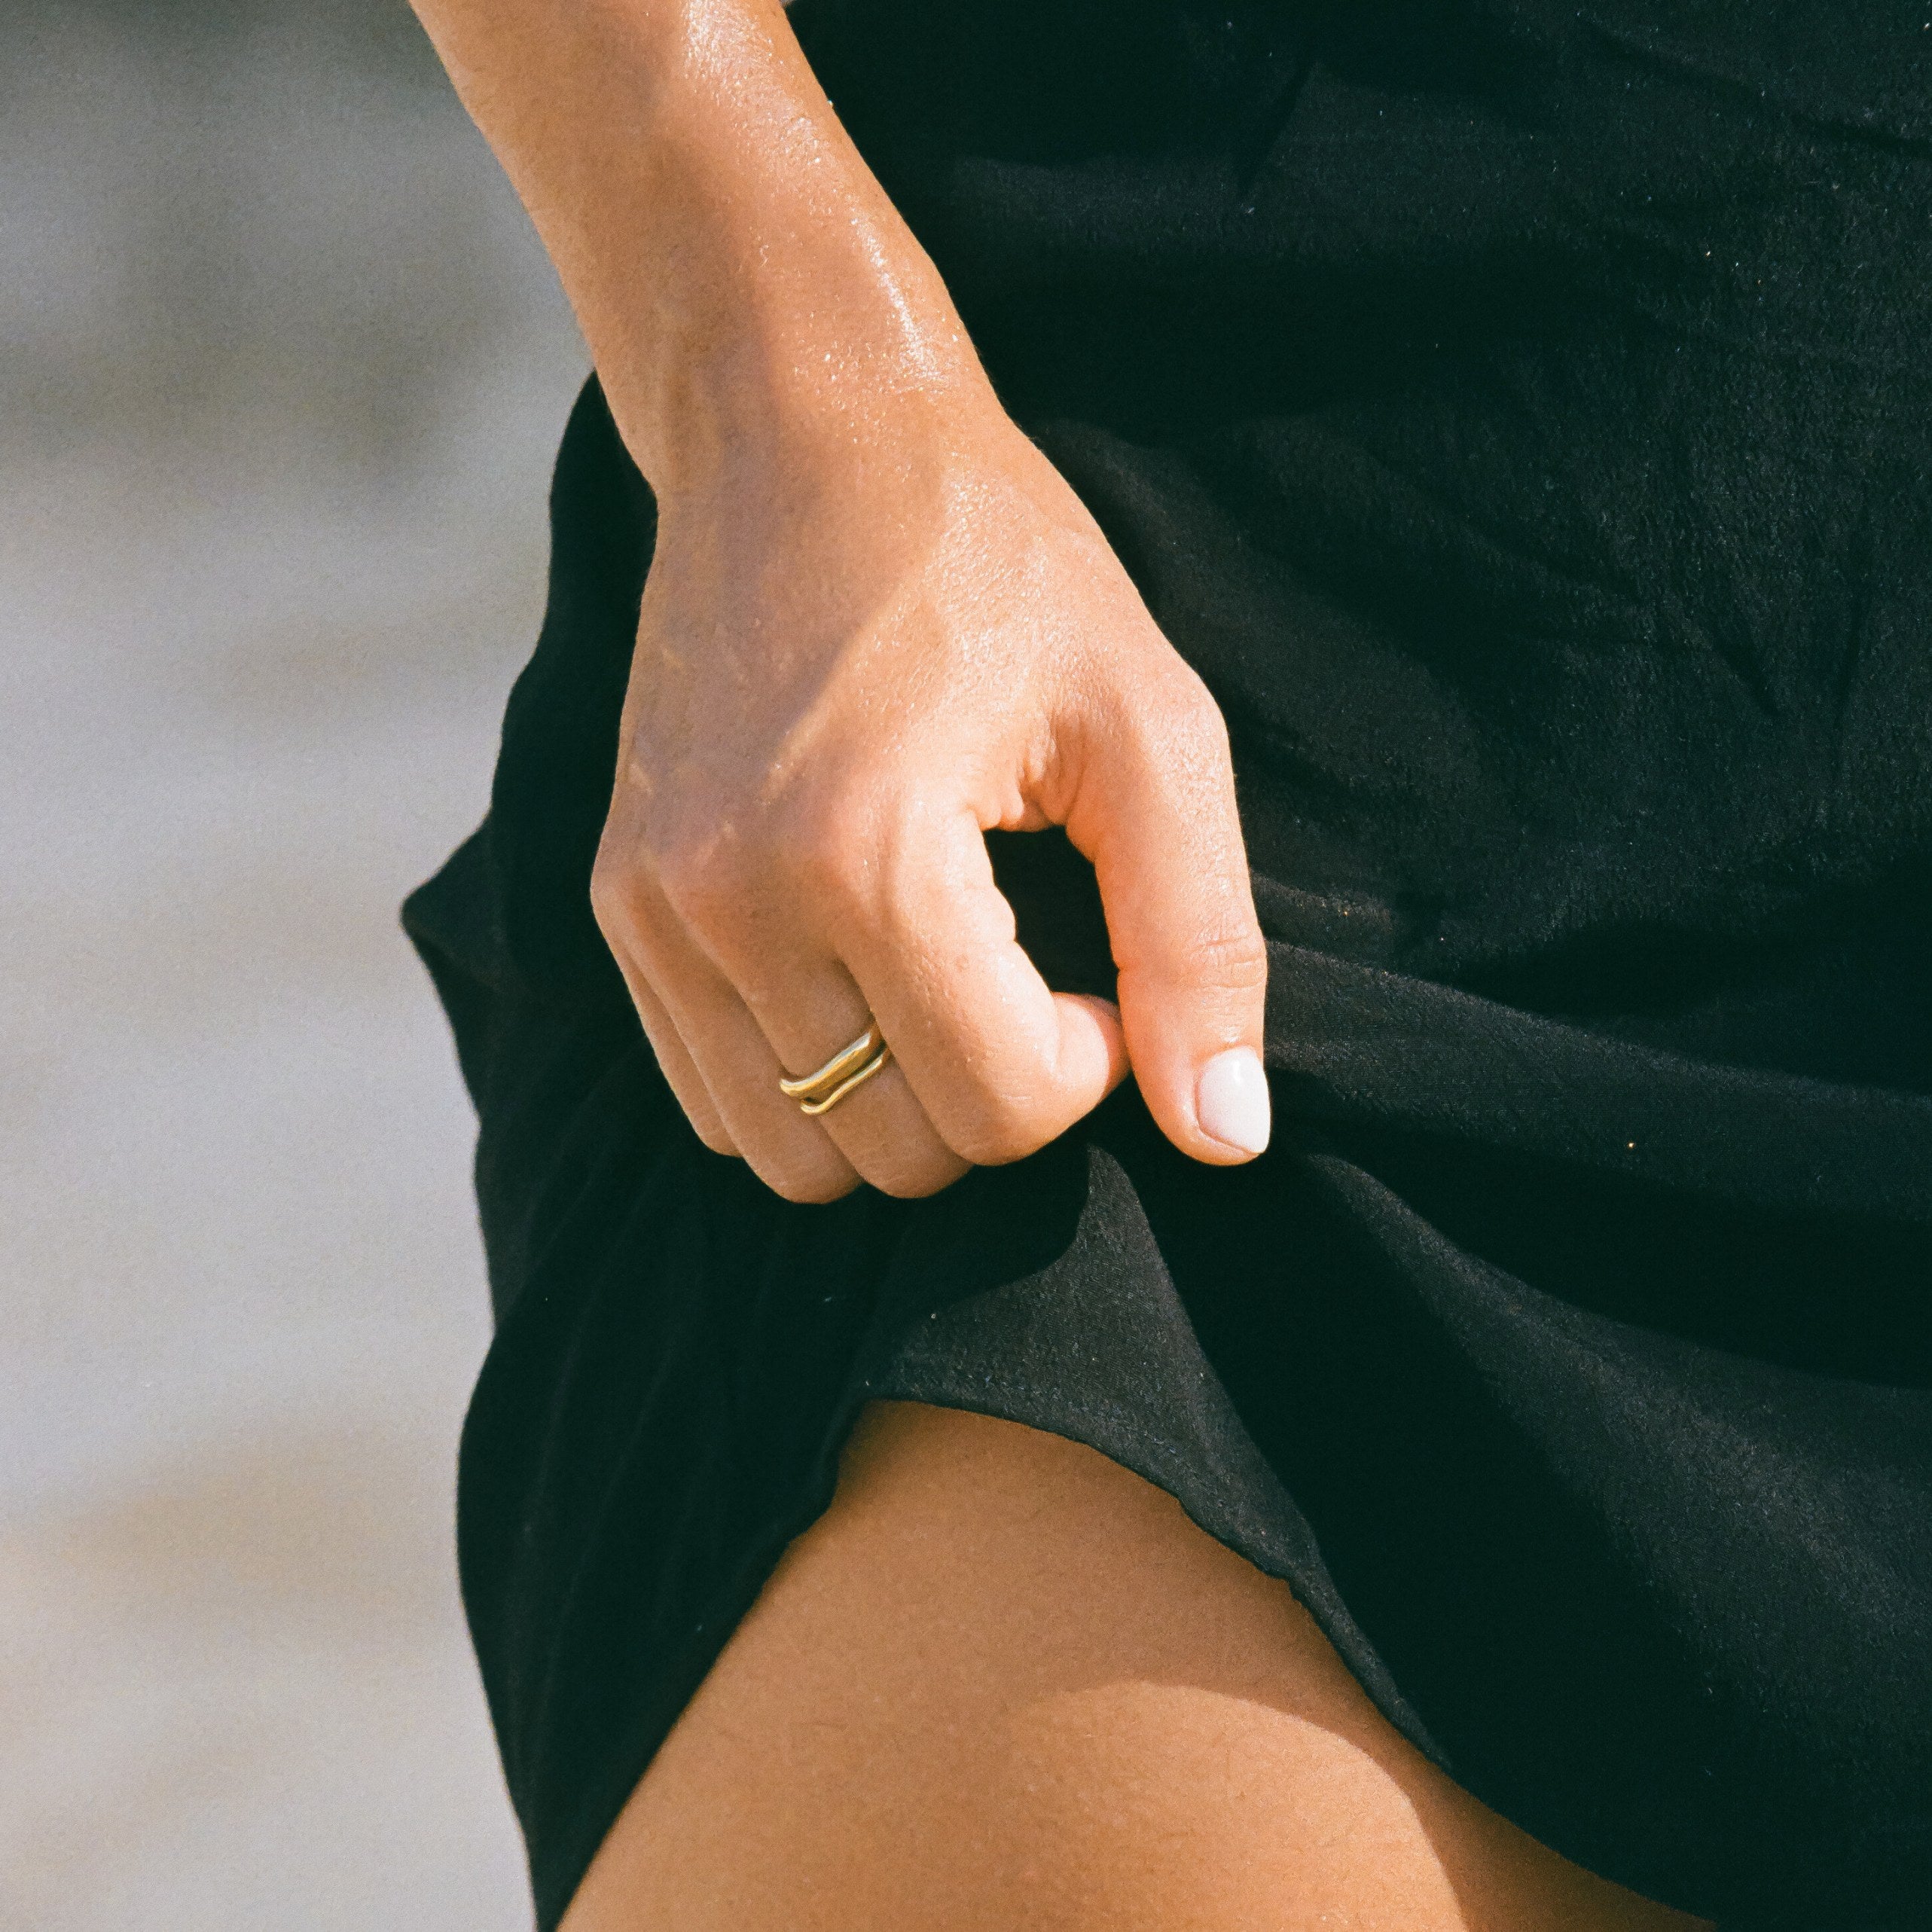
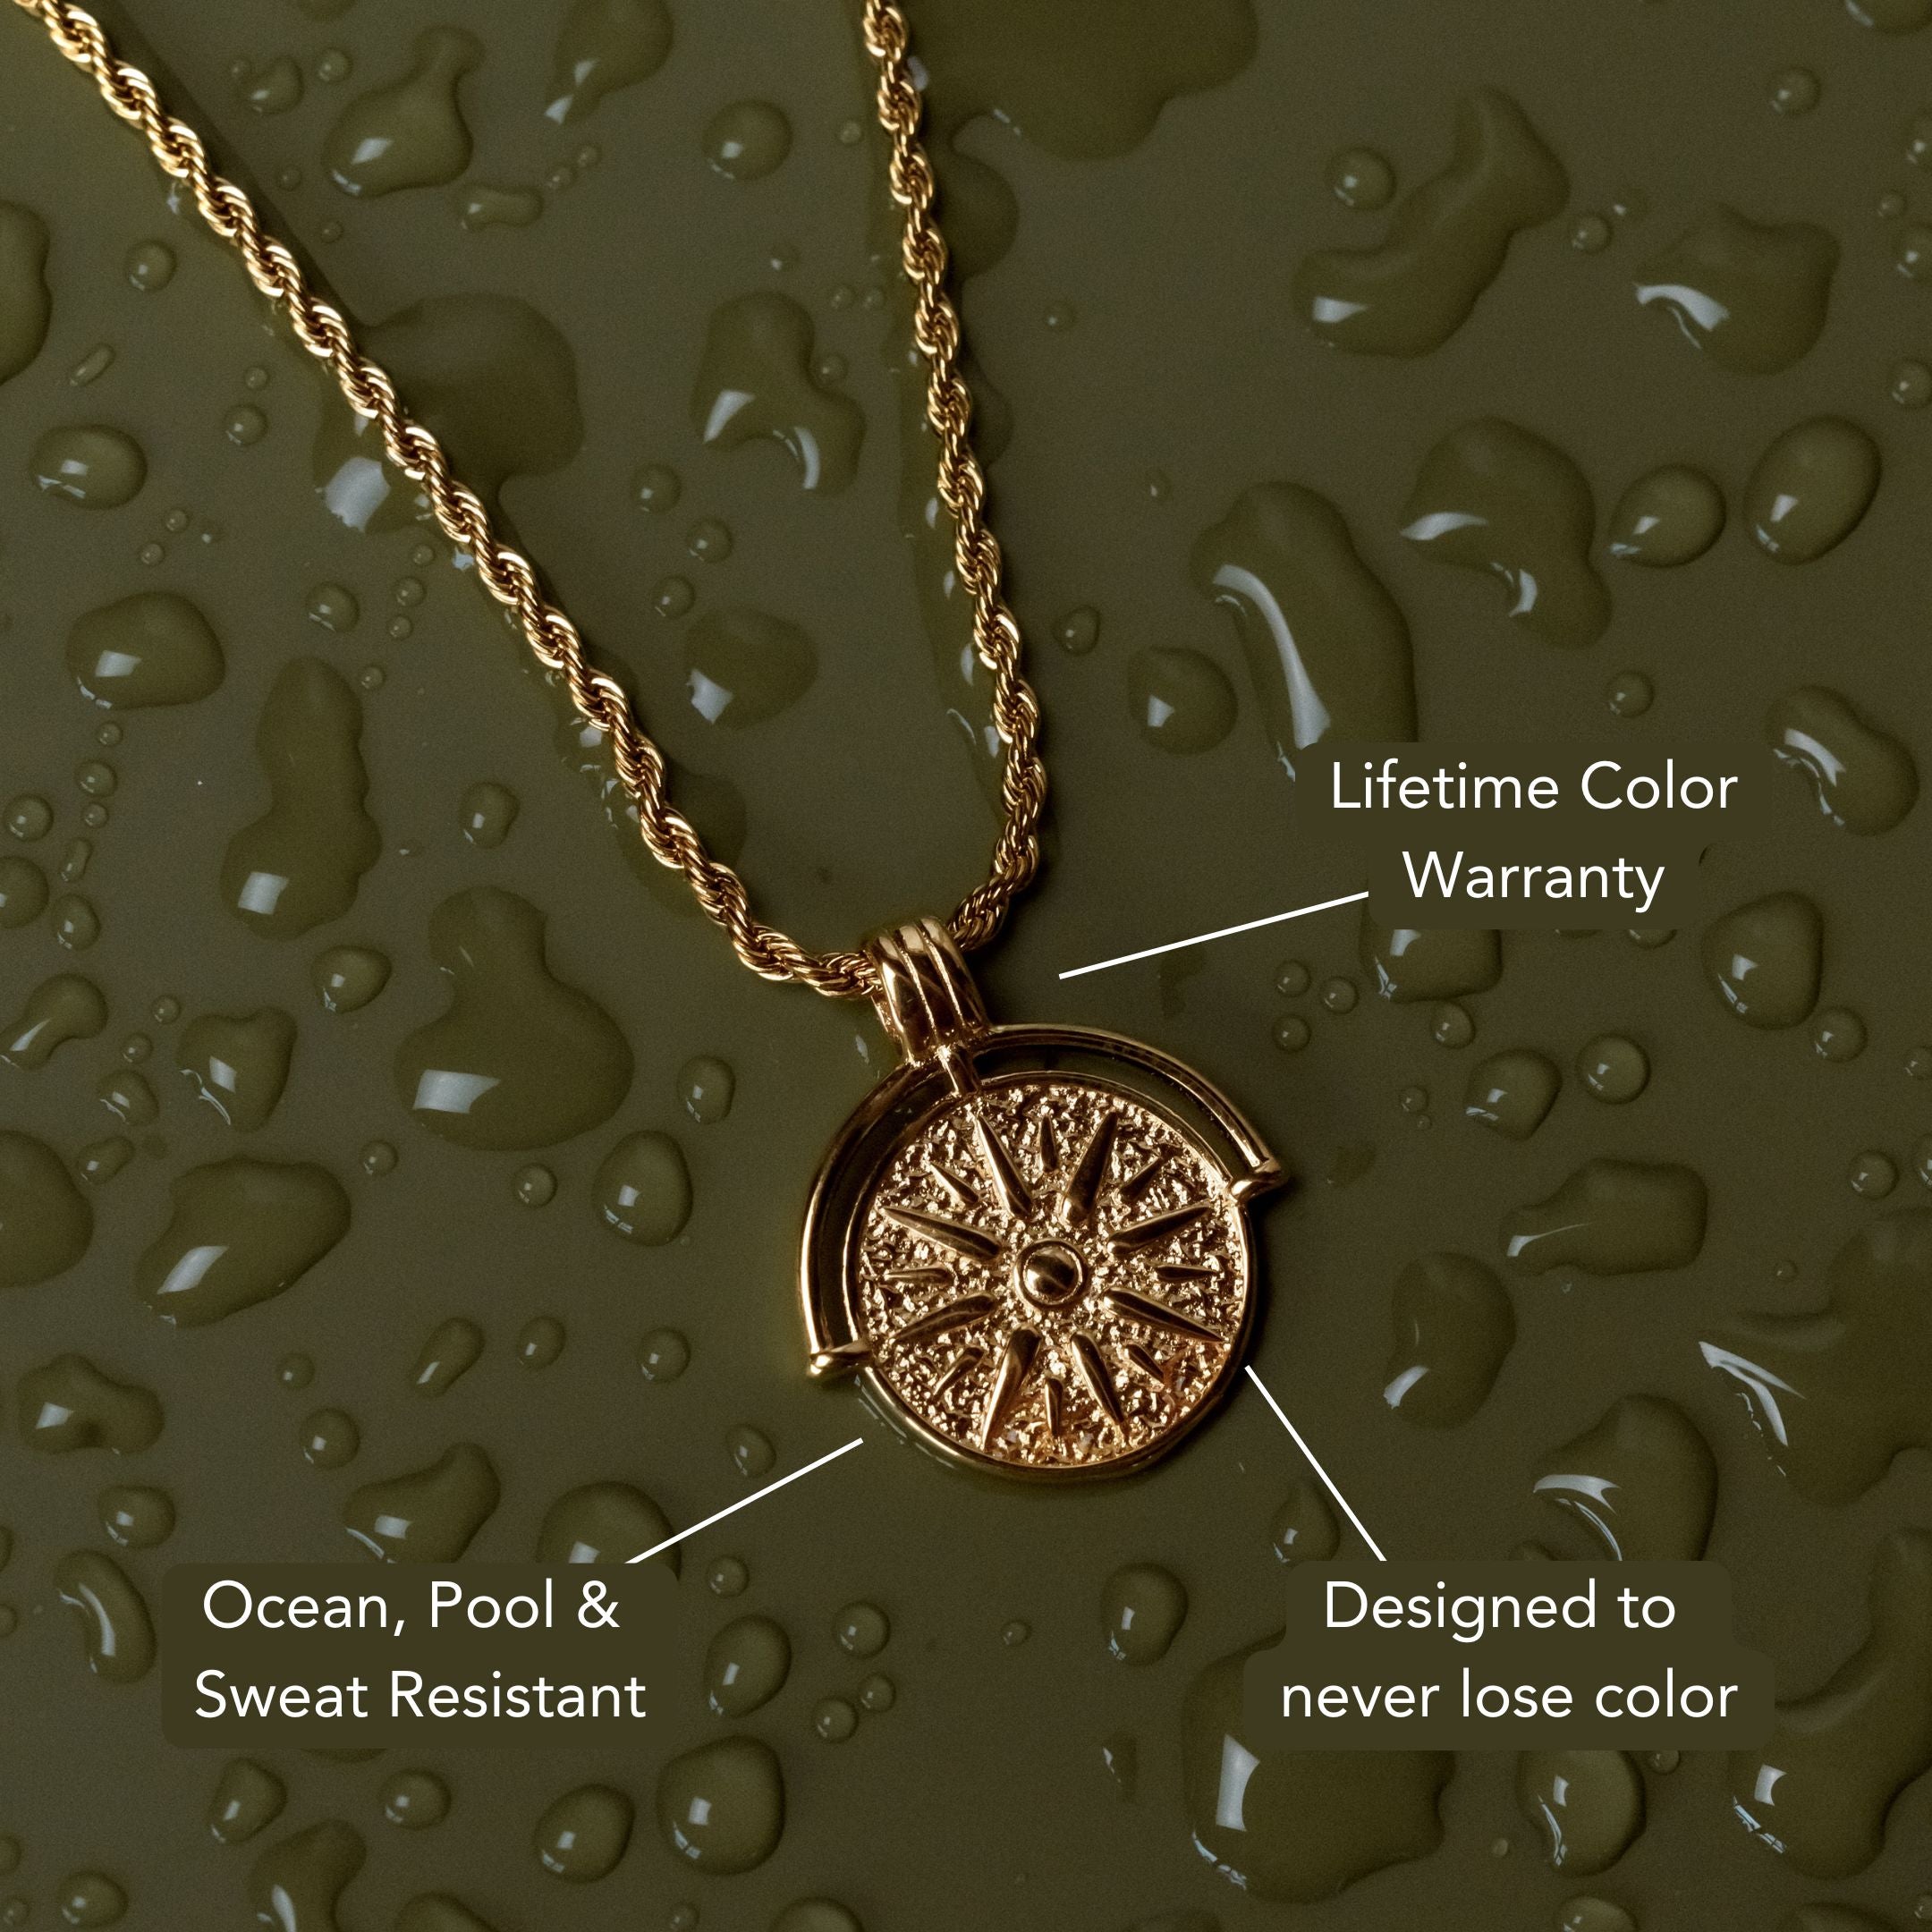
Experiment with texture contrast by pairing smooth, shiny pieces against rough fabrics or natural elements like wood or stone. This contrast adds depth and interest to your images.
For thematic consistency, align your background with the jewelry's style. If you're showcasing bohemian pieces, think about using earthy fabrics or seasonal themes, such as autumn leaves or spring flowers, to create a cohesive look.
A minimalist approach is often effective; a simple background can draw the viewer's focus directly to your jewelry.
Color coordination is key, too. Confirm that the background complements rather than clashes with the jewelry's colors. Using a monochromatic scheme can create a sophisticated vibe, while a contrasting color can make the pieces pop.
Fabric choices also matter; soft linens or textured silks can add an elegant touch. Ultimately, the right background enhances your jewelry's allure, making your photos stand out and attract attention.
Use a Tripod for Stability
Selecting the right background sets the stage for your jewelry photography, but achieving sharp, well-composed images requires more than just a pretty backdrop.
Using a tripod is essential for maintaining stability and ensuring your shots are crystal clear. The tripod benefits extend beyond just preventing blur; it allows you to experiment with longer exposure times without losing image quality.
When you set your camera on a tripod, you can focus on composition and lighting, rather than worrying about holding the camera steady. This stability enables you to capture intricate details of your jewelry, like the sparkle of a diamond or the texture of a metal band.
Incorporating stabilization techniques, such as using a remote shutter release or the camera's timer function, can further minimize any vibrations caused by pressing the shutter button.
If you're shooting in low light, a tripod is your best friend; it lets you take advantage of slower shutter speeds without introducing unwanted motion.
Experiment With Angles
Angles can make or break your jewelry photographs, transforming a simple shot into an enchanting work of art. To capture the true essence of your pieces, you need to experiment with various perspectives. Start by shooting from eye level; this gives a straightforward view that showcases the design beautifully.
Then, try shooting from a lower angle. This approach can add drama and highlight the intricate details that might be overlooked.
Don't forget about overhead shots. Creative compositions from above can showcase multiple pieces or emphasize shapes, making your images more engaging.
Additionally, tilting your camera slightly can introduce dynamic perspectives, drawing the viewer's eye and creating a sense of movement.
Consider using props or backgrounds that complement the jewelry, and adjust your angles accordingly to enhance the overall aesthetic.
Each angle offers a unique way to tell a story, so take your time experimenting. You'll discover which perspectives resonate best with your audience and bring out the beauty of your jewelry.
Focus on Details
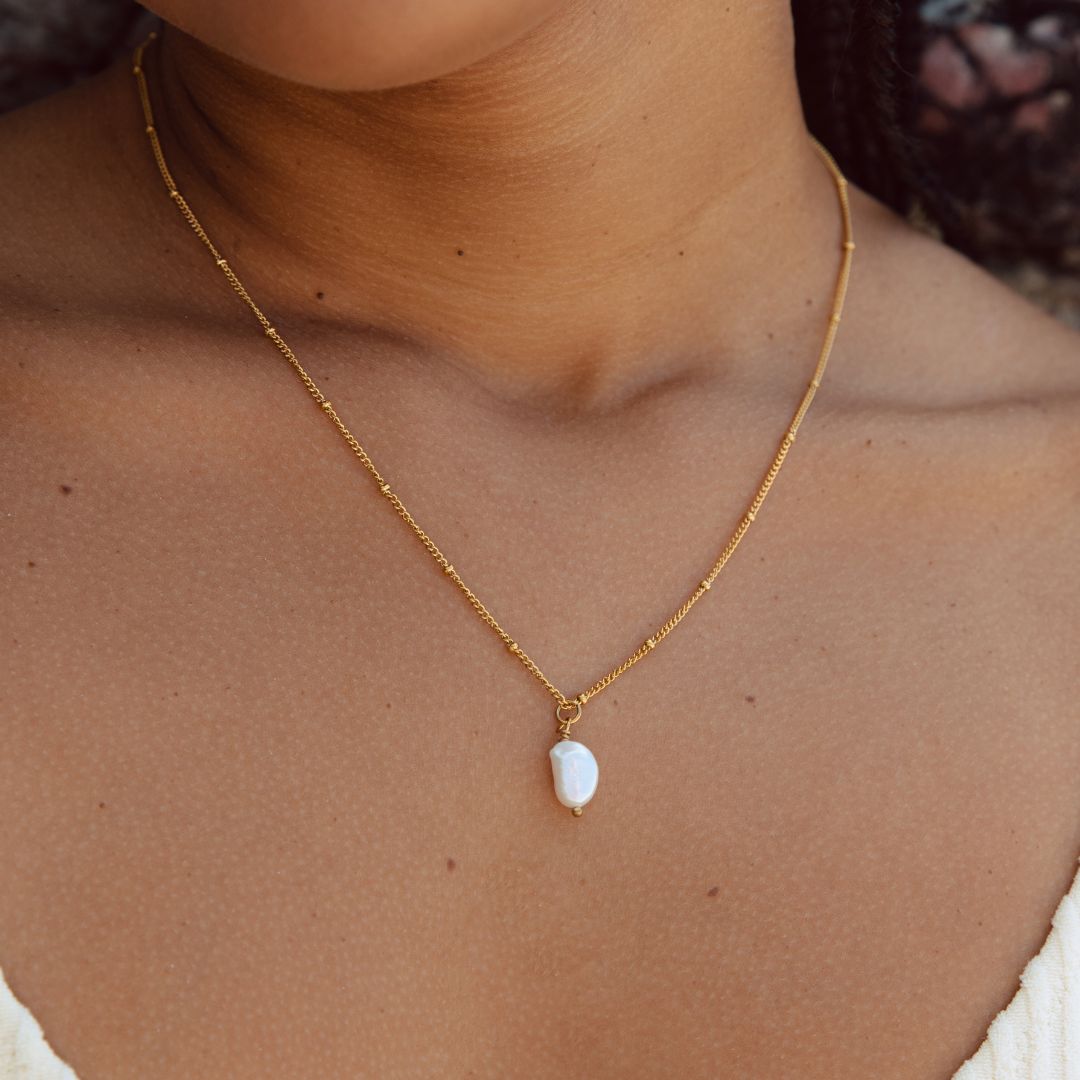
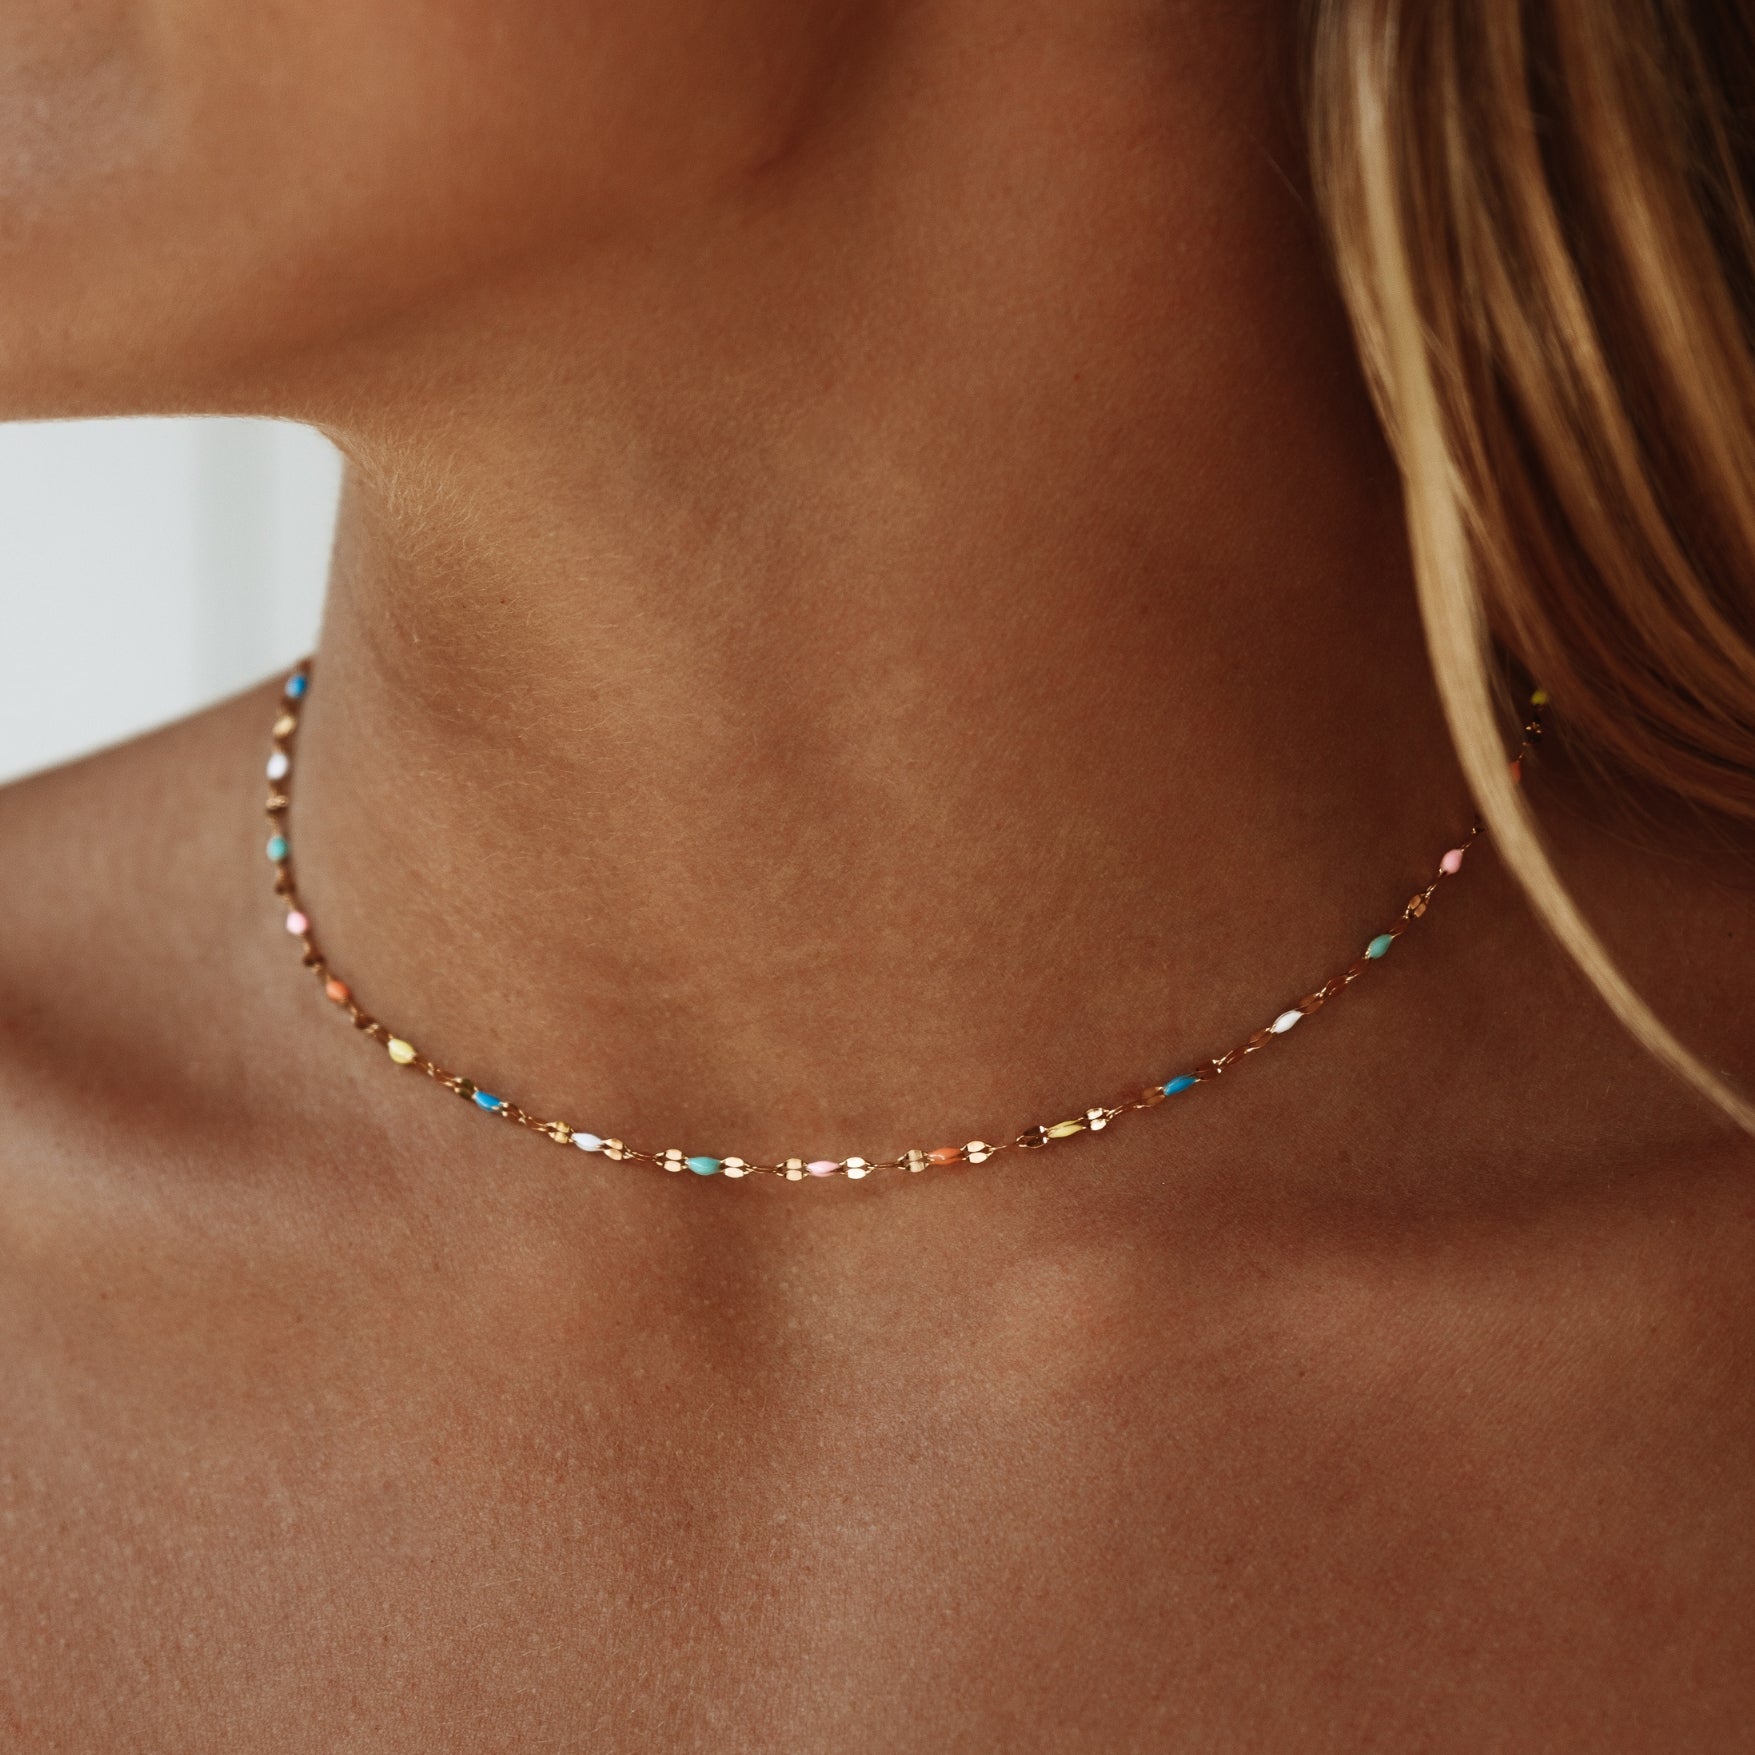
While capturing stunning jewelry photos, focusing on the intricate details can elevate your images from good to breathtaking. To achieve this, you'll want to take close up shots that draw the viewer's eye to the unique characteristics of each piece.
Get in tight—this allows you to showcase the craftsmanship and artistry embedded in the jewelry. Use a macro lens if you have one, or simply adjust your camera settings to accommodate for close distances.
Pay attention to the texture highlights; capturing the surface details can reveal the quality and design elements that make each piece special. Ensure the lighting is soft, as harsh light can wash out the details.
Utilize diffusers or natural light to create a gentle glow that enhances the textures without overpowering them. Don't forget to reflect on the background. A simple, uncluttered backdrop will help the jewelry stand out while allowing its details to shine.
Experiment with different angles and distances until you find the perfect balance of detail and beauty. With these techniques, your jewelry photos won't only capture attention but also tell a story of elegance and craftsmanship.
Utilize Macro Photography
To capture the intricate beauty of jewelry, you need to embrace macro photography, where every glint and facet comes alive.
Start by choosing proper lighting to illuminate those delicate details, then adjust your camera settings to achieve the sharpest focus possible.
With these adjustments, you'll reveal the craftsmanship and allure that often go unnoticed at a distance.
Choose Proper Lighting
The right lighting can make your jewelry photos shine, revealing intricate details that might otherwise go unnoticed. To achieve the best results, you'll want to experiment with both natural light and artificial light.
Natural light, especially during golden hour, casts a soft glow that enhances the sparkle of gemstones and the luster of metals. Position your jewelry near a window, using sheer curtains to diffuse the sunlight. This technique minimizes harsh shadows and creates a flattering ambiance.
On the other hand, artificial light can also be a game-changer, particularly when natural light isn't available. Use softbox lights or LED strips to mimic the gentle glow of daylight. Place them at a 45-degree angle to your jewelry to create depth and dimension.
Remember, the key is to avoid direct, harsh lighting, which can wash out colors and obscure details.
For macro photography, you might want to use a ring light. This accessory evenly illuminates your subject, allowing you to capture every intricate detail without shadows.
Adjust Camera Settings
With the right lighting in place, adjusting your camera settings becomes the next step to capturing breathtaking jewelry photos.
Start by setting your camera mode to macro, allowing you to focus closely on intricate details. Choose a lens with a short focal length, ideally between 50mm and 100mm, to achieve sharp images of fine jewelry.
Next, adjust your ISO settings to the lowest possible value, around 100, to minimize noise and enhance image resolution. Set your aperture size to a wider opening (like f/2.8 to f/4) to create a beautiful depth of field that isolates your subject.
However, be mindful of the shutter speed; you may need to slow it down to avoid motion blur, especially in low light. Use a tripod to stabilize your camera.
Don't forget about white balance! Set it according to your lighting conditions to guarantee accurate color representation.
Finally, utilize exposure compensation if needed, enhancing highlights or shadows without overexposing your jewelry.
Focus on Details
Capturing the exquisite details of jewelry can transform an ordinary photo into a stunning work of art. To achieve this, you need to utilize macro photography effectively. Start by getting as close as possible to your piece, allowing you to showcase intricate jewelry textures that often go unnoticed.
Use a macro lens or a lens with a high zoom capability to reveal the fine craftsmanship and unique patterns in the metal and gemstones.
When framing your shot, make certain that you focus on the area where the sparkle is most prominent. Natural light can enhance the brilliance, so position your jewelry near a window or use a lightbox for even illumination.
Experiment with different angles to find the sweet spot where capturing sparkle truly shines. A slight tilt can create reflections that add depth and interest to your image.
Don't forget to use a shallow depth of field. This technique helps blur the background, directing attention solely to the jewelry.
With these methods, you'll not only highlight the beauty of the piece but also create an intriguing image that draws viewers in. So, grab your camera and start focusing on those stunning details!
Edit Your Photos
Once you've captured stunning macro shots of your jewelry, it's time to refine them with editing software.
You'll want to adjust the lighting and contrast to bring out the intricate details and vibrant colors that make your pieces truly stand out.
With just a few tweaks, you can transform a good photo into a breathtaking visual that captures the essence of your jewelry.
Use Editing Software
Editing your jewelry photos can elevate their quality and impact, making them truly shine. Start by using editing software to perform essential tasks like color correction. This step guarantees that the hues of your gems and metals appear as vibrant and true-to-life as possible.
Adjust the saturation, brightness, and contrast to make those colors pop without oversaturation.
Next, focus on image cropping. A well-cropped photo draws the viewer's eye directly to the jewelry, eliminating distractions from the background. Experiment with different aspect ratios, keeping in mind the final platform where you'll showcase your work, whether it's a website or social media. Aim for a composition that highlights the jewelry's unique features.
Additionally, consider using sharpening tools to enhance the details of your pieces, emphasizing facets and textures. This subtle touch can make a significant difference in how potential customers perceive your craftsmanship.
Adjust Lighting and Contrast
Achieving the perfect lighting and contrast can transform your jewelry photos from ordinary to extraordinary. Start by evaluating your natural illumination. If you're shooting indoors, consider how the sunlight falls on your pieces.
For a consistent look, you might want to use artificial lighting in a softbox setup. This will help you create a more controlled environment, allowing you to manipulate light positioning effectively.
Next, focus on light diffusion. A diffuser can soften harsh light, reducing shadows and minimizing reflections on reflective surfaces.
Pay attention to shadow management; too many shadows can detract from the jewelry's details, while a lack of shadows may make it look flat. Adjust your color temperature to guarantee that the hues of your jewelry are accurately represented, avoiding any unwanted color casts.
Consider Props and Setting
As you plan your jewelry shoot, remember that the right props and setting can elevate your photographs from ordinary to stunning.
Start by choosing a jewelry display that complements your pieces. A clean, minimalist approach often works wonders, allowing your jewelry to take center stage. Think about color coordination; muted backgrounds enhance vibrant gemstones, while darker surfaces can create striking contrast.
Incorporate texture contrast through props like soft fabrics or rugged wood, which can add depth to your images. Thematic props, such as vintage books or natural elements like leaves, can tell a story and connect with your audience.
Don't forget about seasonal settings—think of warm, autumnal hues for fall or fresh florals for spring, creating a sense of time and place.
Personal touches, like handwritten notes or unique trinkets, add a layer of intimacy to your photos. Experiment with creative arrangements; cluster pieces together or set them against contrasting backgrounds to enhance visual interest.
The key is to create an inviting atmosphere that highlights your jewelry's beauty while keeping the focus on the pieces themselves.
Showcase Different Perspectives
To capture the true essence of your jewelry, it's vital to showcase different perspectives during your shoot. Start by experimenting with angles. A straight-on shot might reveal the overall design, but a slight tilt can highlight unique textures and intricate details.
Don't hesitate to get close-up; macro photography allows you to focus on the craftsmanship and luster that often go unnoticed.
Incorporate creative compositions by mixing wide shots that show the entire piece with tight shots that zoom in on specific elements, like clasps or gemstones. Use the rule of thirds to create balance, positioning your jewelry interest along the intersecting lines for a visually appealing effect.
Consider using reflections or shadows to add depth. Placing your piece on a reflective surface can create an interesting interplay of light, enhancing the visual experience.
Frequently Asked Questions
What Camera Settings Are Best for Photographing Jewelry?
For photographing jewelry, you'll want to use a wide aperture setting for a shallow depth of field, emphasizing the piece. Combine this with precise focus techniques to capture intricate details and avoid distracting backgrounds.
How Do I Avoid Reflections When Shooting Jewelry?
To avoid reflections when shooting jewelry, use soft lighting techniques and choose a matte background. Experiment with angles and diffusers to minimize glare, ensuring your stunning pieces shine without distracting reflections stealing the show.
Should I Use Natural Light or Artificial Light?
When deciding between natural and artificial light, consider your lighting techniques. Natural light offers soft color balance, while artificial light allows for control. Experiment with both to see which enhances your jewelry's brilliance best.
Can I Use My Smartphone to Take Jewelry Photos?
Yes, you can absolutely use your smartphone for jewelry photos! Focus on smartphone tips like using macro settings and stable surfaces. Experiment with jewelry styling to highlight details, enhancing your shots' overall appeal and clarity.
What Types of Props Work Well With Jewelry Photography?
For jewelry photography, use props like textured fabrics or natural elements. Experiment with background colors that complement your pieces. This creates texture contrasts, enhancing the overall appeal and drawing attention to the jewelry's details.
Conclusion
By following these simple steps, you can transform your jewelry photos from ordinary to extraordinary. Pay attention to lighting, angles, and details to capture the true beauty of each piece. Don't shy away from experimenting with different backgrounds and props to add depth and context. Happy shooting!








Leave a comment
This site is protected by hCaptcha and the hCaptcha Privacy Policy and Terms of Service apply.