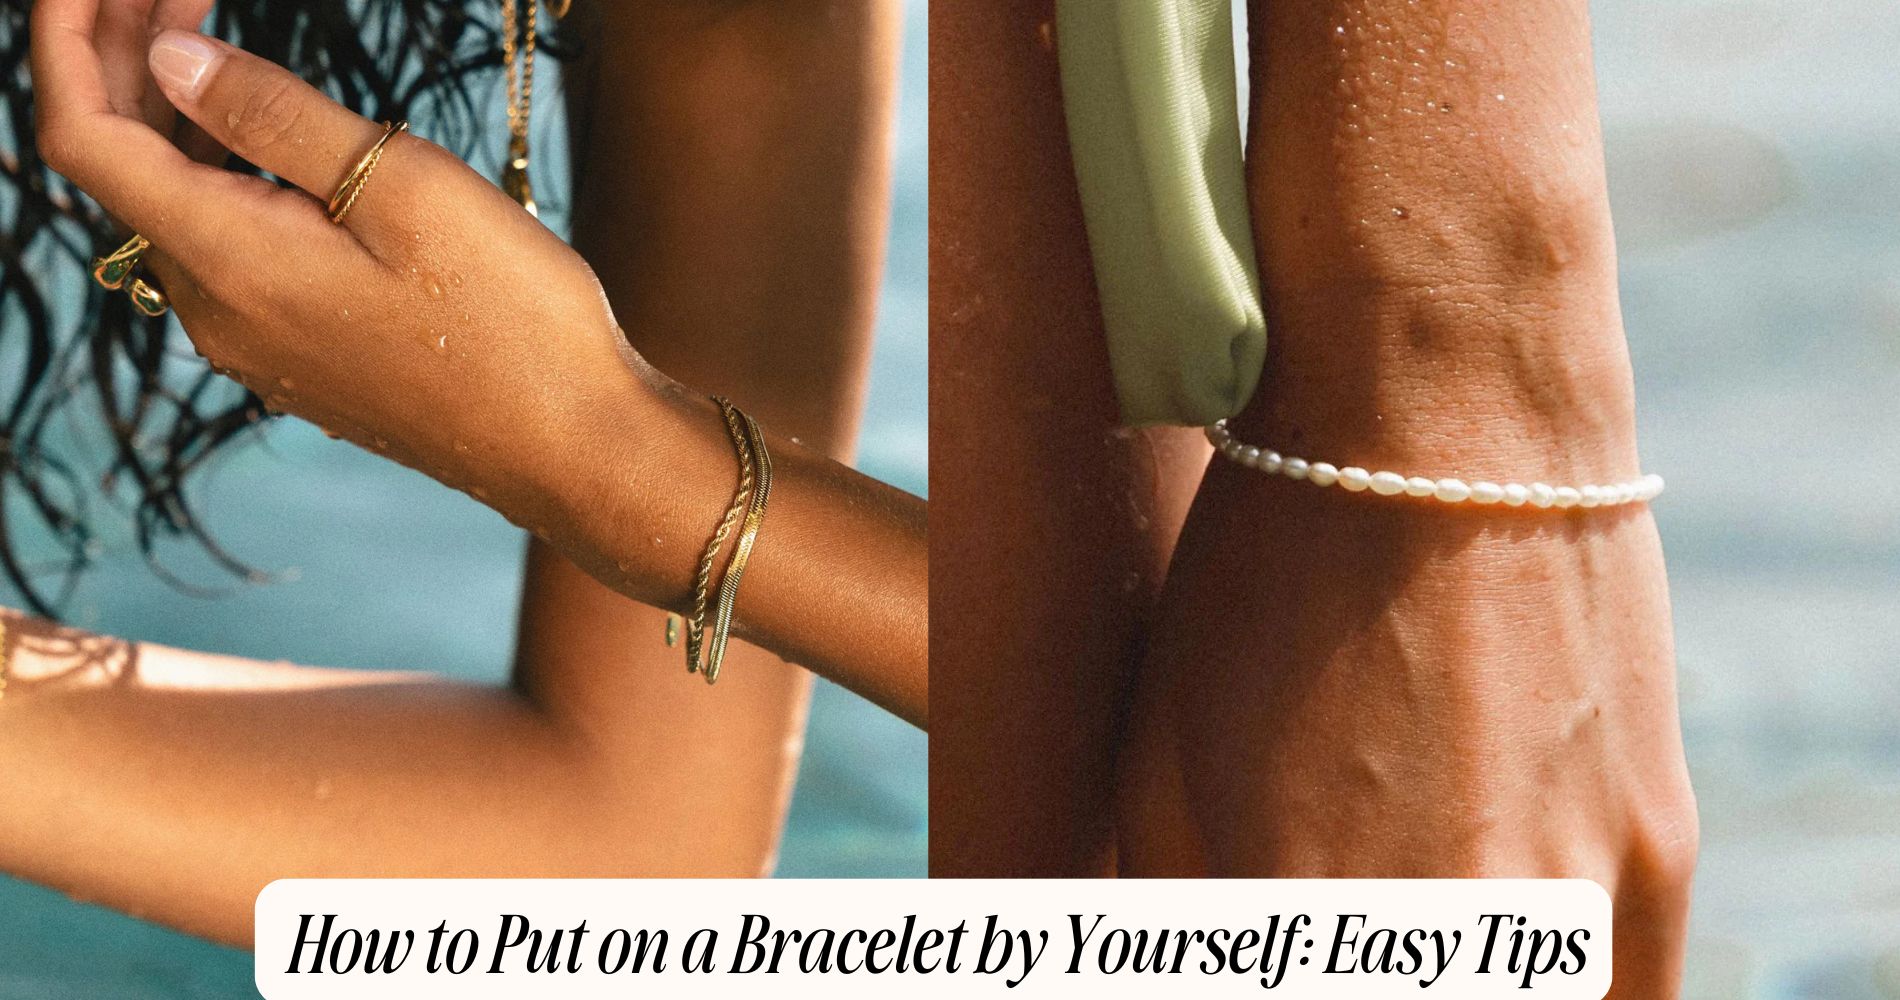
How to Put on a Bracelet by Yourself: Easy Tips
How to put on a bracelet by yourself doesn’t have to be a tricky task. With a few handy tips, you can master the art effortlessly. Start by choosing an adjustable bracelet that complements your style and suits the occasion. Check out our waterproof bracelet collection for versatile and durable options. Prepare a well-lit workspace free from distractions, and consider using tools like a bracelet helper or a magnetic clasp to make fastening easier. Double-sided tape on your wrist can also provide extra stability as you clasp. If you’re finding it challenging, practice one-handed techniques or enlist a friend for assistance. With these tips, you’ll confidently wear your favorite pieces every time!
Choose the Right Bracelet
Choosing the right bracelet can make all the difference in your style and comfort. Start by considering the bracelet materials. Whether you prefer delicate gold, durable leather, or colorful beads, the material affects both the look and feel.
For instance, metal bracelets can be elegant and timeless, while fabric or silicone can offer a more casual vibe.
Next, think about bracelet sizes. A perfect fit guarantees that you'll feel comfortable wearing it throughout the day. Measure your wrist to find your size; this will help you choose between small, medium, or large options.
Remember, some styles are adjustable, which offers more flexibility if you're unsure about the perfect fit.
When selecting a bracelet, consider the occasion and how it complements your wardrobe. A versatile piece can elevate both casual and formal outfits.
If you're going for a statement look, opt for bold designs or layered styles. Ultimately, the right bracelet not only enhances your outfit but also reflects your personal style.
Prepare Your Workspace
Creating a clutter-free workspace is essential for successfully putting on a bracelet by yourself. Start by choosing a flat, well-lit surface, such as a table or countertop. Clear away any unnecessary items to enhance your workspace organization. This helps you focus on the task at hand without distractions.
Next, gather your essential tools. You'll need a mirror to see what you're doing, and if your bracelet has a clasp, a small bowl or dish can be handy to catch any loose parts. If you're using a bracelet helper tool, make certain it's within reach, but we'll cover that later.
Consider having a soft cloth or mat underneath your workspace. This protects your bracelet from scratches and guarantees it doesn't slip away. Make sure your hands are clean and dry to prevent any oils or dirt from transferring onto your bracelet.
Lastly, keep your phone or any other gadgets nearby but silenced to minimize interruptions. By preparing your workspace carefully, you set yourself up for success in putting on your bracelet with ease. A little organization goes a long way!
Use a Bracelet Helper Tool
A bracelet helper tool can be a game-changer when you're trying to put on a bracelet by yourself. These handy devices simplify the process, especially if you're dealing with various bracelet types and clasp materials.
Whether you have a delicate chain or a chunky bangle, a helper tool can make it easier to secure your accessory without frustration. Typically, a bracelet helper tool features a clip or a hook that holds one end of the bracelet in place while you fasten the other side. This keeps your bracelet from slipping away and gives you the freedom to adjust it comfortably.
For bracelets with lobster clasps, spring rings, or toggle closures, using a helper tool can notably reduce the struggle. To use a bracelet helper tool effectively, start by attaching the clip to one end of your bracelet. Hold the other end and reach around to clasp it securely.
This method allows you to focus on the task at hand without fumbling. With this simple tool, you'll find that putting on bracelets becomes a quick and hassle-free experience, letting you enjoy your beautiful accessories with ease.
Try the Magnetic Clasp
If you're tired of struggling with traditional clasps, consider trying a magnetic clasp.
These handy closures not only make it easier to put on your bracelet by yourself, but they also come in various styles to match your jewelry.
Choosing the right magnetic clasp can enhance both the functionality and aesthetic of your accessory.
Benefits of Magnetic Clasps
Magnetic clasps can transform your bracelet-wearing experience, making it easier than ever to put on your jewelry by yourself. One of the key magnetic benefits is the simplicity they offer. With just a gentle pull, the magnets snap together, allowing you to fasten your bracelet quickly, even without assistance. You won't struggle with fiddly traditional clasps anymore.
The clasp advantages don't stop there. Magnetic clasps are generally more secure than you might think. High-quality designs guarantee that they hold your bracelet in place throughout the day, so you can wear your favorite pieces without worrying about them coming undone. Plus, they're often more comfortable, as you won't have to deal with sharp edges or complicated mechanisms.
Another added bonus is the versatility of magnetic clasps. They come in various styles and finishes, allowing you to match them with different bracelets effortlessly. This means you can easily switch up your look without the hassle of changing clasps.
Incorporating magnetic clasps into your jewelry collection not only simplifies your routine but also enhances your overall experience. So, if you want a hassle-free way to wear your bracelets, consider making the switch to magnetic clasps.
Choosing the Right Style
Finding the right style for your bracelet can elevate your look and personal expression. One popular choice is a magnetic clasp bracelet, which combines functionality with style.
When selecting your bracelet, consider the materials used. Options range from leather to metals and beads, each offering a unique aesthetic. Think about how these materials complement your wardrobe and personal taste.
Next, pay attention to your wrist measurements. A well-fitted bracelet not only looks better but also feels more comfortable. Measure your wrist size accurately, and remember to factor in the type of clasp you choose. Magnetic clasps tend to add a bit of length, so you might want to adjust your measurements accordingly.
Lastly, choose a design that resonates with you. Whether you prefer minimalistic elegance or bold statement pieces, your bracelet should reflect your personality.
Don't hesitate to mix and match styles, too. A beaded bracelet paired with a sleek metallic one can create an eye-catching contrast.
Secure the Bracelet With Tape
To keep your bracelet secure while you fasten it, consider using double-sided tape.
Simply cut a small piece and place it on your wrist before attaching the bracelet.
This method provides extra stability, making it easier for you to get the clasp in place.
Use Double-Sided Tape
Using double-sided tape can be a game-changer when you're trying to secure a bracelet on your own. This simple tool offers several double-sided tape benefits, making it easier to slip your bracelet on without assistance.
First, cut a small piece of tape, about an inch long. You want it to be just enough to hold the bracelet in place without being too bulky.
Next, apply one side of the tape to your wrist, where you want the bracelet to rest. Make certain the area is clean and dry for better adhesion.
Then, take the other side of the tape and press the bracelet against it. This tape application technique guarantees that your bracelet stays in place while you fasten it, preventing any slips or awkward adjustments.
Once it's secure, you can comfortably fasten the clasp with your free hand. After you're done, simply peel off the tape, and you're good to go!
This method not only simplifies the process of wearing a bracelet but also allows you to enjoy your favorite jewelry without the hassle of finding someone to help. Give it a try!
Wrap for Stability
After securing your bracelet with double-sided tape, consider adding an extra layer of stability by wrapping it with tape. This technique is particularly useful if your bracelet material is lightweight or delicate, which can make it prone to slipping.
Start by measuring your wrist to guarantee you know the right amount of tape to use. You'll want a piece that's long enough to wrap around your wrist comfortably, without being too tight.
Once you have your tape ready, gently wrap it around the area where you secured your bracelet. Make sure it's snug but not constricting, allowing for a comfortable fit.
This method not only helps keep your bracelet in place but also provides an additional cushion that can protect your skin from irritation, especially if the bracelet material is rough or abrasive.
Plus, using tape can help prevent any accidental snags that might occur while you're out and about.
With this simple step, you can enjoy your bracelet without worrying about it shifting or falling off. So grab that tape, and secure your style confidently!
Utilize a Hook or Loop
A hook or loop can make putting on a bracelet by yourself much easier. If your bracelet has a hook closure, you can use various hook techniques to secure it without needing assistance.
Start by holding the bracelet in one hand and positioning it behind your wrist. With your other hand, grasp the hook and gently pull it toward the clasp. Once the hook is lined up with the loop, push it through, and you're good to go!
For bracelets featuring loop types, the process is slightly different. You'll want to hold the bracelet in one hand while using your fingers to guide the loop towards the clasp. Once you've positioned the loop correctly, gently slide it onto the clasp, ensuring it's secure.
In both cases, practice makes perfect. Experimenting with different hook techniques and loop types will help you find what works best for you.
You'll soon be able to put on your bracelets quickly and effortlessly. Remember, the key is to stay patient and focused while you master these methods. With a little practice, you'll be wearing your favorite bracelets with ease!
Practice the One-Handed Method
Mastering the one-handed method can greatly enhance your ability to put on a bracelet independently. This technique allows you to secure your bracelet using just one hand, making it a game-changer for those tricky clasps.
Start by holding the bracelet in your dominant hand, with the clasp facing upwards. Next, position your wrist so it's angled slightly downward. This wrist positioning helps you see the clasp better and reduces the chances of it slipping away.
Use your fingers to open the clasp while simultaneously bringing your wrist close to it. With practice, you'll learn to hook the clasp onto the bracelet using just your thumb and index finger.
Once you've got the clasp attached, gently slide the bracelet into place on your wrist. To perfect these one-handed techniques, practice makes perfect!
You might want to try this method with different bracelet styles to see what works best for you. Over time, you'll develop a fluid motion that makes putting on your bracelet feel effortless. Embrace this skill, and you'll find accessorizing becomes an enjoyable part of your routine.
Ask for a Friend's Help
Enlisting a friend's help can make putting on a bracelet much easier, especially if you're struggling with a tricky clasp. Sometimes, all it takes is a little teamwork to get the job done. When you ask for your friend's assistance, you're tapping into the benefits of collaboration. They can hold the bracelet in place while you work on securing the clasp, making the process smoother and quicker.
To make the most of this partnership, choose a friend who's patient and willing to help. Explain how you'd like them to assist you, whether that's holding the bracelet or guiding you through the process. Remember to share a laugh during the experience! It turns a simple task into a bonding moment.
Additionally, your friend can offer tips or tricks they've learned from their own experiences. This can lead to a more efficient approach, and you might even discover new ways to put on your bracelet.
Troubleshooting Difficult Clasps
Sometimes, putting on a bracelet can be tricky, especially with certain clasps.
Knowing the types of bracelets and having some helpful tools and techniques at hand can make all the difference.
Let's explore how to tackle those stubborn clasps effectively.
Types of Bracelets
When it comes to putting on a bracelet by yourself, understanding the different types of clasps can make all the difference, especially when they're tricky to manage.
Bracelets come in various styles, each with unique clasp designs. For instance, charm bracelets often feature lobster clasps or toggle clasps. Lobster clasps are convenient but can be challenging to operate one-handed. If you're dealing with a toggle clasp, remember to loop the bar through the ring securely; practice helps!
On the other hand, bangle styles typically don't have clasps. Instead, they either slip on over your wrist or have a hinge mechanism. If you're struggling with a bangle, verify you're sliding it on at the right angle.
Magnetic clasps are another popular choice, especially for charm bracelets. They can be a breeze to use, but sometimes, they don't hold as securely as other clasps. If you find yours opening unexpectedly, consider a backup closure for peace of mind.
No matter the style, knowing how to manage various clasps will boost your confidence in putting on any bracelet by yourself.
Helpful Tools and Techniques
To tackle tricky clasps with ease, having the right tools and techniques at your disposal can make all the difference. Depending on the bracelet materials and clasp designs, you might need specific aids to simplify the process.
First, consider using a clasp helper tool, which can give you an extra hand when securing those stubborn clasps. These tools often feature a hook that allows you to hold the bracelet in place while you fasten the clasp.
If you don't have a clasp helper, a simple paperclip or hairpin can do the trick—just bend it into a shape that helps you grip the clasp.
Another technique is to lay your bracelet flat on a table, which can provide more control as you manipulate the clasp. If your bracelet has a lobster claw or toggle clasp, try using your fingers to create tension by pulling the bracelet slightly away from your wrist. This will make it easier to connect the clasp.
Lastly, practice makes perfect! The more you put on your bracelets, the more comfortable you'll become with various clasp designs.
With these tools and techniques, you'll conquer those tricky clasps in no time!
Maintain Your Bracelets Properly
Proper care is essential for keeping your bracelets looking their best and extending their lifespan. Start with regular bracelet cleaning. Depending on the material, gently wipe your bracelets with a soft cloth after wearing them to remove dirt and oils.
For deeper cleaning, use a mild soap solution and a soft brush for intricate designs. Always check the manufacturer's instructions to avoid damaging your jewelry.
Next, consider your storage solutions. Avoid tossing your bracelets in a drawer or jewelry box where they can get tangled or scratched. Instead, use a dedicated jewelry organizer or a soft pouch for each piece.
Hanging organizers or individual compartments keep them separated and protected.
Additionally, keep your bracelets away from direct sunlight and humidity, as these factors can cause fading or tarnishing. If you have metal bracelets, consider using anti-tarnish strips to prolong their shine.
Frequently Asked Questions
Can I Wear a Bracelet While Exercising?
Yes, you can wear a bracelet while exercising, but make certain it provides wrist support and has a comfort fit. This helps prevent distractions and injuries, allowing you to focus on your workout effectively.
How Do I Clean My Bracelet Properly?
To clean your bracelet properly, use gentle cleaning methods like warm soapy water or a soft cloth. Regular jewelry maintenance keeps it looking great and prolongs its lifespan, ensuring you enjoy wearing it for years.
What Materials Are Safest for Sensitive Skin?
For sensitive skin, choose hypoallergenic materials like titanium, surgical stainless steel, or gold. These options minimize skin irritation, ensuring comfort and preventing allergic reactions. Always check for potential allergens before making your jewelry choices.
How Can I Prevent My Bracelet From Tangling?
To prevent your bracelet from tangling, use tangle prevention techniques like clasping it to itself. For effective bracelet storage solutions, opt for a dedicated jewelry box or organizer that keeps your pieces separated and untangled.
Conclusion
Putting on a bracelet by yourself doesn't have to be a struggle. By choosing the right bracelet and using helpful tools or techniques, you can easily secure your favorite accessory. Whether you opt for tape, a magnetic clasp, or enlist a friend's help, you'll find a method that works for you. Remember to maintain your bracelets properly to keep them looking great. With these tips, you'll be wearing your jewelry with confidence in no time!








Leave a comment
This site is protected by hCaptcha and the hCaptcha Privacy Policy and Terms of Service apply.