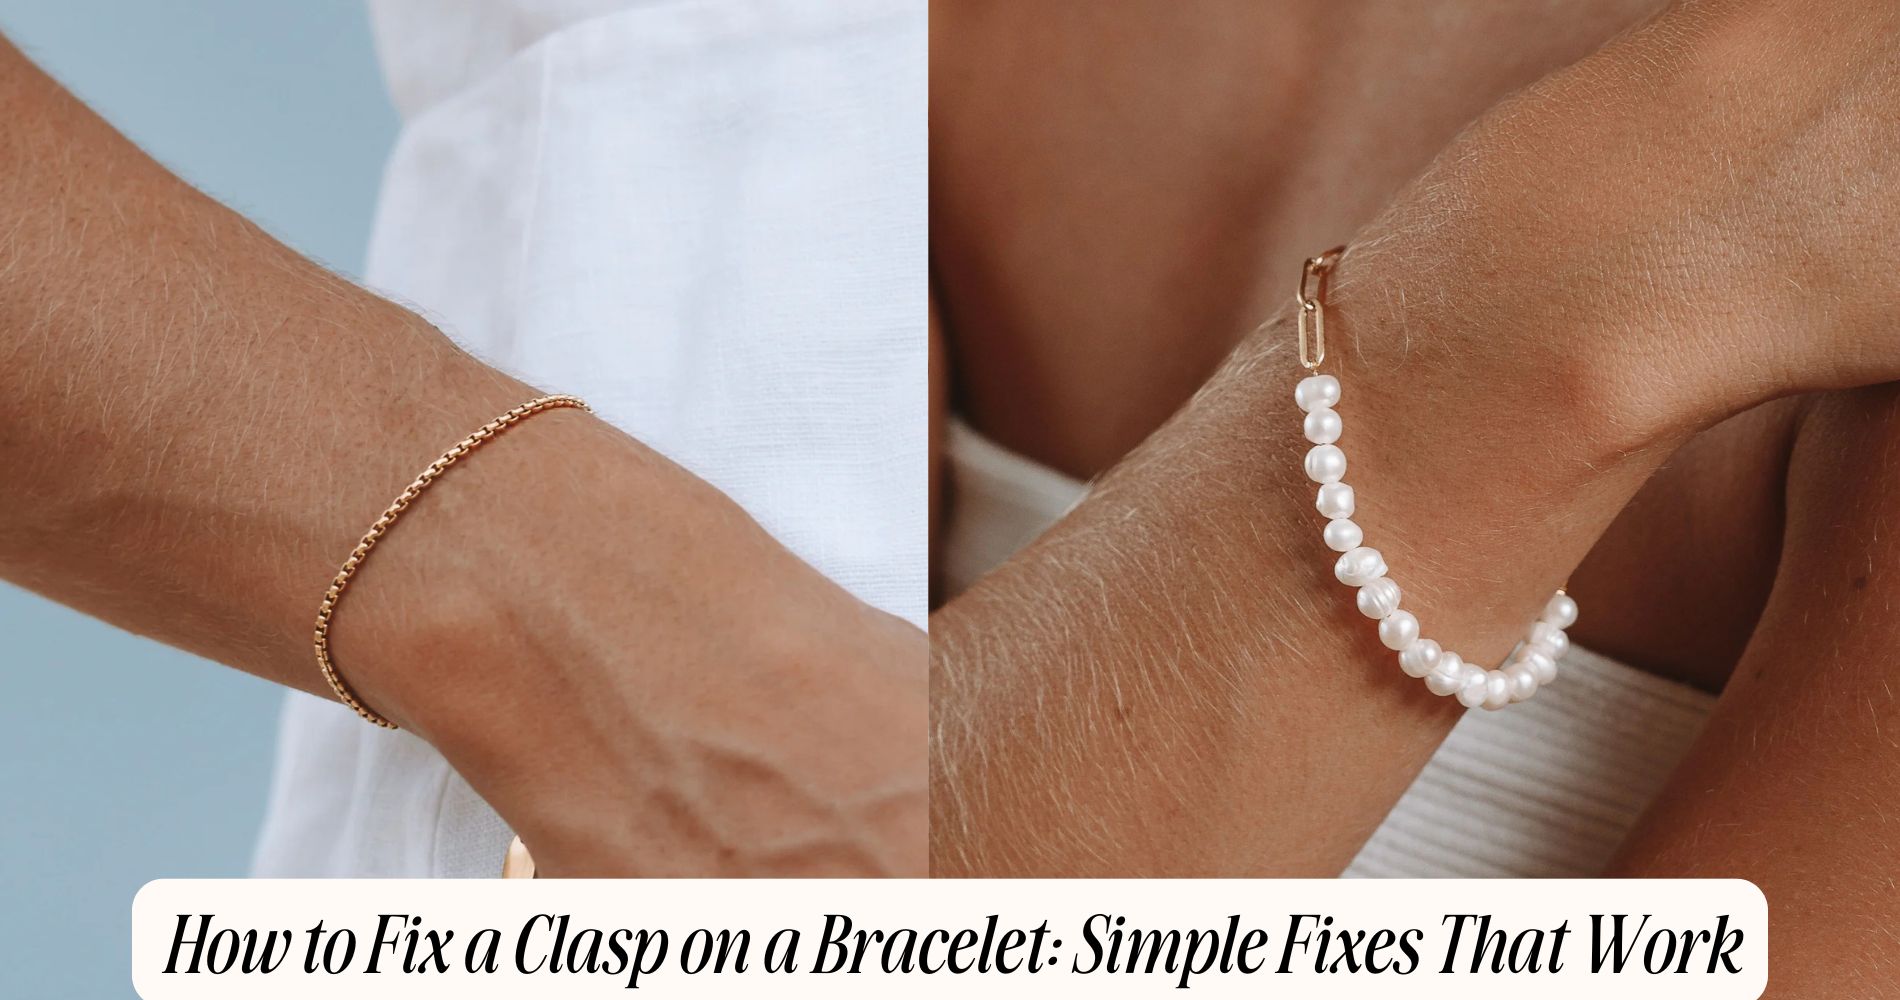
How to Fix a Clasp on a Bracelet: Simple Fixes That Work
Learning how to fix a clasp on a bracelet can save you time and money while extending the life of your favorite jewelry. Start by identifying the type of clasp—whether it’s a lobster, toggle, or magnetic style. Use needle-nose pliers to realign any misaligned parts and adjust the tension if it feels loose. If the spring mechanism is broken, check for fractures and replace it if needed. For a completely damaged clasp, carefully open the jump rings with pliers, remove the old clasp, and attach a new one securely. Regular maintenance, like cleaning and inspecting the clasp, will help ensure your bracelet stays in excellent condition. Don’t forget to check out our Everyday Bracelets collection for timeless designs that pair perfectly with your repair skills.
Common Clasp Types
When it comes to bracelet clasps, understanding the various types can make all the difference in choosing the right fix.
You'll encounter several common clasp designs, each with unique functionalities and clasp materials that influence durability and aesthetic appeal.
The lobster clasp is a popular choice due to its secure closure mechanism. It's usually made from stainless steel or sterling silver, offering both strength and resistance to tarnishing.
Next, the toggle clasp combines a bar and a ring, providing an elegant solution that's easy to operate. Often crafted from metals like brass or gold, this design is favored for its visual appeal.
Magnetic clasps are another option, utilizing magnets for a convenient connection. While they're easy to use, be cautious with clasp materials; weaker magnets may lead to accidental openings.
Finally, the box clasp features a hinged lid that locks into place, commonly made from precious metals for a luxurious touch.
Tools Needed for Repair
To successfully repair a clasp on your bracelet, you'll need a few essential tools at hand.
These include pliers, a small screwdriver, and a magnifying glass to guarantee precision.
Optional tools, like a soldering iron or jewelry adhesive, can also enhance your repair process, depending on the damage.
Essential Tools Overview
What tools do you need to effectively fix a clasp on your bracelet? First, gather a pair of needle-nose pliers. These are essential for handling delicate clasp materials, especially for intricate designs or soft metals.
You'll also need wire cutters to trim excess wire or chain links, particularly for bracelet styles that incorporate beading or delicate chains.
A small screwdriver set is important if your clasp requires screws for assembly or adjustment. Make sure to choose the right size to prevent stripping the screws.
Additionally, a magnifying glass can be helpful for examining tiny components, ensuring you don't miss any details.
If you're working with a leather or fabric bracelet, a strong adhesive or glue specifically designed for those materials is critical for securing any broken parts.
Finally, a soft cloth is useful for cleaning the clasp area after repairs, maintaining the bracelet's appearance.
Optional Tools for Repair
Having the right tools can make your bracelet clasp repair even smoother. While some fundamental tools are necessary, optional tools can enhance your repair process and guarantee a professional finish.
Consider investing in a quality repair kit that includes specialized pliers, such as flat-nose and round-nose pliers. Flat-nose pliers help you grip and manipulate clasp materials without damaging them, while round-nose pliers allow for creating loops or bending wire with precision.
If you're working with delicate clasp materials, a pair of wire cutters can be invaluable for trimming excess wire or chain links. Additionally, a magnifying glass can assist you in examining small components, making sure you don't miss any significant details during your repair.
For those who frequently work on jewelry, a multi-tool with various attachments can save time and space, offering versatility beyond just clasp repairs.
Finally, keep a selection of spare clasp materials on hand. This way, you can quickly replace a broken or worn-out clasp without delay. With these optional tools, you'll be well-equipped to tackle any bracelet clasp repair with confidence and ease.
Inspecting the Clasp
Before you start fixing the clasp, you need to inspect it thoroughly.
Identify the type of clasp—whether it's a lobster, toggle, or magnetic—as each has unique mechanisms and potential issues.
Look for common problems like wear, misalignment, or breakage, and gather tools like a magnifying glass and ruler for a detailed examination.
Types of Bracelet Clasps
When examining a bracelet, the clasp is often the most essential component to inspect, as it guarantees the piece remains secure while worn. There are several types of clasps, each with distinct mechanisms and applications.
Magnetic clasps are popular for their ease of use. They consist of two halves that attract each other using magnets, allowing for a quick and straightforward connection. When evaluating a magnetic clasp, verify that the magnets are strong enough to hold the bracelet securely during wear. Weak magnets can lead to accidental openings.
On the other hand, toggle clasps feature a bar that slides through a circular ring. This design not only provides a secure closure but also adds an aesthetic element to the bracelet. When inspecting a toggle clasp, check the integrity of both the bar and the ring. Any bending or misalignment can compromise its functionality.
Understanding these types of clasps helps you identify the best option for your bracelet. Whether you choose magnetic or toggle clasps, verify that you regularly inspect them for wear and tear to maintain the security of your cherished accessories.
Common Clasp Issues
Even the most reliable clasps can encounter issues over time, so it's important to regularly inspect them. Start by checking the clasp durability; this refers to how well the clasp can withstand wear and tear. If you notice any signs of bending, cracking, or excessive wear, it's a clear indication that the clasp may need repair or replacement.
Next, examine the clasp material. Clasps made from high-quality metals like stainless steel or gold generally offer better durability compared to plastic or lower-grade materials. Look for signs of corrosion, rust, or discoloration, especially if your bracelet has been exposed to moisture or harsh chemicals. Any of these factors can compromise the functionality of the clasp.
Additionally, verify that the mechanism operates smoothly. If the clasp feels stiff, it could be due to dirt or debris accumulation, which may hinder its performance. Pay attention to how securely the clasp locks; a loose or faulty clasp can lead to potential loss of your favorite bracelet.
Regular inspections will help you maintain the integrity of your bracelet clasp and prolong its lifespan.
Tools Needed for Inspection
To effectively inspect your bracelet clasp, you'll need a few essential tools that facilitate a thorough examination.
Start with a magnifying glass; this will help you closely examine the clasp materials, revealing any signs of wear or damage. Look for scratches, cracks, or corrosion that might affect the clasp's functionality.
Next, grab a pair of tweezers. They'll assist you in manipulating small components without risking further damage. If your clasp has intricate parts, a small screwdriver set is also valuable for tightening or loosening screws.
A soft cloth is vital for cleaning the clasp before inspection. Dirt or grime can obscure defects, making it harder to evaluate its condition.
Additionally, a ruler can come in handy for measuring the clasp's dimensions, ensuring it fits your bracelet properly.
Lastly, a small flashlight will illuminate hard-to-see areas, allowing you to detect hidden problems.
Reattaching a Loose Clasp
Evaluating the integrity of a bracelet's clasp is essential for both functionality and aesthetics. If your clasp feels loose, you'll need to reattach it properly to guarantee it stays secure.
Start by examining the clasp alignment. Misalignment can cause the clasp to function poorly. Carefully realign the clasp components, ensuring they sit flush against each other.
Next, you'll want to make a tension adjustment. If the clasp is too loose, it mightn't hold the bracelet securely. Use a pair of pliers to gently squeeze the clasp's mechanism, increasing the tension. Be cautious, though; excessive force can damage the clasp.
Once you've adjusted the tension, test the clasp by opening and closing it multiple times. Ensure it snaps shut firmly, and check that it feels secure when worn.
If the clasp still feels loose after these adjustments, consider inspecting the bracelet chain links for wear or damage, as this might contribute to the issue.
With careful attention to clasp alignment and the right tension adjustment, you can restore your bracelet's functionality and keep it looking its best.
Fixing a Broken Spring Mechanism
When a bracelet's spring mechanism breaks, it can compromise the entire clasp's function. To tackle this issue, start with spring mechanism troubleshooting.
First, examine the clasp closely. Look for signs of wear or any visible damage. If the spring feels loose or doesn't snap back into place, it may need repair or replacement.
Next, carefully disassemble the clasp. Use pliers to gently remove any pins or screws securing the mechanism. Once disassembled, inspect the spring for any fractures or deformation. If the spring is intact but weak, you might be able to re-stretch it gently to restore its tension.
However, if it's broken, you'll need to proceed with spring mechanism replacement. To replace the spring, find a suitable replacement from a jewelry supply store or online. Verify the new spring matches the size and specifications of the old one.
After acquiring the replacement, install it by following the disassembly steps in reverse. Secure all components tightly, but avoid over-tightening, which could cause further damage.
Finally, test the clasp to confirm it functions correctly. If it operates smoothly, you've successfully fixed the spring mechanism!
Replacing a Damaged Clasp
A damaged clasp can render your bracelet ineffective, but replacing it's a straightforward process. First, identify the clasp style—common types include lobster clasps, toggle clasps, and box clasps. Each style has unique mechanisms, but the replacement steps are generally similar.
Start by gathering your tools: a pair of pliers, a new clasp, and any additional connectors required. Choose a clasp material that matches your bracelet, whether it's metal, plastic, or even leather. This guarantees durability and aesthetic harmony.
Next, carefully use the pliers to open any jump rings or connectors linking the damaged clasp to the bracelet. Remove the old clasp, and then attach the new clasp by threading it onto the same jump rings or connectors. If you're using a different clasp style, confirm the connection method is compatible.
Finally, securely close the jump rings with the pliers, making sure there are no gaps that could lead to future breakage. Inspect the clasp's functionality by opening and closing it a few times.
With these steps, your bracelet will be ready to wear again, boasting a sturdy, reliable clasp.
Preventative Maintenance Tips
After you've successfully replaced a damaged clasp, maintaining the integrity of your bracelet becomes essential. Establishing a solid bracelet care and maintenance routine will help prolong its lifespan and keep it looking pristine.
Start by regularly inspecting the clasp and links for signs of wear and tear. Clean your bracelet gently with a soft cloth to remove dirt and oils that can accumulate over time. For metal bracelets, consider using a mild soap solution and a soft toothbrush to clean hard-to-reach areas, guaranteeing you rinse thoroughly to prevent residue buildup.
Store your bracelet in a dry, soft-lined jewelry box to avoid scratches and tangling with other pieces. If your bracelet features delicate materials like pearls or gemstones, consider keeping it in a separate pouch.
Avoid exposing your bracelet to harsh chemicals, including perfumes and cleaning agents, as they can weaken or tarnish the materials. Additionally, remove your bracelet before swimming or engaging in strenuous activities to minimize the risk of damage.
When to Seek Professional Help
Sometimes, recognizing the limits of your DIY skills is essential for preserving the integrity of your bracelet. If you notice persistent issues like a clasp that won't close properly or significant wear and tear on the metal, these are clear signs to consult a repair professional. Attempting to fix intricate mechanisms without the right tools or experience can lead to further damage.
Consider the type of bracelet you own. High-value pieces or those with delicate components, such as intricate clasps or gemstones, require specialized care. If you're unsure about the materials or construction, it's wise to seek professional help rather than risk a costly mistake.
Repair professional considerations include evaluating whether the clasp can be repaired or if it needs complete replacement. Professionals have access to appropriate tools and materials, ensuring a quality fix. They'll also provide insights on maintenance to prevent future issues.
Ultimately, if you feel overwhelmed or lack confidence in your ability to perform a repair, don't hesitate to reach out to an expert. Your bracelet deserves the best care, and a professional can restore its functionality while maintaining its value.
Frequently Asked Questions
Can I Use Jewelry Glue for Clasp Repairs?
You can use jewelry glue for clasp repairs, but make certain you select the right type. Different jewelry glue types offer varying strengths, so consider clasp repair techniques that best match your project's needs and materials.
How Do I Know if a Clasp Is Counterfeit?
To identify clasp authenticity, inspect for quality markings, weight, and craftsmanship. Compare with known genuine pieces. Use counterfeit identification techniques, such as magnet tests or acid tests, to guarantee you're not dealing with a fake clasp.
Are There Eco-Friendly Options for Clasp Repair?
Yes, you can explore eco-friendly options for clasp repair. Look for sustainable materials like recycled metals and use biodegradable adhesives to guarantee your repairs are both effective and environmentally responsible, minimizing waste and promoting sustainability.
Can I Replace a Clasp With a Different Style?
You can replace a clasp with a different style, but guarantee clasp compatibility with your bracelet. Consider how the new clasp affects bracelet aesthetics, as it may alter the overall look and functionality greatly.
What Common Mistakes Should I Avoid During Repairs?
When repairing, watch out for common repair pitfalls like using the wrong tools or materials. Always guarantee you're avoiding damage risks by double-checking connections and being gentle, especially with delicate components. Precision's key!
Conclusion
By following these simple fixes, you can effectively address common clasp issues on your bracelet. Whether you're reattaching a loose clasp or replacing a damaged one, having the right tools and knowledge makes all the difference. Remember to inspect your clasp regularly to prevent future problems. If your repair efforts don't yield the desired results, don't hesitate to seek professional help. With proper care, your bracelet will remain secure and stylish for years to come.









Leave a comment
This site is protected by hCaptcha and the hCaptcha Privacy Policy and Terms of Service apply.