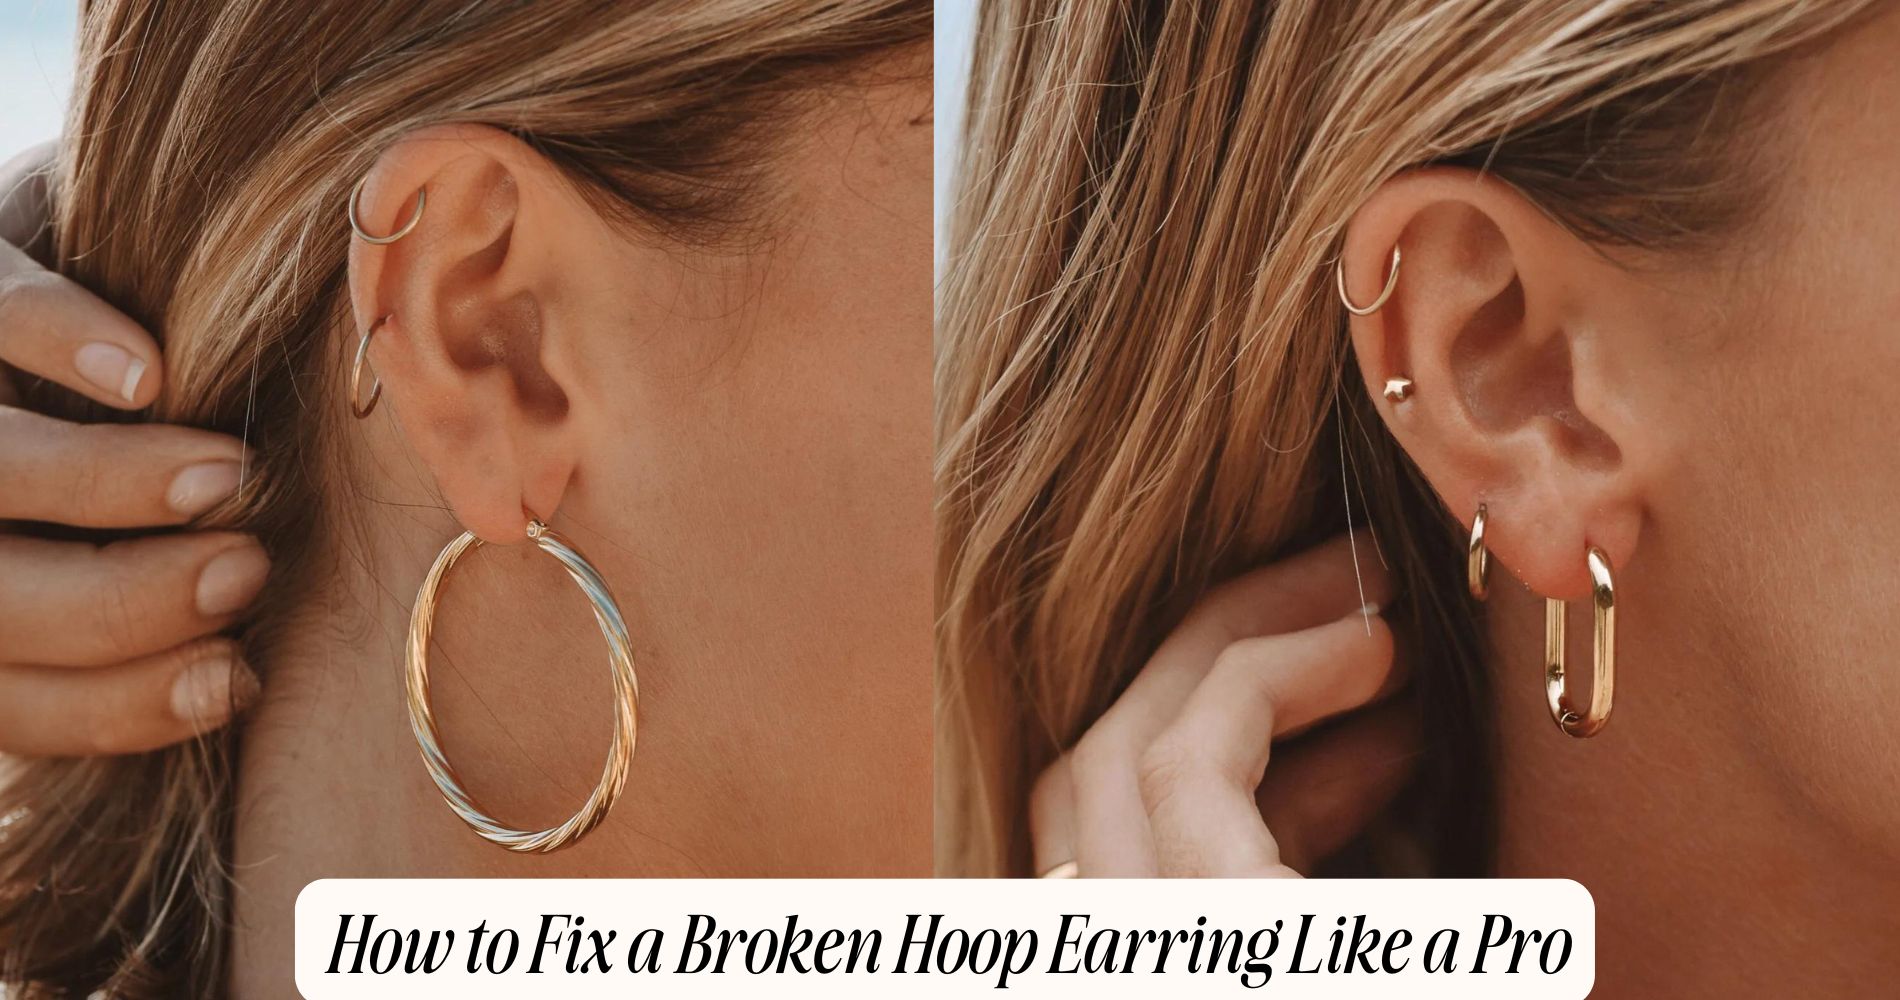
How to Fix a Broken Hoop Earring Like a Pro
If you're wondering how to fix a broken hoop earring, the first step is to evaluate the damage—determine whether it's a bent hoop or a broken clasp. Gather essential tools like needle-nose pliers and super glue to assist in the repair. Carefully remove any broken parts using gentle pressure, and ensure your workspace is clean and organized for the task ahead. Reassemble the pieces by aligning the hinges and clasps accurately, then secure the connections with adequate adhesive, allowing it to cure fully. Lastly, clean the earring to eliminate any residue. Regular maintenance can prolong the life of your earrings, and there’s plenty more to discover about proper care and storage techniques to keep them in top condition. For high-quality options, explore our Hypoallergenic Hoop Earrings collection.
Assess the Damage
Before diving into repairs, it's important to assess the damage to your broken hoop earring. Start by examining the earring closely to identify the damage types. Common issues include a bent hoop, a broken clasp, or a detached segment. Each type of damage requires a different approach, so pinpointing the issue is vital.
Next, consider the earring materials. Hoop earrings can be made from various materials such as gold, silver, stainless steel, or even plastic. The material influences not only the repair method but also the tools you'll need. For instance, gold and silver may require soldering to fix broken segments, while plastic may need adhesive for reattachment.
Inspect any additional components, such as beads or charms, which might also be damaged. If these elements are intact, you can focus solely on the hoop.
Make sure to check for any signs of wear, such as scratches or discoloration, which can affect the overall finish of your repair.
Once you've assessed the damage and noted the materials, you'll be ready to move forward with the appropriate repair techniques. This step sets the foundation for a successful restoration of your hoop earring.
Gather Necessary Tools
After identifying the specific damage to your hoop earring, the next step involves gathering the necessary tools for the repair process.
You'll need to collect several tool types to guarantee you can address the issue effectively. Start with a pair of needle-nose pliers, which are vital for manipulating small components and bending wires without damaging the metal.
A flat-head screwdriver can be useful for prying apart any tightly held pieces. Additionally, have a small container on hand to hold loose parts and prevent losing them during the repair.
If your hoop earring has a clasp or closure mechanism, a micro screwdriver set may come in handy for adjusting any screws. Depending on the extent of the damage, you might also want to gather some super glue or jewelry adhesive for minor fixes.
Remove Broken Components
Once you've gathered your tools, you'll need to carefully remove any broken components from the hoop earring. Start by identifying breaks in the metal or clasp. Examine the entire hoop for cracks or bends that may compromise its integrity.
If the break is clean, you can often separate the two pieces with pliers, applying gentle pressure to avoid further damage.
For any attached components, like charms or beads, use wire cutters to snip them off as needed. Make sure you're cutting at a safe distance from the hoop to preserve as much material as possible.
If the earring features a hinge or clasp mechanism that's damaged, take note of how it connects, as you'll need this information for replacing parts later.
Once you've removed the broken segments, organize them for reference, particularly if you plan to replace them with similar components.
Clean the remaining parts of the hoop to remove any debris or tarnish that may interfere with the repair process. This careful preparation is essential as you shift into the next steps of fixing your hoop earring effectively.
Prepare for Repair
As you prepare for the repair of your broken hoop earring, it's crucial to gather all necessary materials and tools to guarantee a smooth process. Start by identifying the hoop style of your earring, as this will dictate the specific repair approach. Common hoop styles include seamless, hinged, and latch-back hoops, each requiring different techniques.
Next, collect your tools. You'll need pliers, preferably round-nose and flat-nose, to manipulate the earring materials without causing further damage. If your hoop is made of metal, consider having some solder or metal glue on hand for a more permanent fix. For plastic or resin hoops, super glue or epoxy will suffice.
Don't forget to gather any replacement parts, such as earring backs or jump rings, which may be necessary depending on the extent of the damage. Additionally, verify you have a clean workspace—this will help prevent losing small components during the repair process.
Reassemble the Earring
Reassembling the earring requires careful attention to detail to confirm a secure and aesthetically pleasing result. Start by laying out all the components of your hoop design in an organized manner. Ascertain that the earring materials, such as metal, resin, or beads, are clean and free from any debris that could affect the final assembly.
Next, take the broken hoop and identify the points where it needs to connect. If you've used any adhesive, apply it sparingly to avoid excess overflow, which can detract from the earring's appearance.
If your design has a hinge or clasp mechanism, align it precisely to maintain the earring's functionality and style.
For wire hoop designs, you'll want to thread the wire ends through the designated holes carefully. Make sure they sit flush against each other for a seamless look.
If your design includes decorative elements, like charms or stones, position them as per your original layout before securing everything in place.
Secure the Connections
Securing the connections is essential for guaranteeing your hoop earring not only looks great but also functions properly.
Begin by identifying the connection types used in your earring, such as hinged, snap, or latch closures. Each type has specific mechanisms that require meticulous attention to detail.
If your hoop earring is made from materials like gold, silver, or stainless steel, you'll want to verify that the connections aren't compromised. For metal connections, check for any signs of wear or bending. Gently reshape the metal if necessary, using pliers with a soft grip to avoid scratching the surface.
For plastic or acrylic materials, inspect the connection points for cracks. If you find any, you may need to use a strong adhesive to bond the broken areas securely. Apply the adhesive sparingly to avoid excess overflow, which can mar the appearance.
Once you've secured the connection, allow any adhesives to cure fully according to the manufacturer's instructions. This step is vital to guarantee the durability of your repair.
Final Touches and Care
After repairing your hoop earring, it's essential to clean it thoroughly to remove any residue from the repair process.
You should also implement proper storage techniques, like keeping your earrings in a lined box, to prevent damage.
Regular maintenance, such as checking for loose parts or signs of wear, will guarantee your earring stays in excellent condition.
Cleaning Your Earring
Your hoop earring deserves a thorough cleaning to restore its shine and confirm it remains in pristine condition.
Begin by identifying the earring materials—whether it's gold, silver, or perhaps a gemstone setting—as this will guide your choice of cleaning solutions.
For metal hoops, a gentle soap solution can be effective. Mix a few drops of mild dish soap with warm water in a bowl.
Soak a soft cloth or a microfiber towel in this solution, then gently wipe down the earring. Avoid using abrasive materials that could scratch the surface.
If your hoop features gemstones, confirm that they're securely set and use a soft brush to remove any dirt from around the stones.
For tarnished silver, consider using a silver polish specifically designed for jewelry. Apply it with a soft cloth, following the product instructions closely.
Rinse the earring under lukewarm water to remove any residue from the cleaning solutions, then pat it dry with a clean towel.
Regular cleaning won't only maintain your earring's aesthetic appeal but also prolong its lifespan, confirming you can enjoy it for years to come.
Proper Storage Techniques
Proper storage techniques play an essential role in preserving the integrity and appearance of your hoop earrings. To prevent damage, consider employing effective preventative measures.
First, store your earrings in a dedicated jewelry box with compartments to minimize movement and friction. This solution helps to avoid scratches and tangling.
If you lack a jewelry box, use soft pouches or cloth bags made from non-abrasive materials. These storage solutions provide a protective barrier against dust and potential impacts. When placing your hoop earrings inside, make certain that they're separated to prevent them from scratching one another.
For added protection, consider using anti-tarnish strips within your storage area. These strips absorb moisture and can help keep your earrings looking new.
Additionally, avoid placing earrings in areas exposed to direct sunlight or extreme temperature fluctuations, as these conditions can lead to deterioration of materials.
Lastly, always check your storage area periodically. Confirming that your earrings remain in prime condition requires a little diligence.
Regular Maintenance Tips
Maintaining the beauty and functionality of your hoop earrings requires regular attention even after implementing effective storage techniques. To guarantee their longevity, you should adopt a routine of preventive measures and earring inspections.
Start by inspecting your earrings at least once a month. Look for any signs of wear, such as bent or loose clasps, discoloration, or tarnishing, which can compromise their appearance and functionality.
When wearing your hoop earrings, avoid exposing them to harsh chemicals, such as perfumes or cleaning products, as these can damage the metal and any embellishments. After each use, gently wipe them with a soft cloth to remove oils and dirt.
Consider using a specialized jewelry cleaner for deeper cleaning, but make sure it's suitable for the specific metal of your earrings. Avoid excessive force when cleaning, as this can result in bends or breaks.
Additionally, if you notice any damage during your inspections, address it immediately to prevent further deterioration. By incorporating these regular maintenance tips, you'll keep your hoop earrings looking stunning and in great working condition for years to come.
Frequently Asked Questions
Can I Fix a Broken Hoop Earring Without Professional Help?
Yes, you can fix a broken hoop earring without professional help. With DIY repairs, make certain you prioritize earring safety by using appropriate tools and materials. Carefully assess the damage, and follow steps to restore functionality.
What Materials Are Best for Repairing Hoop Earrings?
For repairing hoop earrings, you'll need specific repair tools like pliers, wire, and adhesive. Consider the earring types too; different materials may require unique approaches, so always have suitable supplies on hand for effective repairs.
How Do I Prevent Future Hoop Earring Breakage?
To prevent future breakage, follow hoop maintenance tips like regularly inspecting for wear and using earring storage solutions such as soft pouches or dedicated jewelry boxes to avoid tangles and damage during storage.
Are There Any Temporary Fixes for a Broken Hoop Earring?
For temporary repairs, consider using clear nail polish to seal small cracks or a paperclip to restrain broken sections. Earring hacks like these can keep your hoop functional until you find a permanent solution.
When Should I Consider Replacing My Hoop Earrings Instead of Repairing Them?
If your hoop earrings show signs of wear, like persistent breaks or structural weakness, consider replacing them. Prioritizing hoop earring longevity guarantees you avoid potential discomfort or loss, maintaining your jewelry collection's quality and aesthetic appeal.
Conclusion
By following these steps, you can effectively restore your broken hoop earring to its former glory. After evaluating the damage and gathering the right tools, you'll be able to remove broken components and prepare for a seamless repair. Reassembling the earring and securing the connections guarantees durability, while final touches enhance its appearance. With careful attention to detail, you'll not only fix the earring but also extend its lifespan, allowing you to enjoy it for years to come.








Leave a comment
This site is protected by hCaptcha and the hCaptcha Privacy Policy and Terms of Service apply.