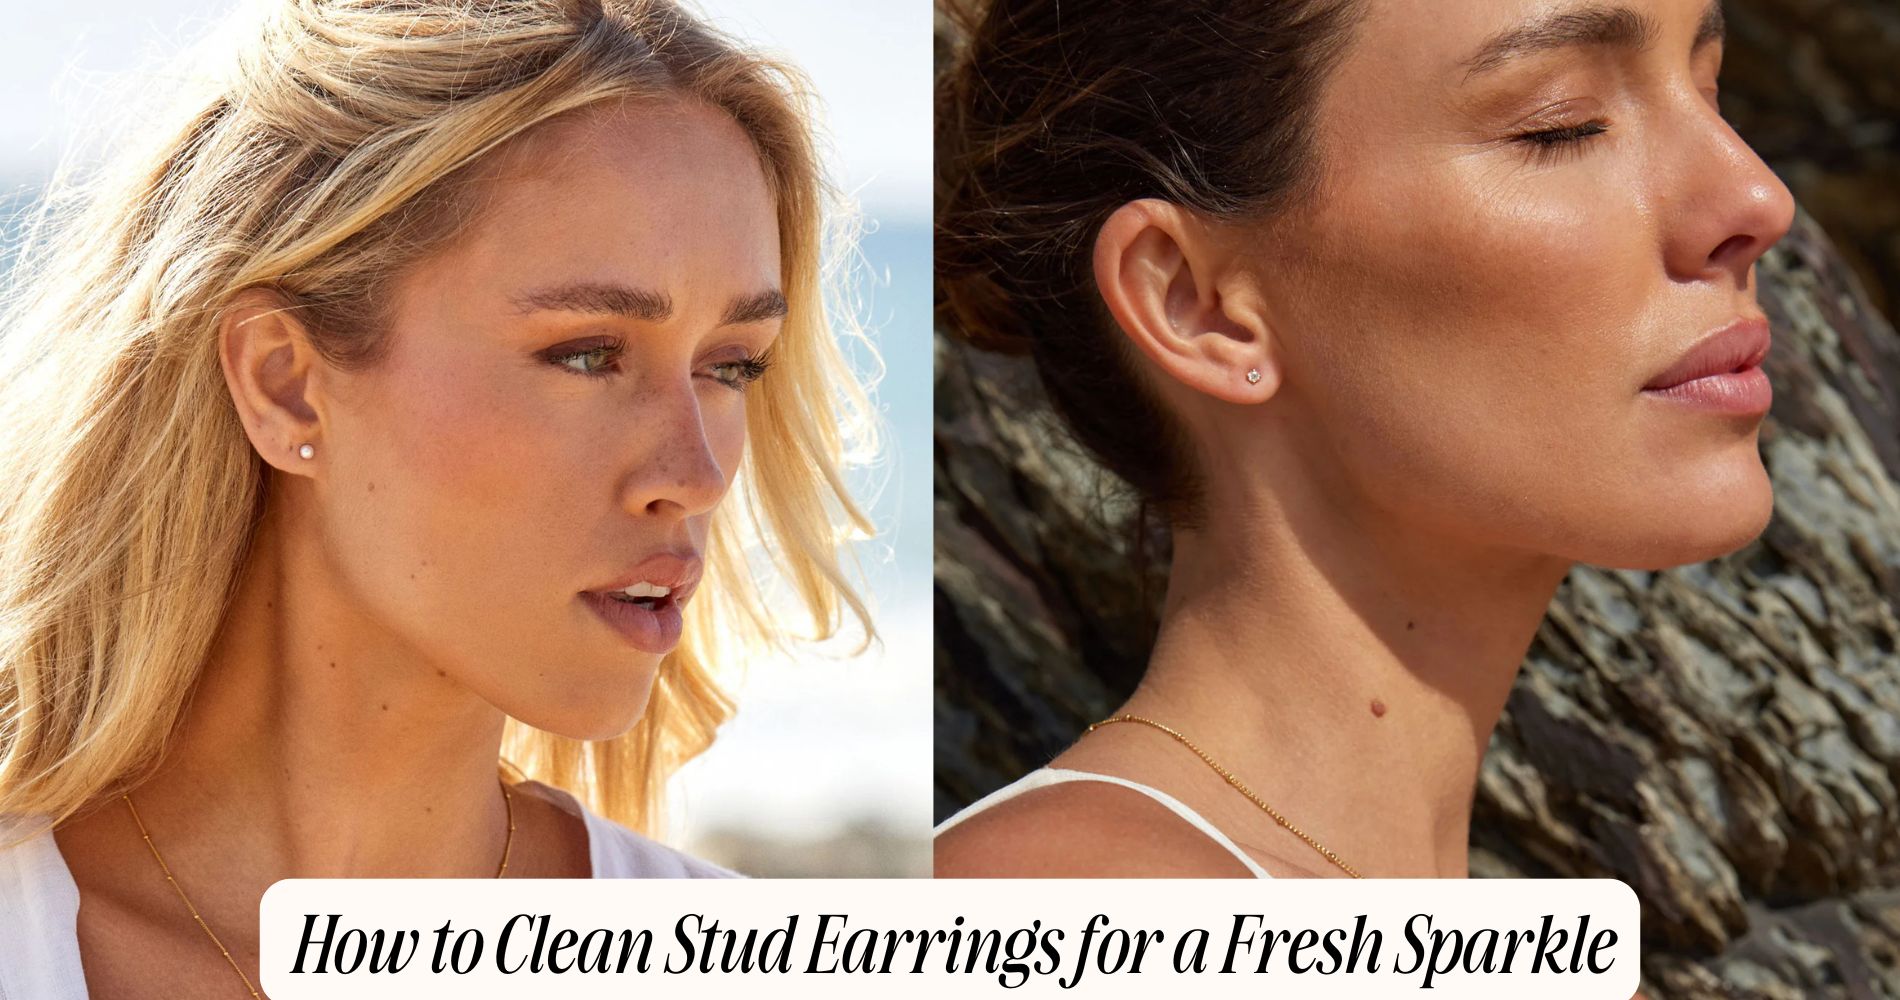
How to Clean Stud Earrings for a Fresh Sparkle
If you're wondering how to clean stud earrings for a fresh sparkle, it’s simple. Gather a soft microfiber cloth, warm water, and mild dish soap. Begin by inspecting your earrings for any dirt or damage. Soak them in the soapy water for 10 to 15 minutes. Use a soft-bristled toothbrush or cotton swab to gently scrub any intricate areas. Rinse them under lukewarm water and dry thoroughly with a lint-free cloth, being careful not to scratch the surface. For added shine, use a polishing cloth. Proper storage is key to maintaining their brilliance. And if you’re looking for earrings that are easy to care for, check out our allergy-free earrings collection, designed for sensitive ears.
Gather Your Cleaning Supplies
To effectively clean your stud earrings, you'll need to gather a few essential cleaning supplies. Start with a soft microfiber cloth; this will help you gently wipe away dirt and oils without scratching the surface.
Next, grab a small bowl and fill it with warm water mixed with a few drops of mild dish soap. This solution will effectively loosen grime and enhance your cleaning benefits.
You'll also want to have a soft-bristled toothbrush or a cotton swab on hand for those hard-to-reach areas, especially around the settings and posts. For tougher spots, consider a jewelry cleaner specifically designed for your earring materials—just verify it's safe for your specific metal and stones.
Lastly, having a soft towel ready for drying is vital, as moisture can lead to tarnishing, which negatively impacts your jewelry longevity.
Initial Inspection of Earrings
Begin your cleaning process by conducting a thorough inspection of your stud earrings. This step is essential, as it helps you identify any damage or buildup that needs addressing.
Start by examining the earring materials—whether they're gold, silver, platinum, or an alternative metal. Different materials require specific care, so knowing what you're working with is vital.
Use a bright light to spot any dirt, grime, or tarnish. Inspect the posts and backs for signs of wear, such as bent or broken components.
For a detailed evaluation, gently hold the earrings and look closely at the settings. If you notice any loose stones, make a note to secure them before cleaning.
Employ various inspection techniques: use a magnifying glass for intricate designs or a soft cloth to wipe away surface dust.
Pay attention to any discoloration on the metal or stone, which might indicate the need for a specialized cleaning solution.
Soaking Method for Studs
A bowl of warm soapy water can work wonders for cleaning your stud earrings. Start by filling a small bowl with warm water and adding a few drops of gentle dish soap. Make certain the soap is free from harsh chemicals, as you want to be kind to your jewelry.
Once you've mixed the solution, place your stud earrings into the bowl, guaranteeing they're fully submerged. Allow them to soak for about 10 to 15 minutes; this helps loosen dirt and grime.
If you're looking for an alternative, consider ultrasonic cleaning. This method uses high-frequency sound waves to create tiny bubbles that gently remove debris without scrubbing. Just be cautious—some delicate materials may not be suitable for ultrasonic cleaning.
After soaking, carefully remove your earrings from the solution and rinse them under lukewarm water to wash away any remaining soap. If you prefer natural cleaners, a mixture of vinegar and water can also be effective.
Just remember, always dry your earrings thoroughly with a soft, lint-free cloth to prevent water spots. Following these soaking methods will guarantee your stud earrings shine like new!
Gentle Scrubbing Techniques
When you're ready to clean your stud earrings, it's essential to choose the right tools to avoid scratching the surface.
Opt for soft-bristled brushes and mild cleaning solutions to guarantee a gentle yet effective scrubbing process.
After cleaning, always rinse thoroughly and dry your earrings properly to maintain their shine and integrity.
Choose the Right Tools
Choosing the right tools for cleaning your stud earrings involves selecting gentle scrubbing techniques that won't damage their delicate surfaces. Start with soft-bristled brushes, such as a baby toothbrush or a makeup brush, which can effectively remove dirt without scratching. For precision cleaning, consider using a cotton swab. This tool type allows you to get into crevices without applying too much pressure.
When you clean your earrings, it's important to establish a regular cleaning frequency. Depending on how often you wear them, aim for a light clean every few weeks, or more often if they're exposed to makeup, lotions, or sweat. This will prevent buildup that requires more intensive scrubbing, which could harm the finish.
Additionally, microfiber cloths are excellent for a gentle buff and shine; they pick up dust and oils without scratching. Always avoid abrasive materials, as they can leave permanent marks.
Use Mild Cleaning Solutions
Mild cleaning solutions are crucial for maintaining the luster of your stud earrings without causing damage. Choose a cleaning solution that's gentle yet effective, such as a mixture of warm water and a few drops of mild dish soap. This combination works well for most earring materials, including gold, silver, and gemstones.
Once you've prepared your cleaning solution, dip a soft, lint-free cloth or a cotton swab into the mixture. Gently scrub the surface of your earrings, focusing on any crevices where dirt or debris may accumulate. Avoid using abrasive materials or harsh chemicals, as they can scratch or tarnish the earring materials.
For delicate stones, like opals or pearls, it's best to skip any scrubbing altogether. Instead, lightly dab the cleaning solution onto the surface with a soft cloth. This method guarantees you're treating your earrings with care while effectively removing grime.
After you've finished cleaning, inspect your earrings closely. If you notice any stubborn spots, repeat the gentle scrubbing technique.
Rinse and Dry Properly
Rinsing and drying your stud earrings properly is essential to prevent any soap residue and guarantee they maintain their shine.
After using a mild cleaning solution, take your earrings and hold them under lukewarm running water. Make sure the water isn't too hot, as extreme temperatures can damage certain earring materials like delicate metals or gemstones.
Gently scrub any remaining dirt or buildup with a soft-bristled toothbrush, ensuring you're careful around the settings to avoid loosening any stones. Focus on hard-to-reach areas where grime may accumulate.
Once you've thoroughly rinsed off the soap, it's important to dry your earrings properly. Use a clean, soft microfiber cloth to dab away excess water. Avoid rubbing, as this can scratch the surface of your earrings, especially if they're made from sensitive materials like gold or silver.
Rinsing and Drying Process
After gently scrubbing your stud earrings, it's essential to rinse them thoroughly with warm water to remove any remaining cleaning solution.
Make sure to hold them carefully under the running water to prevent them from slipping away.
Once rinsed, pat them dry with a soft cloth, avoiding any rubbing that could scratch the surface.
Rinse With Warm Water
A gentle rinse with warm water is necessary for effectively removing any remaining soap or cleaning solution from your stud earrings. Start by placing your earrings under a gentle stream of warm water. Make sure the water isn't too hot, as excessive heat can damage certain materials.
This step is significant for maintaining ear hygiene and guaranteeing that no residues irritate your skin. As you rinse, move the earrings in your fingers to help dislodge any stubborn soap particles clinging to the surfaces. Pay extra attention to the backings, where soap can often accumulate unnoticed.
If you're cleaning earrings with intricate designs or settings, consider using a soft brush to gently clean these areas while rinsing. It's important to rinse long enough to confirm all cleaning agents are removed. Any leftover soap can dull the sparkle of your jewelry and may cause irritation when worn.
After rinsing, make sure to follow the proper drying methods, which are critical for maintaining the quality of your earrings. With this careful rinse, you'll be well on your way to achieving that fresh sparkle your jewelry deserves.
Pat Dry With Cloth
Once your stud earrings have been thoroughly rinsed, it's essential to dry them properly to maintain their luster.
Begin by selecting a soft, lint-free cloth, which is ideal for absorbing moisture without scratching your earrings. Avoid using paper towels or rough fabrics, as they can leave behind fibers or cause damage.
Gently pat each earring with the cloth, using a light touch to soak up any remaining water. Avoid rubbing, as this could scratch delicate surfaces or loosen any embedded stones.
Pay special attention to the backs of the earrings, as moisture can lead to tarnishing or irritation if not dried properly.
For stubborn moisture, consider using a specific drying technique such as air drying. Place your earrings on the cloth in a well-ventilated area, allowing them to dry completely.
This method is particularly effective for earrings with intricate designs or settings that may trap water.
Polishing for Extra Shine
Polishing stud earrings can greatly enhance their luster and overall appearance. To achieve that extra shine, you'll need a high-quality polishing cloth specifically designed for jewelry. These cloths often contain special compounds that lift tarnish and grime, making them ideal for your earrings.
Begin by verifying your earrings are completely dry after cleaning. Hold the earring firmly but gently, and take your polishing cloth, folding it into a manageable size. Use light buffing techniques, applying minimal pressure while moving the cloth in circular motions. This method helps to avoid scratches while effectively enhancing the shine.
Focus on the metal parts first, then gently buff the stones, if applicable, to avoid damaging any delicate settings. If your earrings have intricate designs, take extra time to buff those areas, as dirt can accumulate in crevices.
After polishing, inspect your earrings under good lighting to verify they sparkle from every angle. Remember, regular polishing not only keeps your earrings looking beautiful but also extends their lifespan. Aim to polish your stud earrings every few months or whenever they start to lose their shine for the best results.
Storing Earrings Properly
Maintaining the shine of your stud earrings is only part of their overall care; how you store them plays a significant role in preserving their condition. Proper storage prevents scratches, tangles, and tarnishing, ensuring your earrings remain in pristine shape.
First, consider the different earring types you own. For delicate studs, a soft-lined jewelry box with individual compartments can be ideal. This prevents them from rubbing against one another, which can cause scratches.
For more robust styles, a hanging organizer or a specialized earring tree provides visibility without compromising safety.
Additionally, use anti-tarnish pouches or cloths for silver or gold-plated earrings. These storage solutions minimize exposure to air and humidity, which can accelerate tarnishing.
Avoid storing your earrings in the bathroom, where moisture can accumulate; instead, choose a cool, dry location.
Regular Maintenance Tips
Regular maintenance is essential for keeping your stud earrings looking their best and ensuring their longevity. To achieve this, incorporate a routine of preventative care that focuses on both cleaning and inspection. Aim to clean your earrings at least once a month, but adjust this frequency based on your wear habits and exposure to lotions or perfumes.
Start by gently wiping the earrings with a soft, lint-free cloth after each use. This simple step helps remove any oils or dirt that may accumulate. For a deeper clean, soak them in a mild soapy solution for 10-15 minutes, then carefully scrub with a soft brush, paying special attention to the backings and posts where grime can build up.
It's also crucial to inspect your earrings regularly. Look for any signs of wear or damage, such as loose stones or bent posts. If you notice any issues, address them immediately to prevent further damage.
Frequently Asked Questions
Can I Use Vinegar Instead of a Jewelry Cleaner?
Yes, you can use vinegar as a cleaning alternative. Its benefits include antibacterial properties and effectiveness in breaking down grime. However, be cautious; it's best for non-delicate metals to avoid potential damage.
How Often Should I Clean My Stud Earrings?
You should clean your stud earrings at least once a month for ideal earring maintenance. Regular cleaning frequency helps prevent buildup, ensuring they remain sparkling and hygienic, keeping your ears healthy and free from irritation.
Are There Any Specific Cleaners to Avoid?
You should avoid harsh cleaning materials that can cause chemical reactions, like bleach or ammonia. These substances may damage your earrings or alter their finish, so opt for gentle solutions to maintain their beauty and integrity.
Can I Clean Earrings With Gemstones the Same Way?
Yes, you can clean gemstone earrings using gentle cleaning techniques. Avoid harsh chemicals that might damage the stones. Instead, opt for mild soap and water, ensuring you handle them carefully to maintain their luster and integrity.
What Should I Do if My Earrings Develop Tarnish?
If your earrings develop tarnish, assess cleaning materials comparison first. Use non-abrasive cloths and mild solutions. For tarnish prevention tips, store them in airtight bags and avoid exposure to moisture for best results.
Conclusion
By following these steps, you can easily restore your stud earrings to their original sparkle. Regular maintenance and proper storage will keep them looking stunning over time. Remember, a little care goes a long way in preserving the beauty of your jewelry. Make cleaning a routine part of your jewelry care, and you'll always enjoy the fresh shine of your favorite stud earrings. With these tips, you'll guarantee they remain a timeless accessory in your collection.










Leave a comment
This site is protected by hCaptcha and the hCaptcha Privacy Policy and Terms of Service apply.