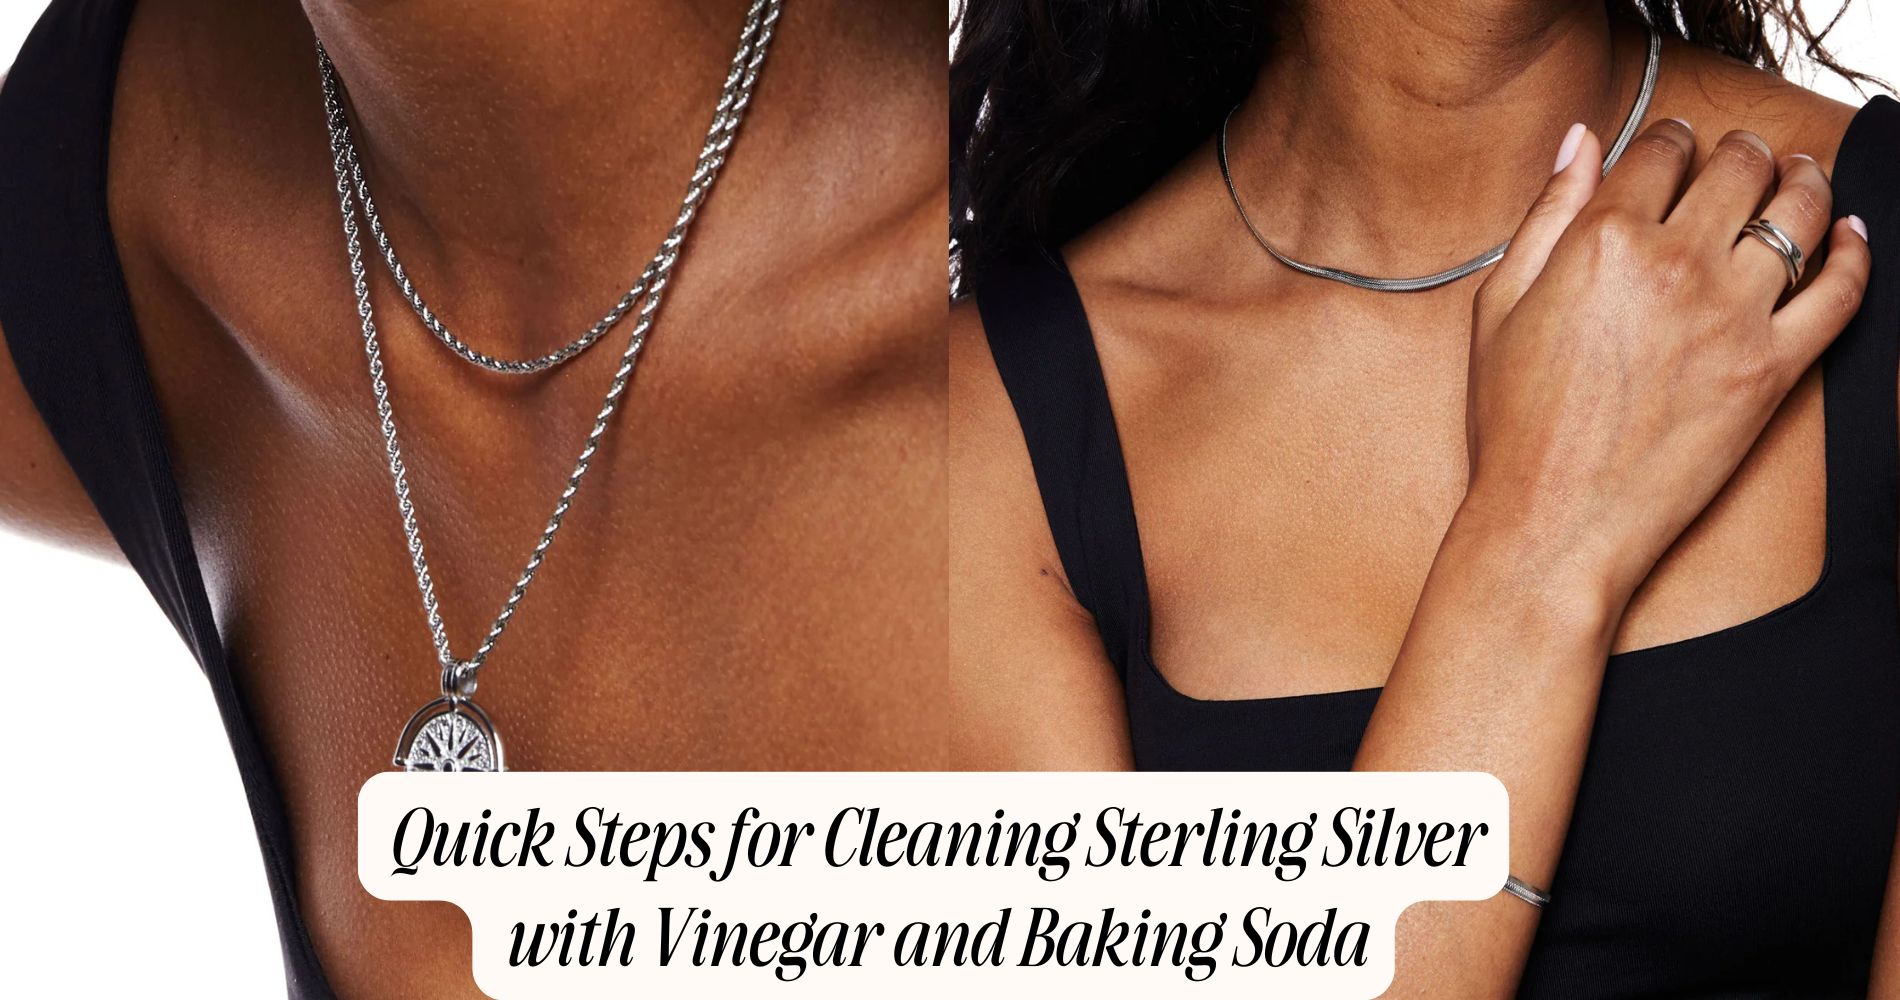
Quick Steps for Cleaning Sterling Silver With Vinegar and Baking Soda
Cleaning sterling silver with vinegar and baking soda is a simple yet effective method to restore its shine. To get started, gather white vinegar, baking soda, and a soft cloth. Mix half a cup of vinegar with two tablespoons of baking soda in a glass or plastic bowl—expect it to fizz! Soak your silver pieces for 10 to 15 minutes to loosen tarnish. After soaking, gently scrub the tarnished areas with a soft cloth or non-abrasive sponge. Rinse under lukewarm water, then dry with a lint-free cloth. For best results, apply an anti-tarnish polish afterward. If you prefer jewelry that’s easier to maintain, explore our waterproof jewelry collection for pieces that stay stunning without the hassle. There's more to uncover for maintaining that brilliant shine!
Gather Your Materials
To begin your silver cleaning journey, you'll need a few essential materials. First, gather white vinegar, baking soda, a soft cloth, and a non-abrasive sponge. These items are vital for effective silver care and tarnish prevention. The vinegar acts as a natural cleaner, while baking soda helps to lift tarnish gently.
Next, make sure you have a suitable container for soaking your silver items. A glass or plastic bowl works well, as metal containers can sometimes react with vinegar. You'll also want to have access to warm water, which can enhance the cleaning process and help dissolve the tarnish more effectively.
If you're cleaning intricate pieces, a soft toothbrush can be handy for reaching those tight spots. It's important not to use any abrasive materials that could scratch your silver, as this can lead to more tarnish in the future.
Finally, consider having a polishing cloth on hand for a final shine after cleaning. With these materials ready, you're set to tackle tarnish and keep your silver looking beautiful.
Prepare the Cleaning Solution
How do you prepare the perfect cleaning solution for your sterling silver? Start by gathering your natural cleaners: white vinegar and baking soda. These two ingredients work wonders together to combat silver tarnish effectively.
First, take a small bowl and pour in about half a cup of white vinegar. Next, add two tablespoons of baking soda to the vinegar. Be prepared for a fizzing reaction as the two combine! This reaction is what makes this solution so powerful against tarnish.
Stir the mixture gently until the baking soda is completely dissolved. You want a solution that's bubbly but not overly frothy. If you see too much foam, let it settle for a moment.
This cleaning solution is non-toxic and safe for your silver pieces. It's an excellent choice if you're looking to avoid harsh chemicals.
Once your solution is ready, you're set to tackle the silver tarnish. Make sure to have a soft cloth or sponge handy, as you'll need it to apply the cleaner to your silver items. Your sterling silver will soon shine like new!
Soak the Sterling Silver
After you've prepared your cleaning solution, it's time to soak your sterling silver pieces. Carefully submerge each item in the vinegar and baking soda mixture. Make certain that all surfaces are covered, allowing the solution to work effectively for tarnish removal.
You'll notice that the solution may bubble and fizz; this is a good sign that the cleaning process is underway.
Let your silver soak for about 10 to 15 minutes. This duration is important for loosening the tarnish without damaging the metal. It's necessary to monitor the pieces during soaking to avoid overexposure, which might compromise the silver's integrity.
After soaking, remove the silver items from the solution, allowing any excess liquid to drip off. Pay attention to the areas that may need extra care, as they can sometimes hold onto tarnish even after soaking.
Scrub Gently
Once you've soaked your sterling silver pieces and removed them from the cleaning solution, it's time to scrub gently. Use a soft cloth or a non-abrasive sponge to avoid scratching the surface. When you scrub, focus on the areas with visible tarnish, applying light pressure. This will help lift the tarnish without damaging the silver.
Remember, gentle polishing techniques are key here; you're aiming for a shine, not to remove a layer of your precious metal.
As you scrub, keep in mind that prevention is always better than cure. After cleaning, consider applying a thin layer of anti-tarnish polish to protect your pieces. This won't only enhance their shine but also greatly reduce future tarnish buildup.
Regular maintenance and proper storage can go a long way in tarnish prevention, so make it a point to check your silver periodically.
Incorporating these gentle scrubbing methods into your routine will help keep your sterling silver looking its best, ensuring that it remains a treasured part of your collection for years to come.
Rinse and Dry
Your sterling silver pieces deserve the best care, and rinsing them properly is an essential step in the cleaning process. After you've gently scrubbed your items with the vinegar and baking soda mixture, it's vital to remove any residue.
Begin by holding each piece under lukewarm running water. Make sure to rinse thoroughly, ensuring all cleaning agents are washed away. This not only enhances the shine but also prevents any potential tarnishing from leftover substances.
Next, grab a soft, lint-free cloth to dry your silver. Pat each piece gently, avoiding vigorous rubbing that might scratch the surface.
If you notice any stubborn spots, a little extra attention with the cloth will help.
Frequently Asked Questions
Can I Use This Method on All Types of Silver?
You can't use this method on all silver types. While it works well for sterling silver, other silver alternatives may require different cleaning methods. Always check specific care guidelines to avoid damaging your pieces.
How Often Should I Clean My Sterling Silver?
You should clean your sterling silver every few months for ideal silver maintenance. If you wear it frequently or notice tarnish, increase the cleaning frequency. Regular care keeps your pieces looking beautiful and prevents buildup.
What Should I Do if Tarnish Remains After Cleaning?
If tarnish remains after cleaning, try using a stronger tarnish removal technique. You can apply a specialized polishing cloth or a paste made from baking soda and water, then gently rub until the tarnish disappears.
Is It Safe to Use Vinegar on Antique Silver?
Using vinegar on antique silver can pose risks. Its acidic effects might harm delicate surfaces and diminish antique preservation. Always test a small area first or consult a professional to guarantee your piece remains intact.
Can I Substitute Baking Soda With Something Else?
You can definitely substitute baking soda with alternatives like cream of tartar or lemon juice. For effective silver care, explore these alternative cleaning methods to maintain your pieces while avoiding any potential damage.
Conclusion
By following these quick steps, you'll restore your sterling silver's shine using just vinegar and baking soda. Remember to gather your materials, prepare the solution, soak the items, and scrub gently to avoid scratches. After rinsing and drying your jewelry or utensils, you'll see them sparkle like new. Regular cleaning not only enhances their appearance but also prolongs their lifespan. So, keep this simple method handy for a quick refresh whenever your silver needs a little TLC!












Leave a comment
This site is protected by hCaptcha and the hCaptcha Privacy Policy and Terms of Service apply.